Fun Creations: A Flag Party
I have a thing for functional art. When I am able to create something useful, it brings me joy.
I also have a thing about waste, in as much as I don’t like things that are wasteful of time, efforts, energy, or resources.
When it comes to planning birthday parties for my kids, I try to take these two “things” (aka obsessions) of mine and make them work for me. I prefer to decorate in a way that is reusable, and I aim to create party-favor / goodie-bags that contain useful/usable things (i.e., no cluttering tchockies).
I became a Mom on the Fourth of July, 2006, meaning my oldest turned 6 on 7/4/12. With a backyard pool and a summer birthday, we have a pool party every year. Still, Alex gets to choose the theme for his cake and decorations.
This year: Flags.
In his kindergarten year at the Montessori school he attends, he created a “Flag Book,” in which he drew pictures of some flags.
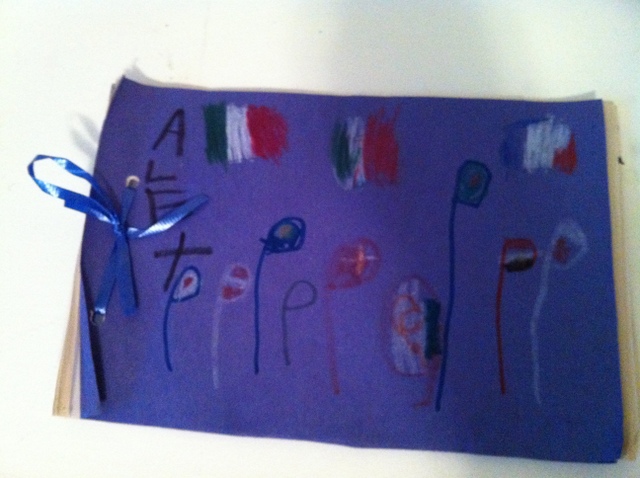
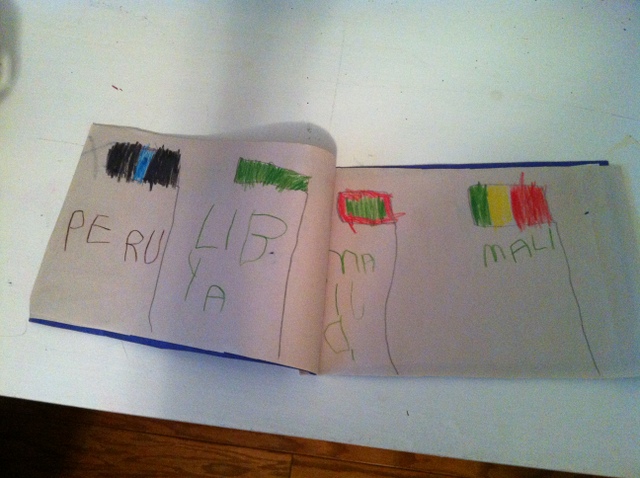
Add in the international scenes of the Disney Pixar movie Cars 2, and flags quickly became his favorite thing.
Unique party theme, for sure. But also very little to go on. When I asked Alex what he had in mind, the most he could offer was a vague idea of hunting for flags.
I knew he loved certain flags from certain countries for no apparent reason: Libya, Bangladesh, Japan, Maldives, Palau… Why? “Because I like them.” For goodness sake, I had no idea where to even find some of these countries on the map!
So I requested pictorial books from the library and did some research. There is a story behind every flag, some with far-fetched legends, others packed with symbolism. THIS, I could work with! During a long car trip, I grabbed some post-it notes and marked the pages which pictured his favorite flags.
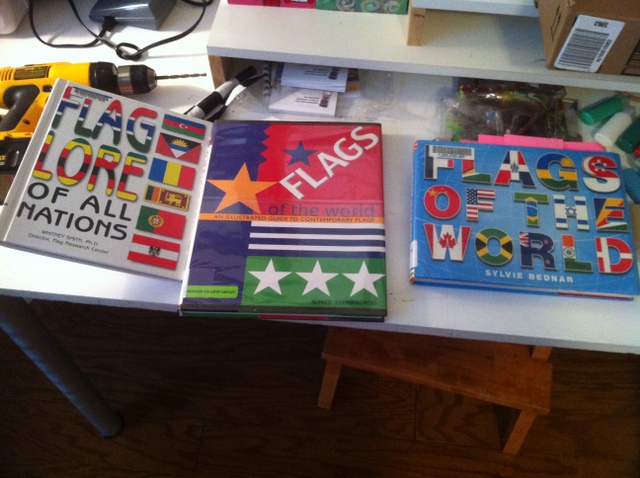
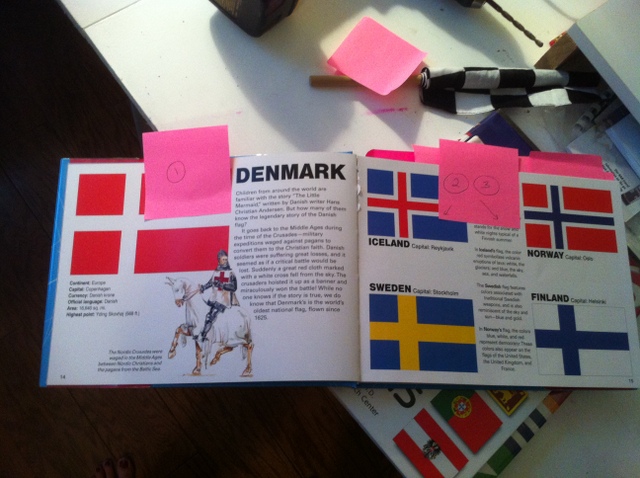
The one idea I found on Pinterest offered food platters that replicated the colors and patterns of some flags. The flags Alex liked the most had his favorite colors along with basic patterns he could replicate. I used one idea straight from Pinterest: the Mexican flag represented by guacamole, sour cream, and salsa (using olives, cheese, and garnish for the emblem).
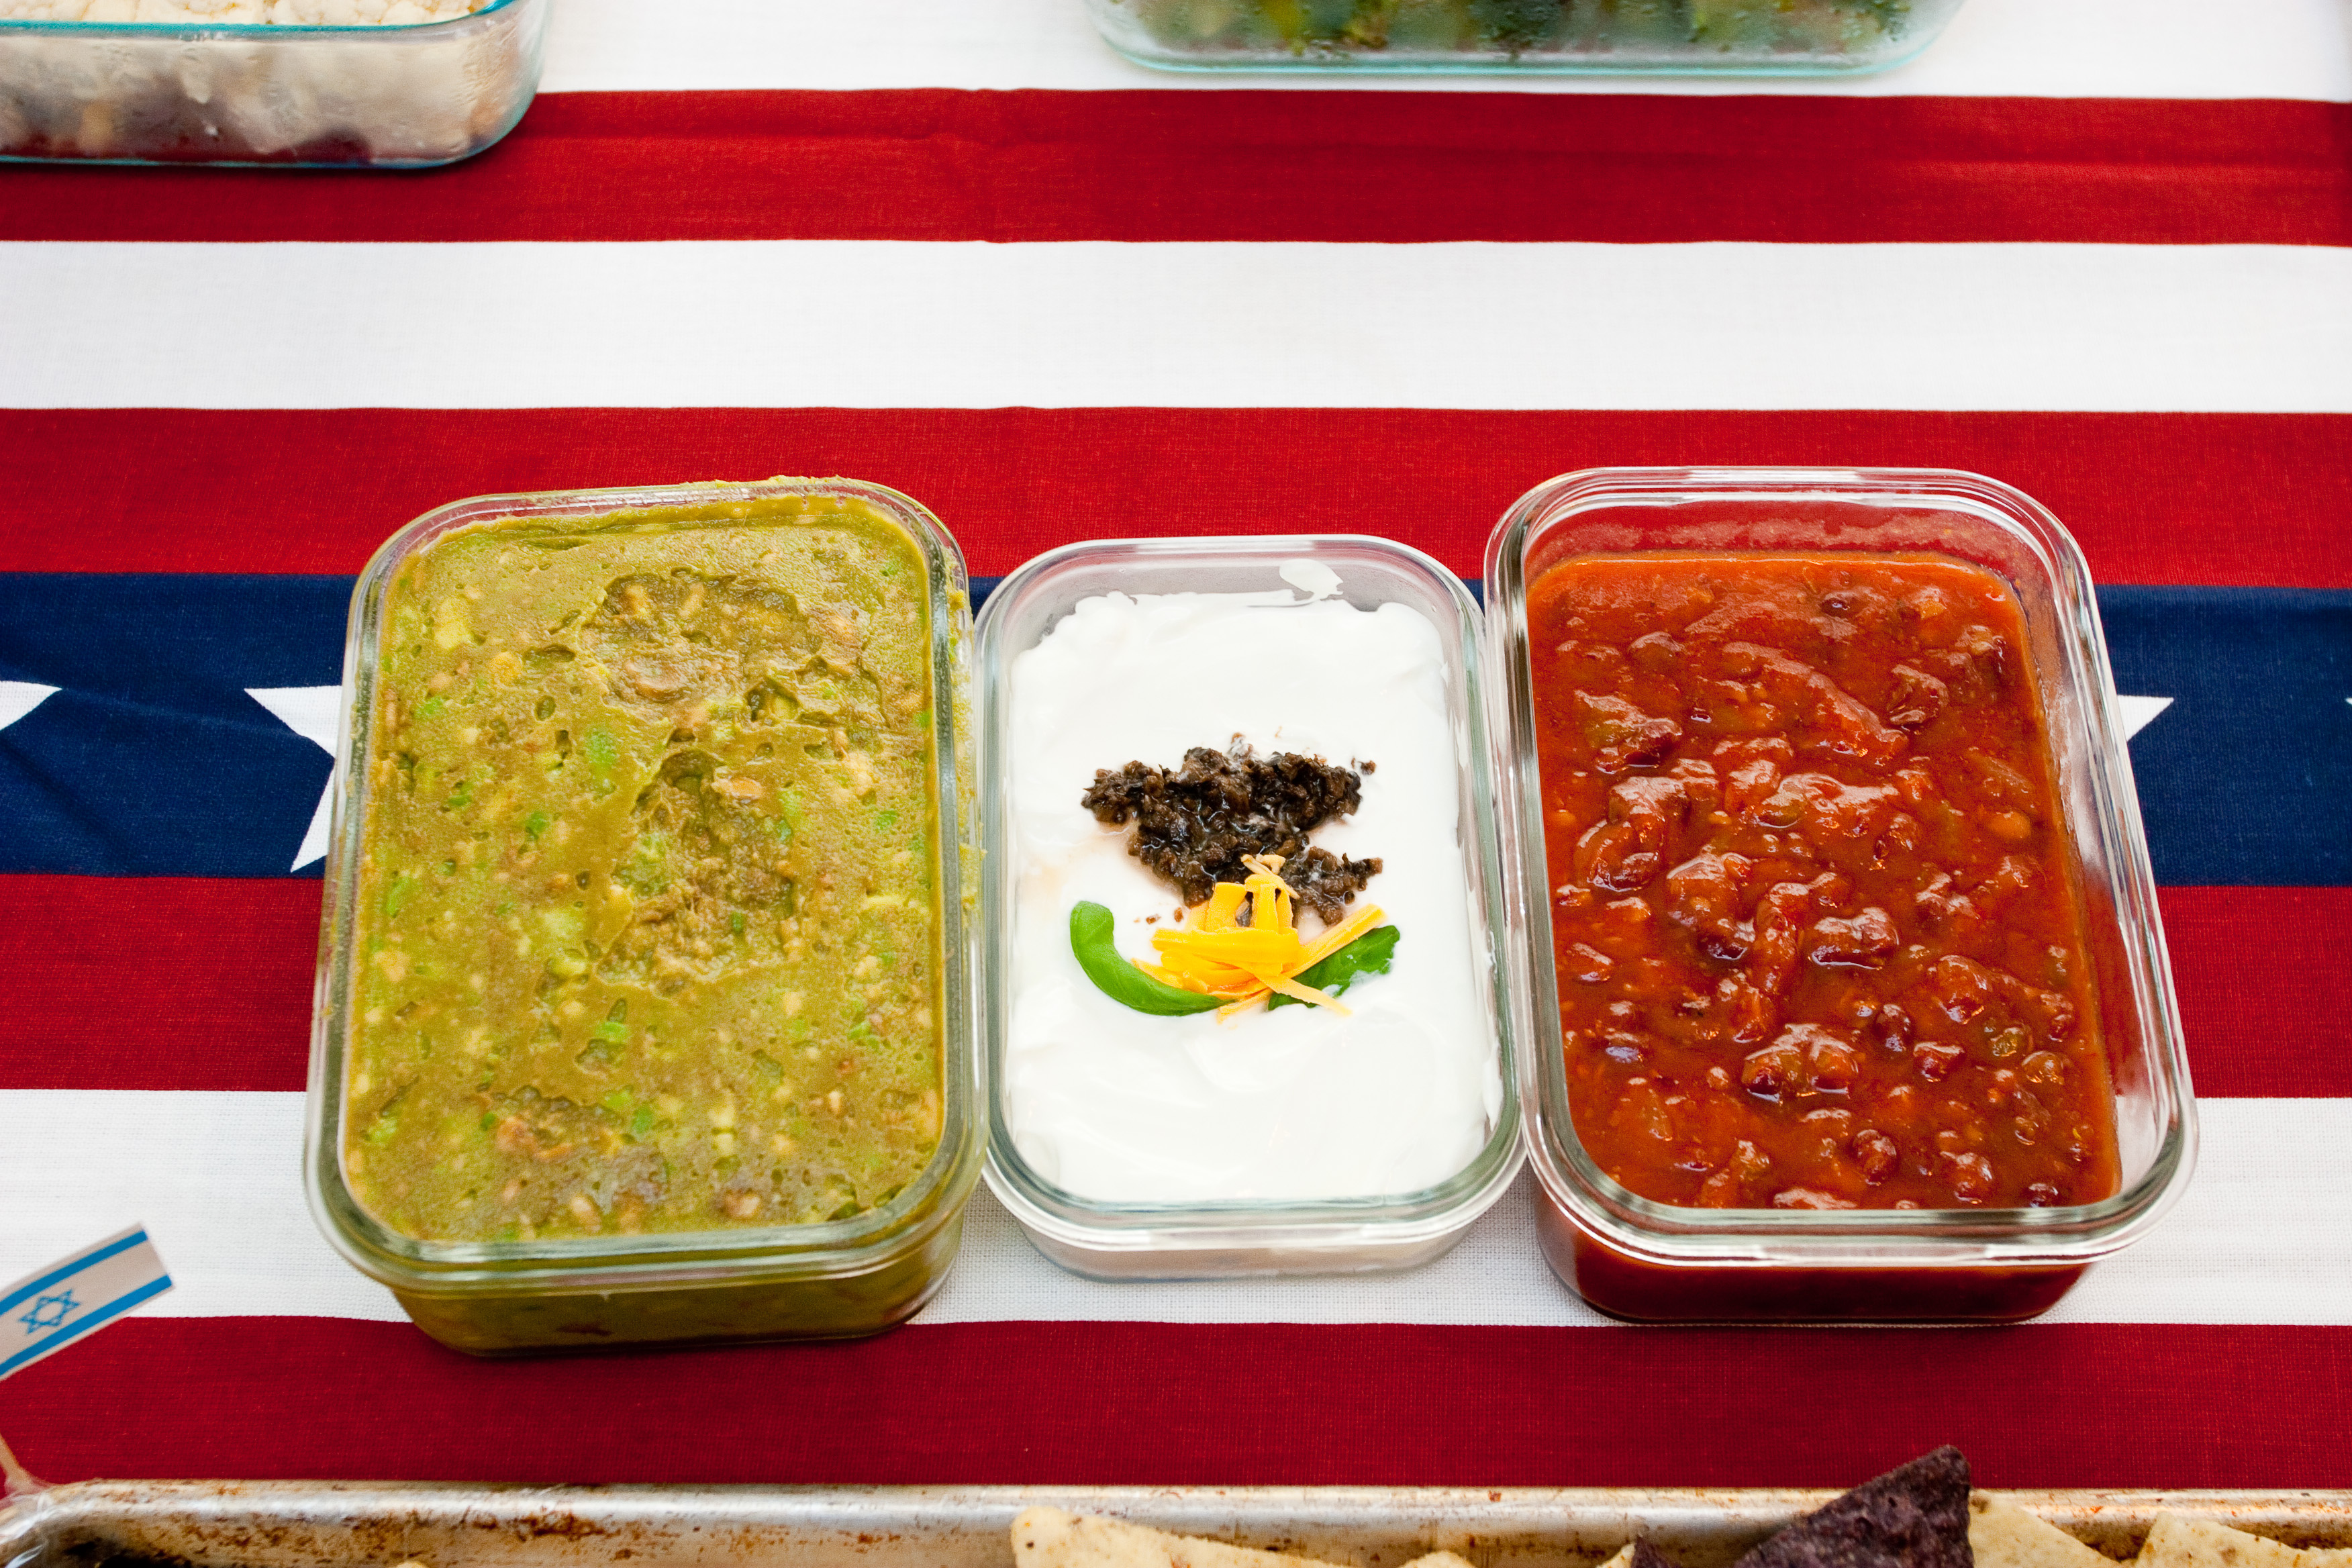
Flag of Mexico
For the rest, I brainstormed food ideas that could match the basic colors and patterns. I tried to also keep the platters as healthy as possible, especially since my family and many of our friends eat (mostly) gluten and dairy free. (Hover over the picture for the ingredients.)
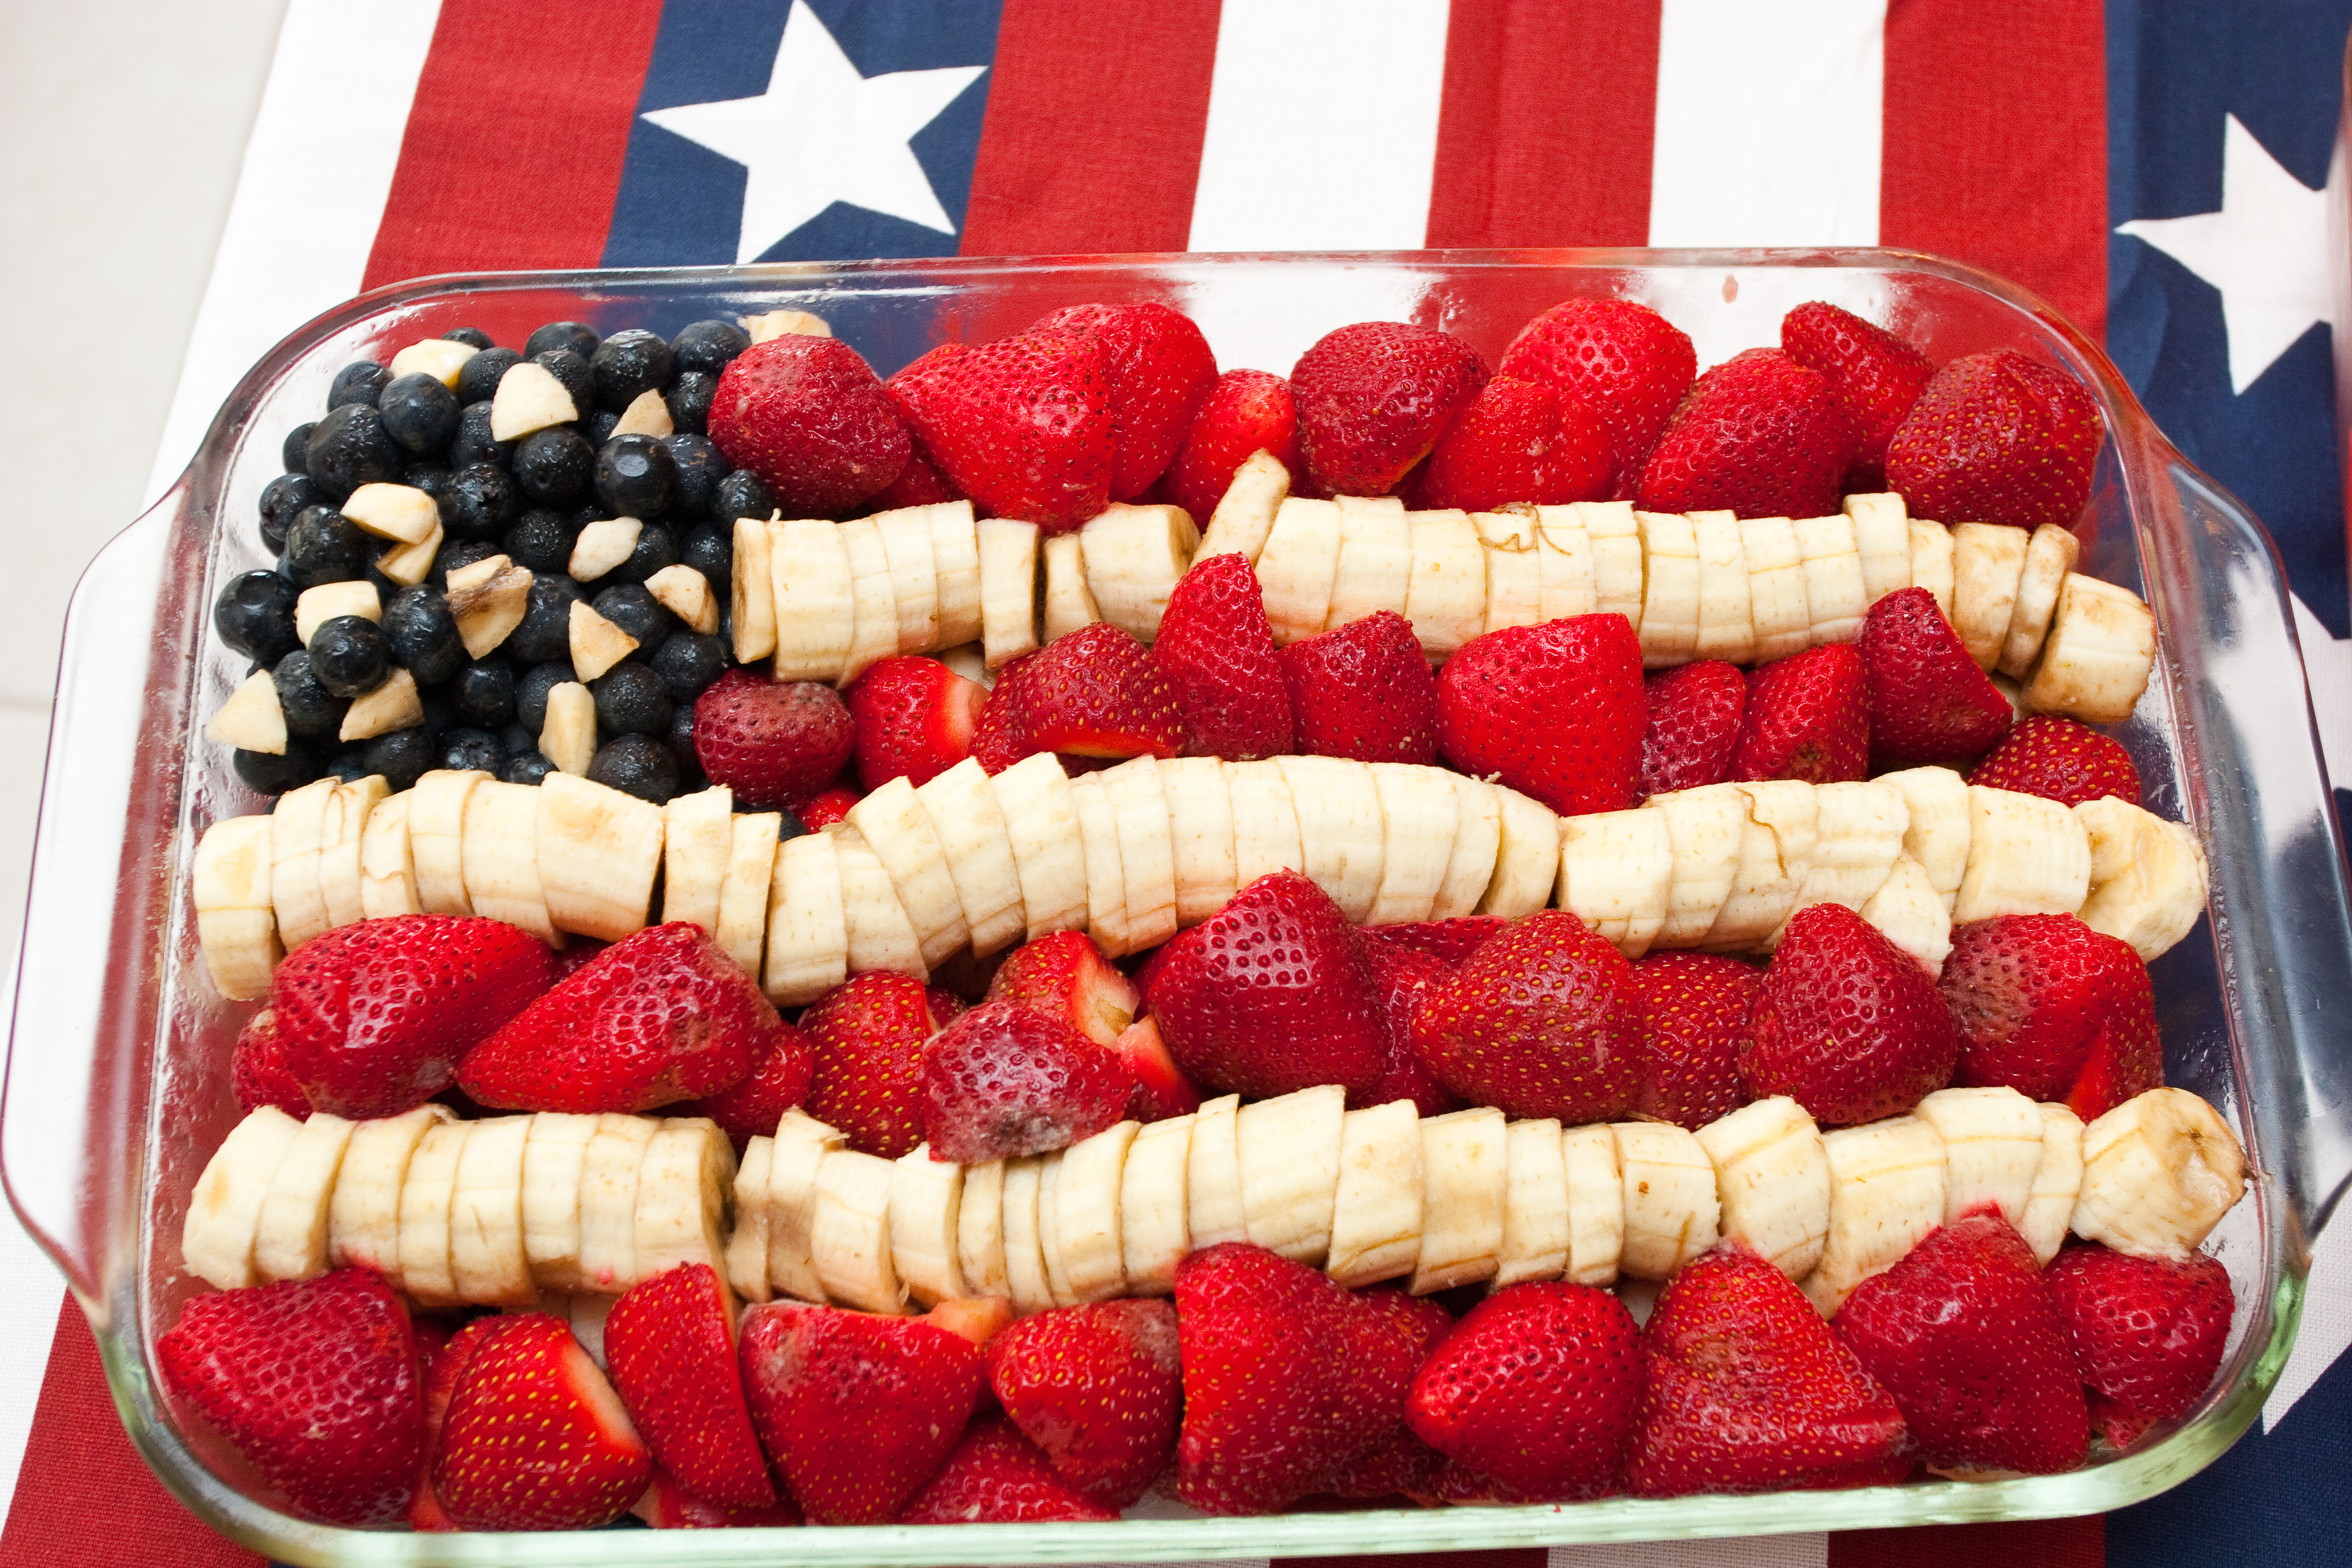
Flag of United States of America
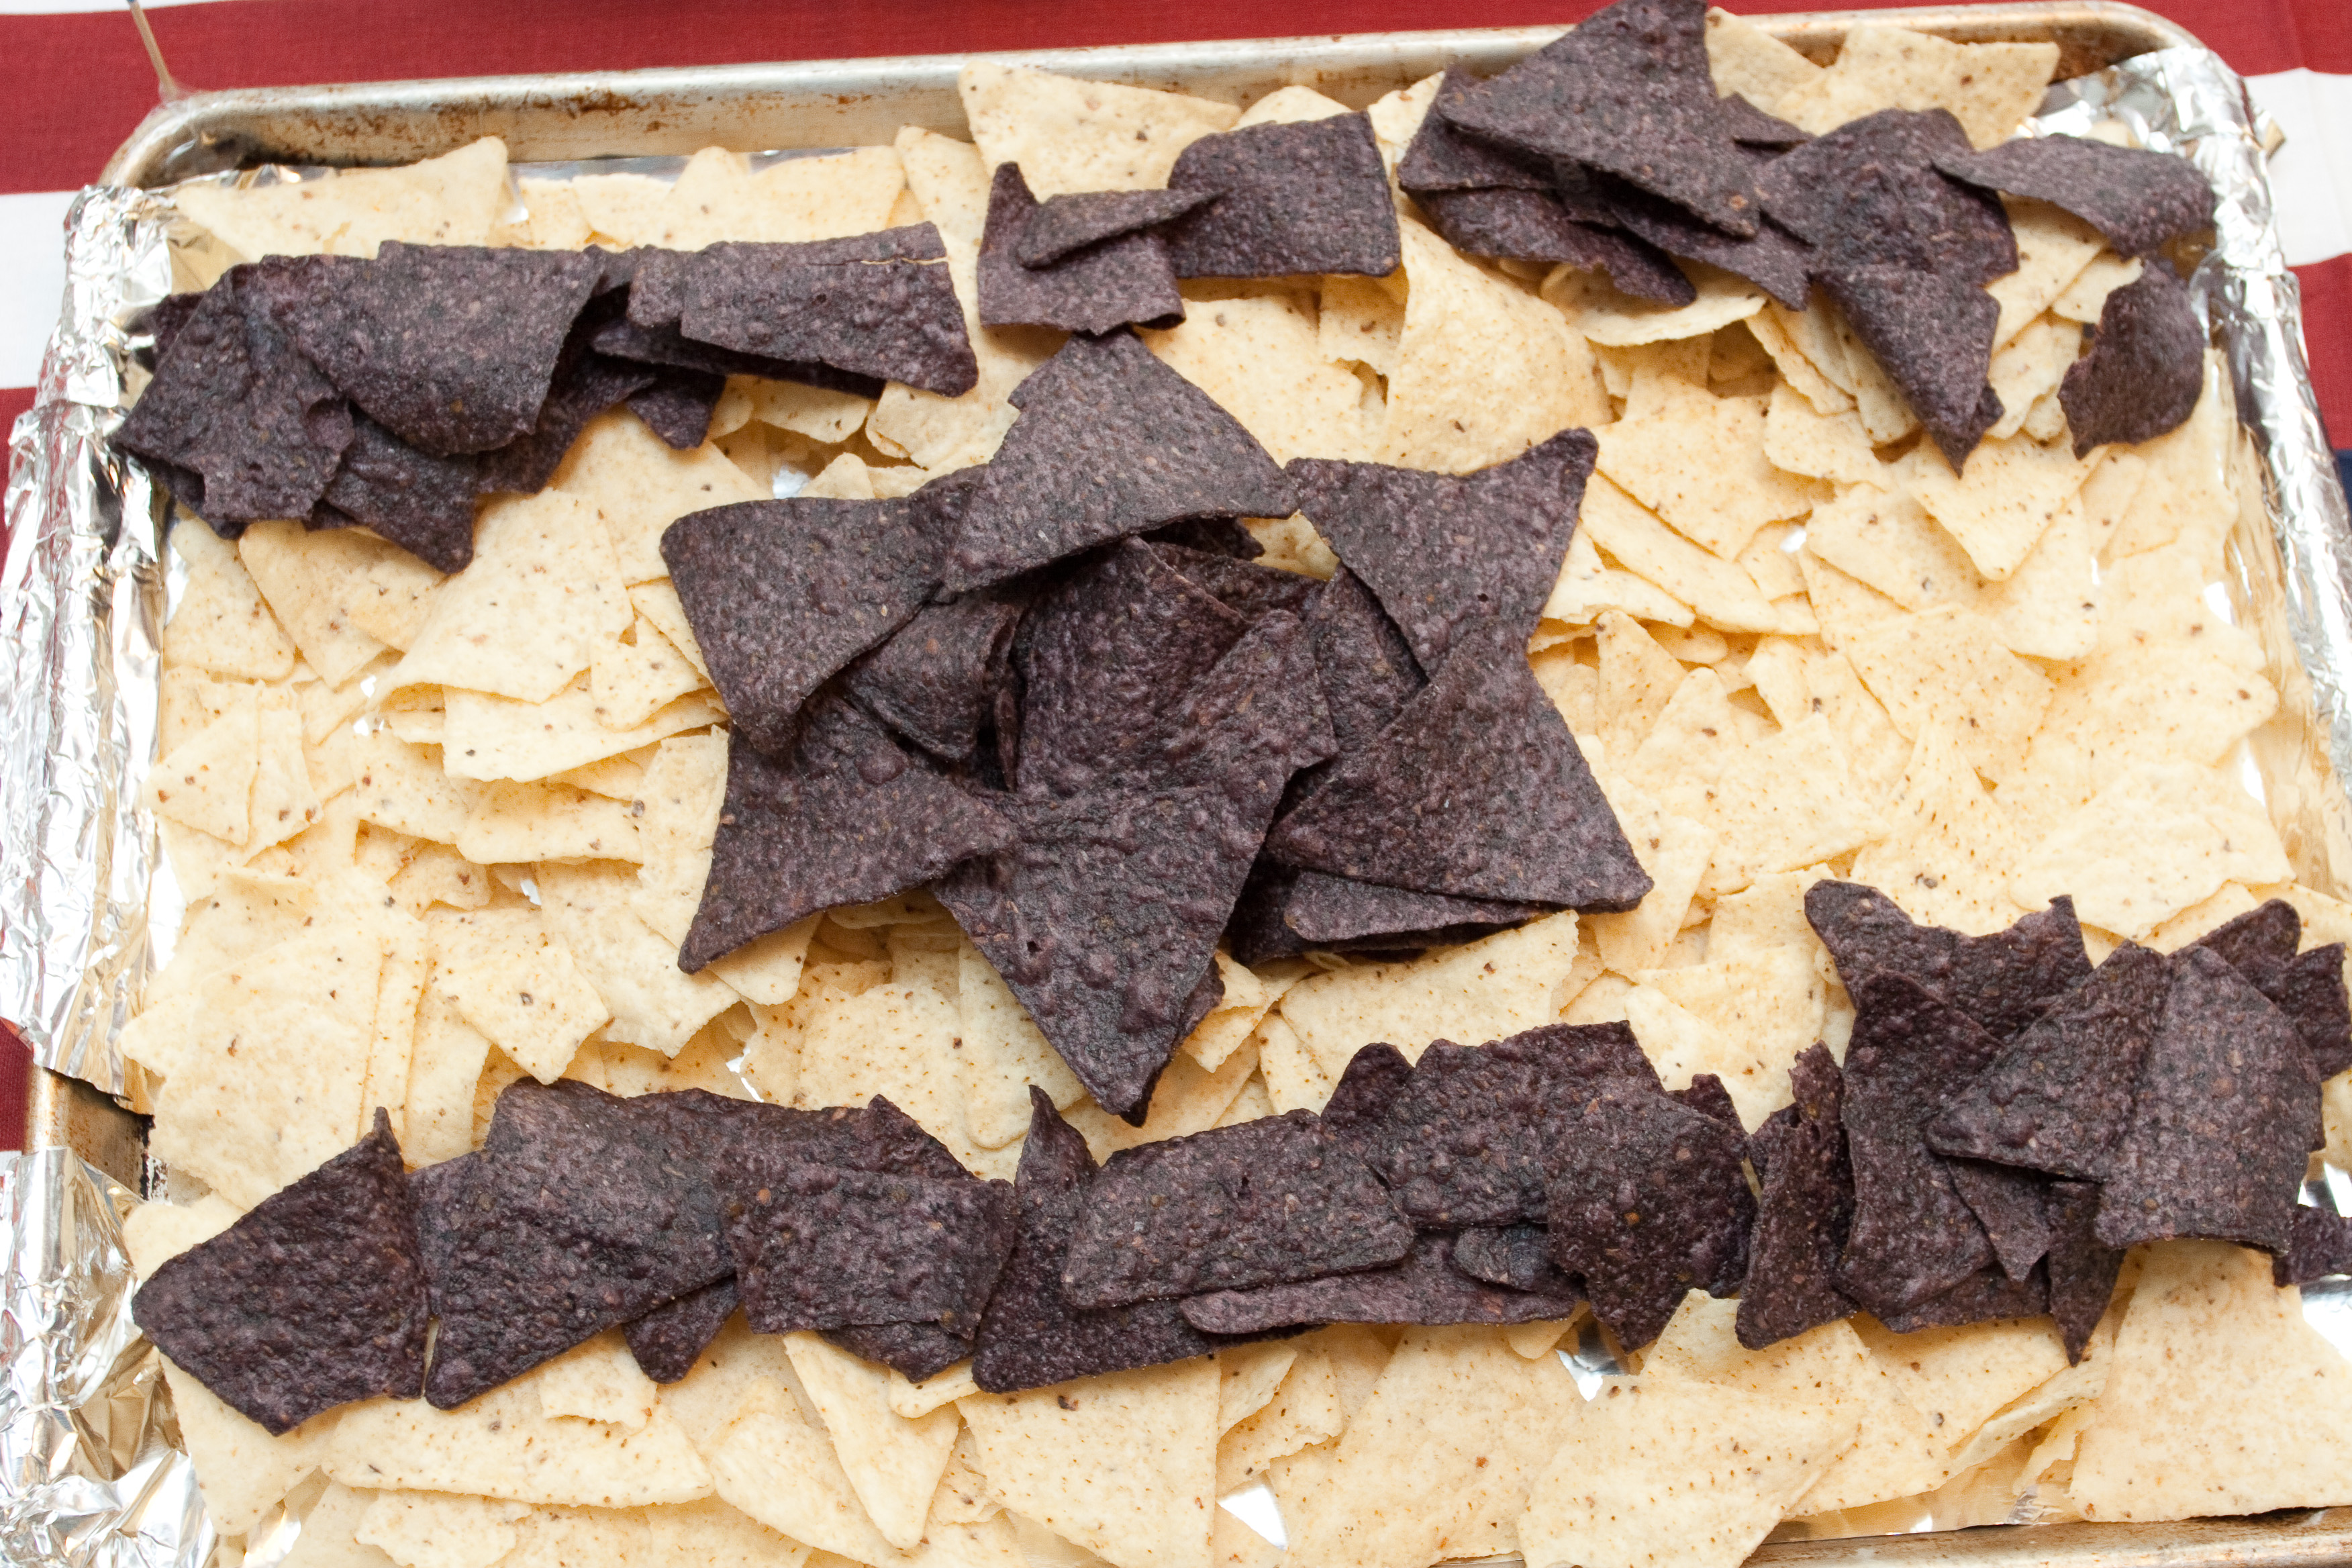
Flag of Israel
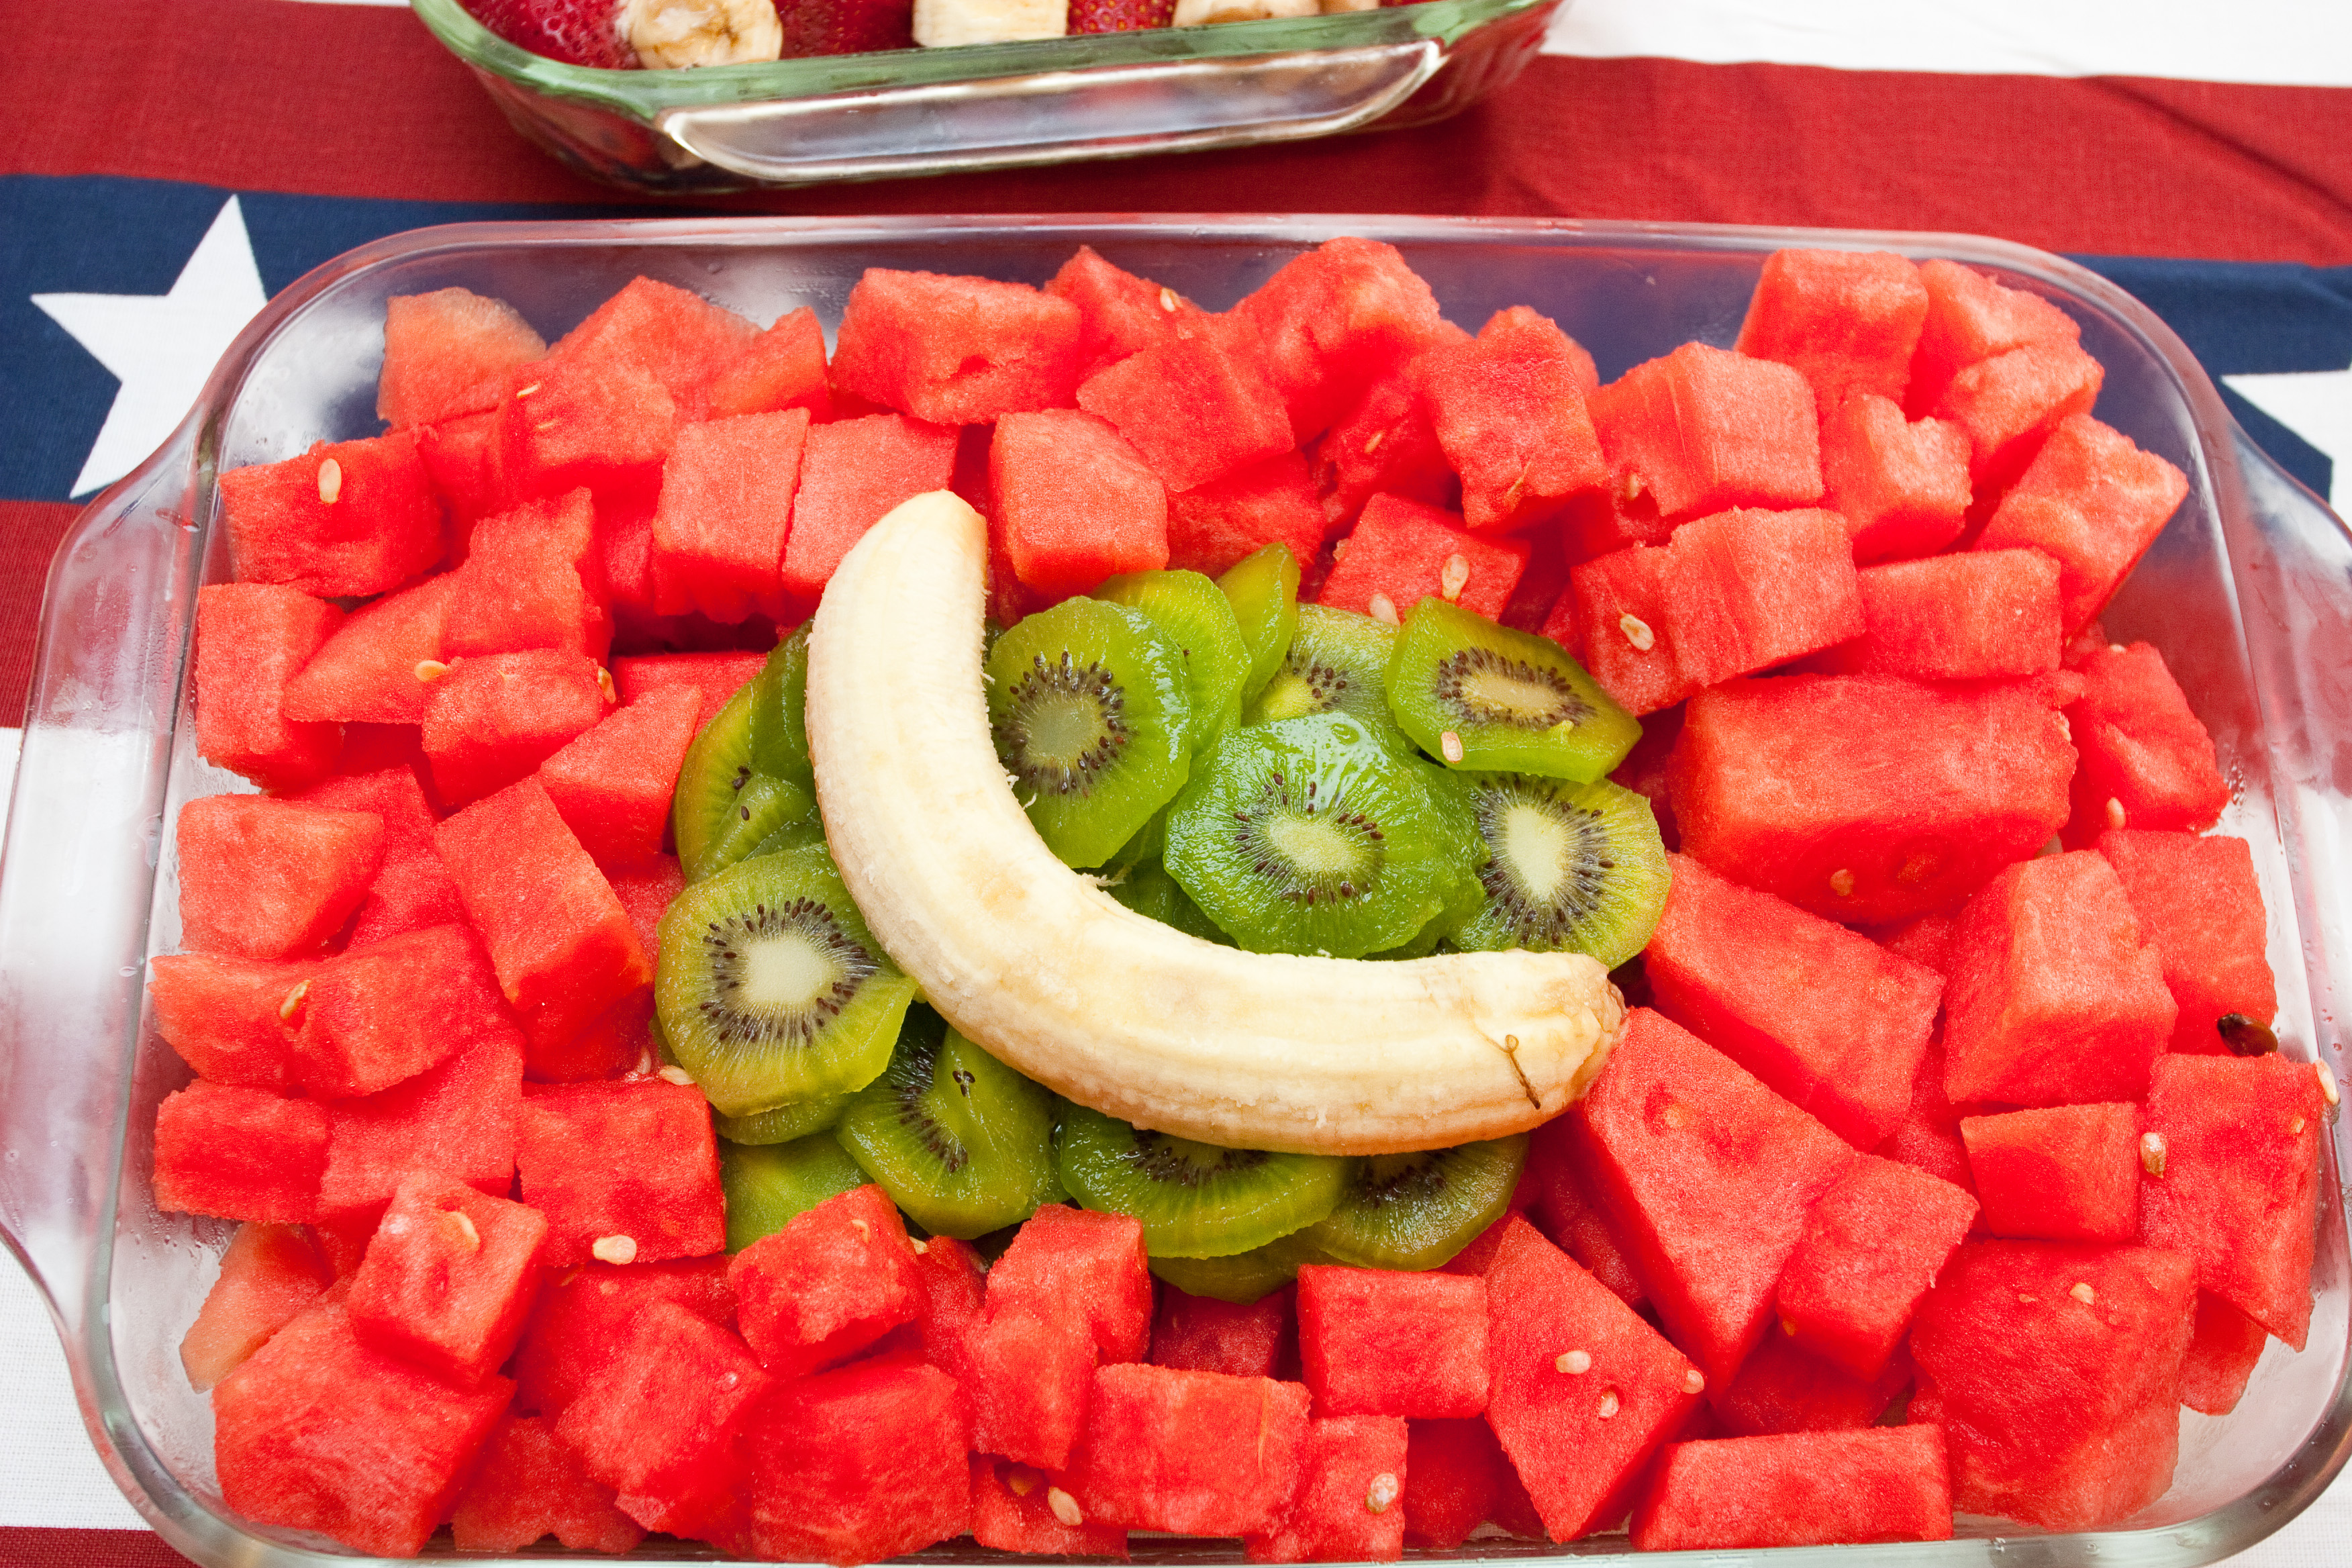
Flag of Maldives
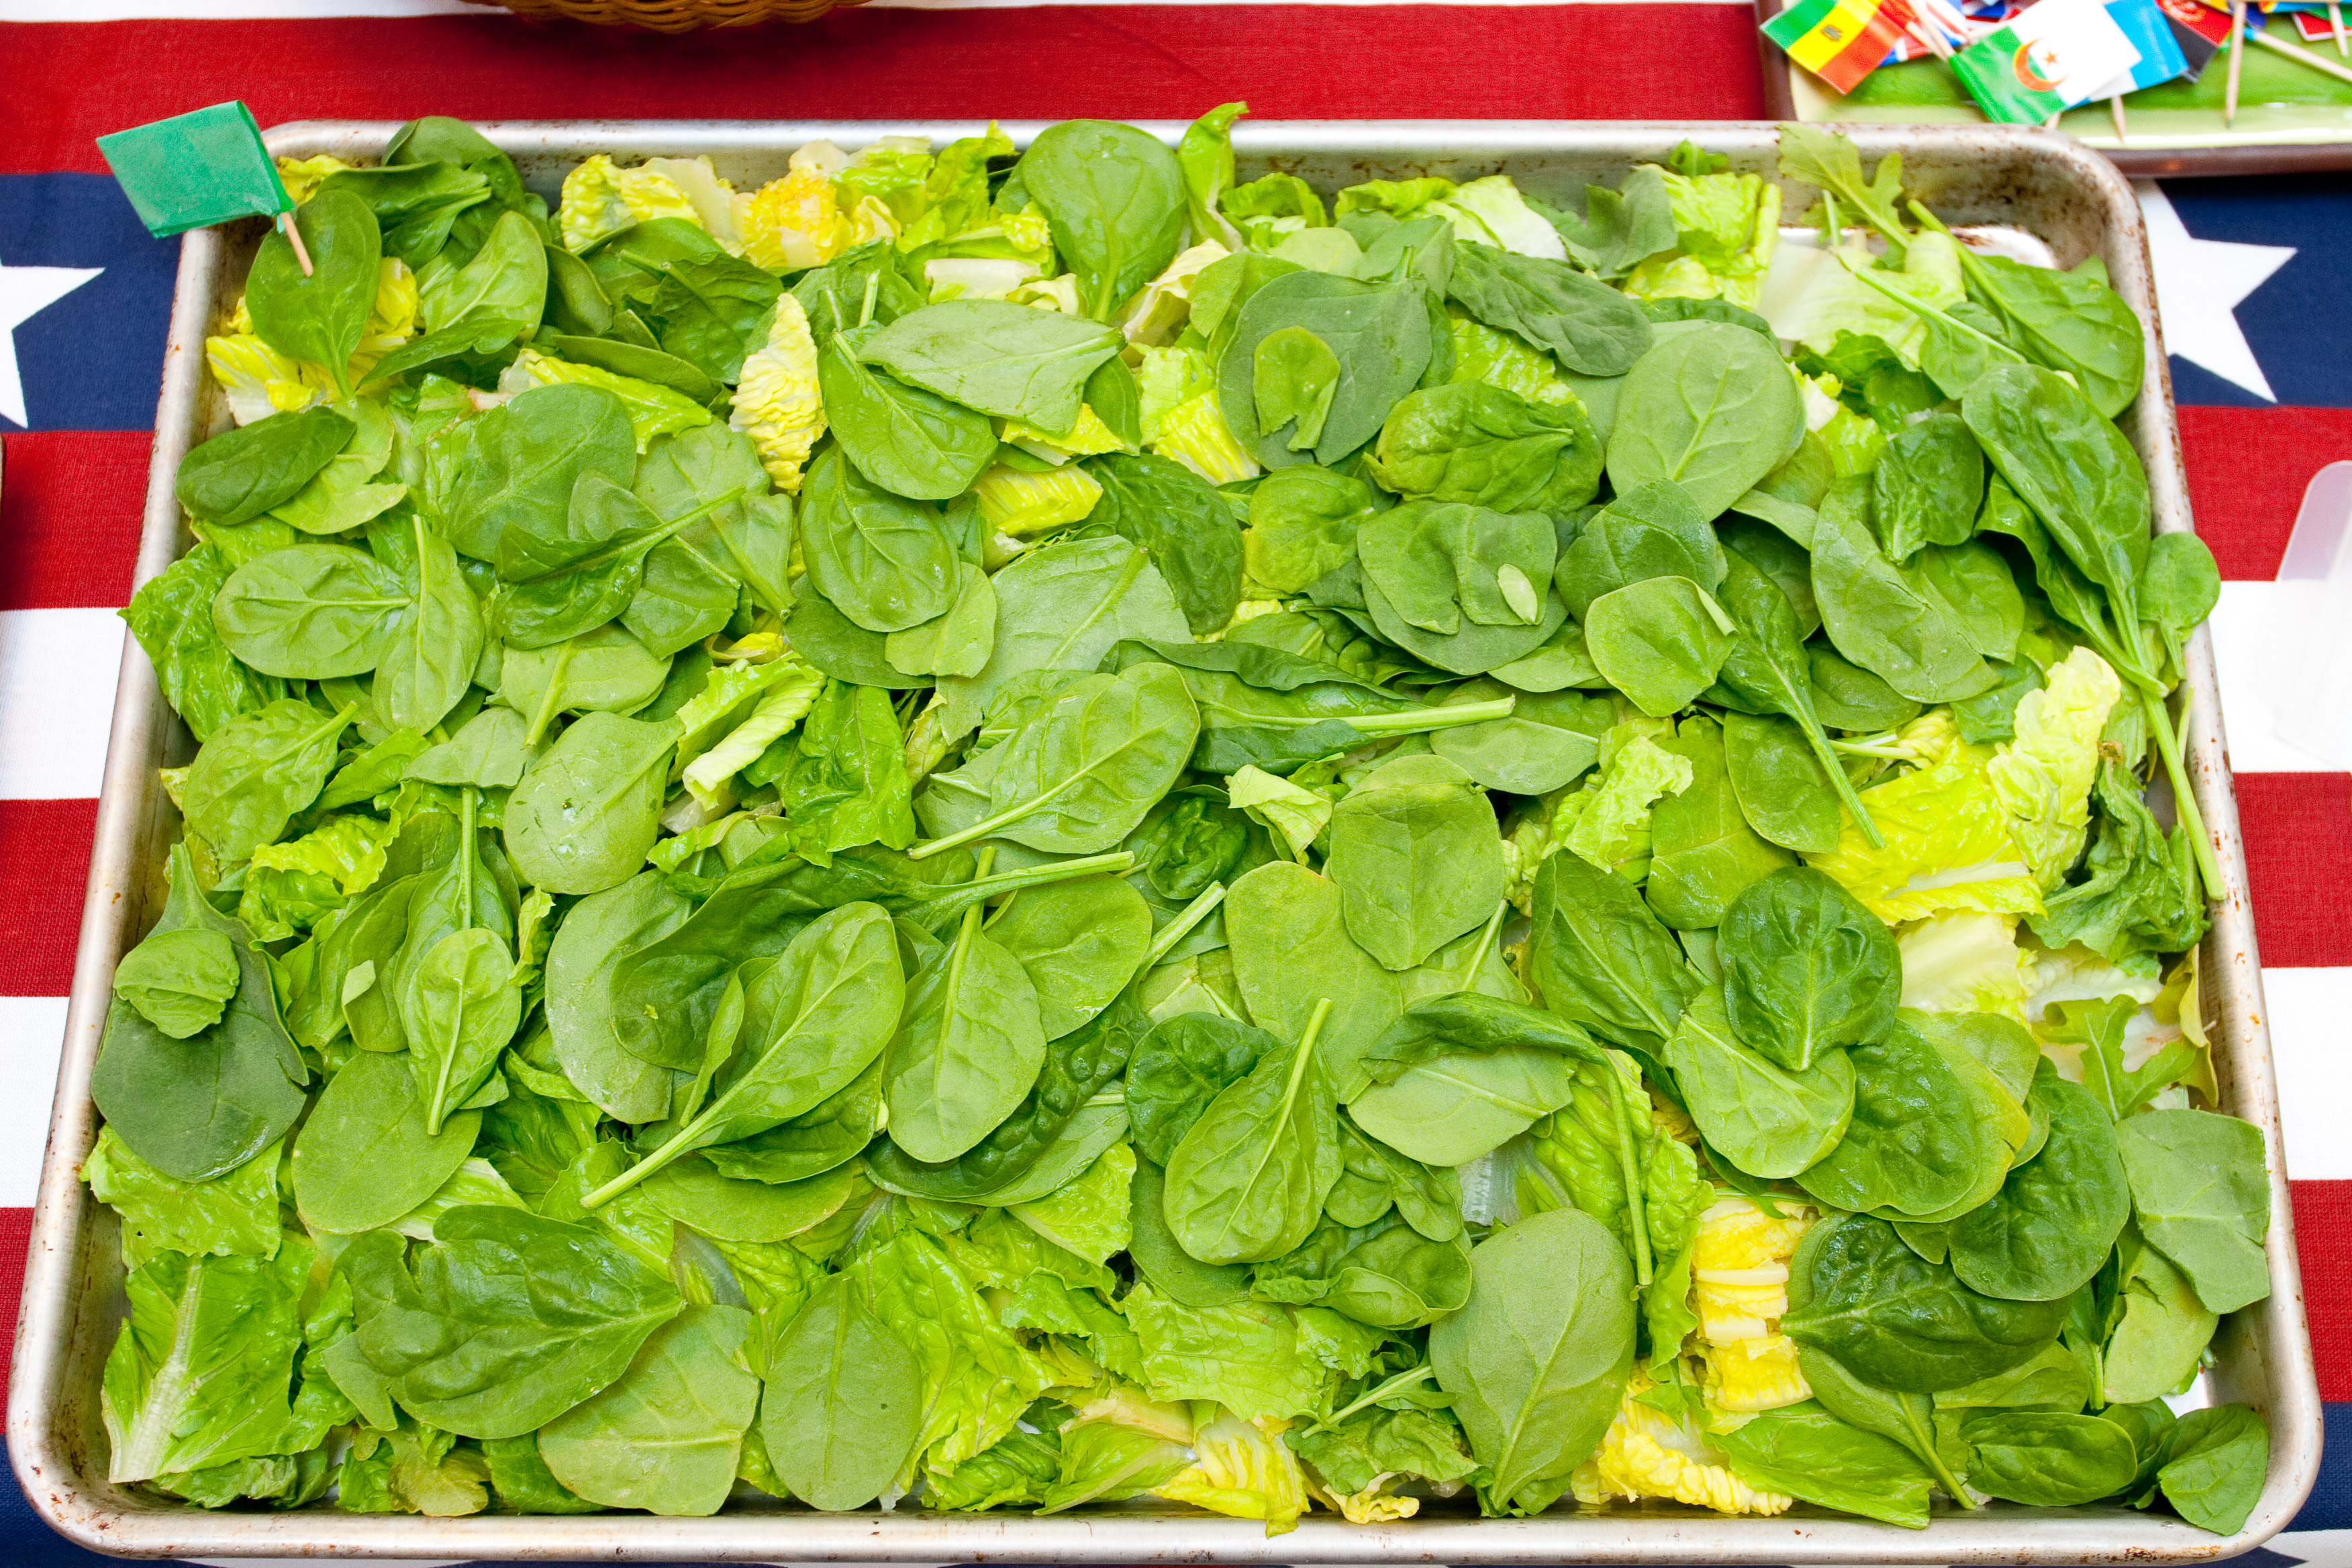
Libya Flag 1977-2011 (Qadhafi Regime)
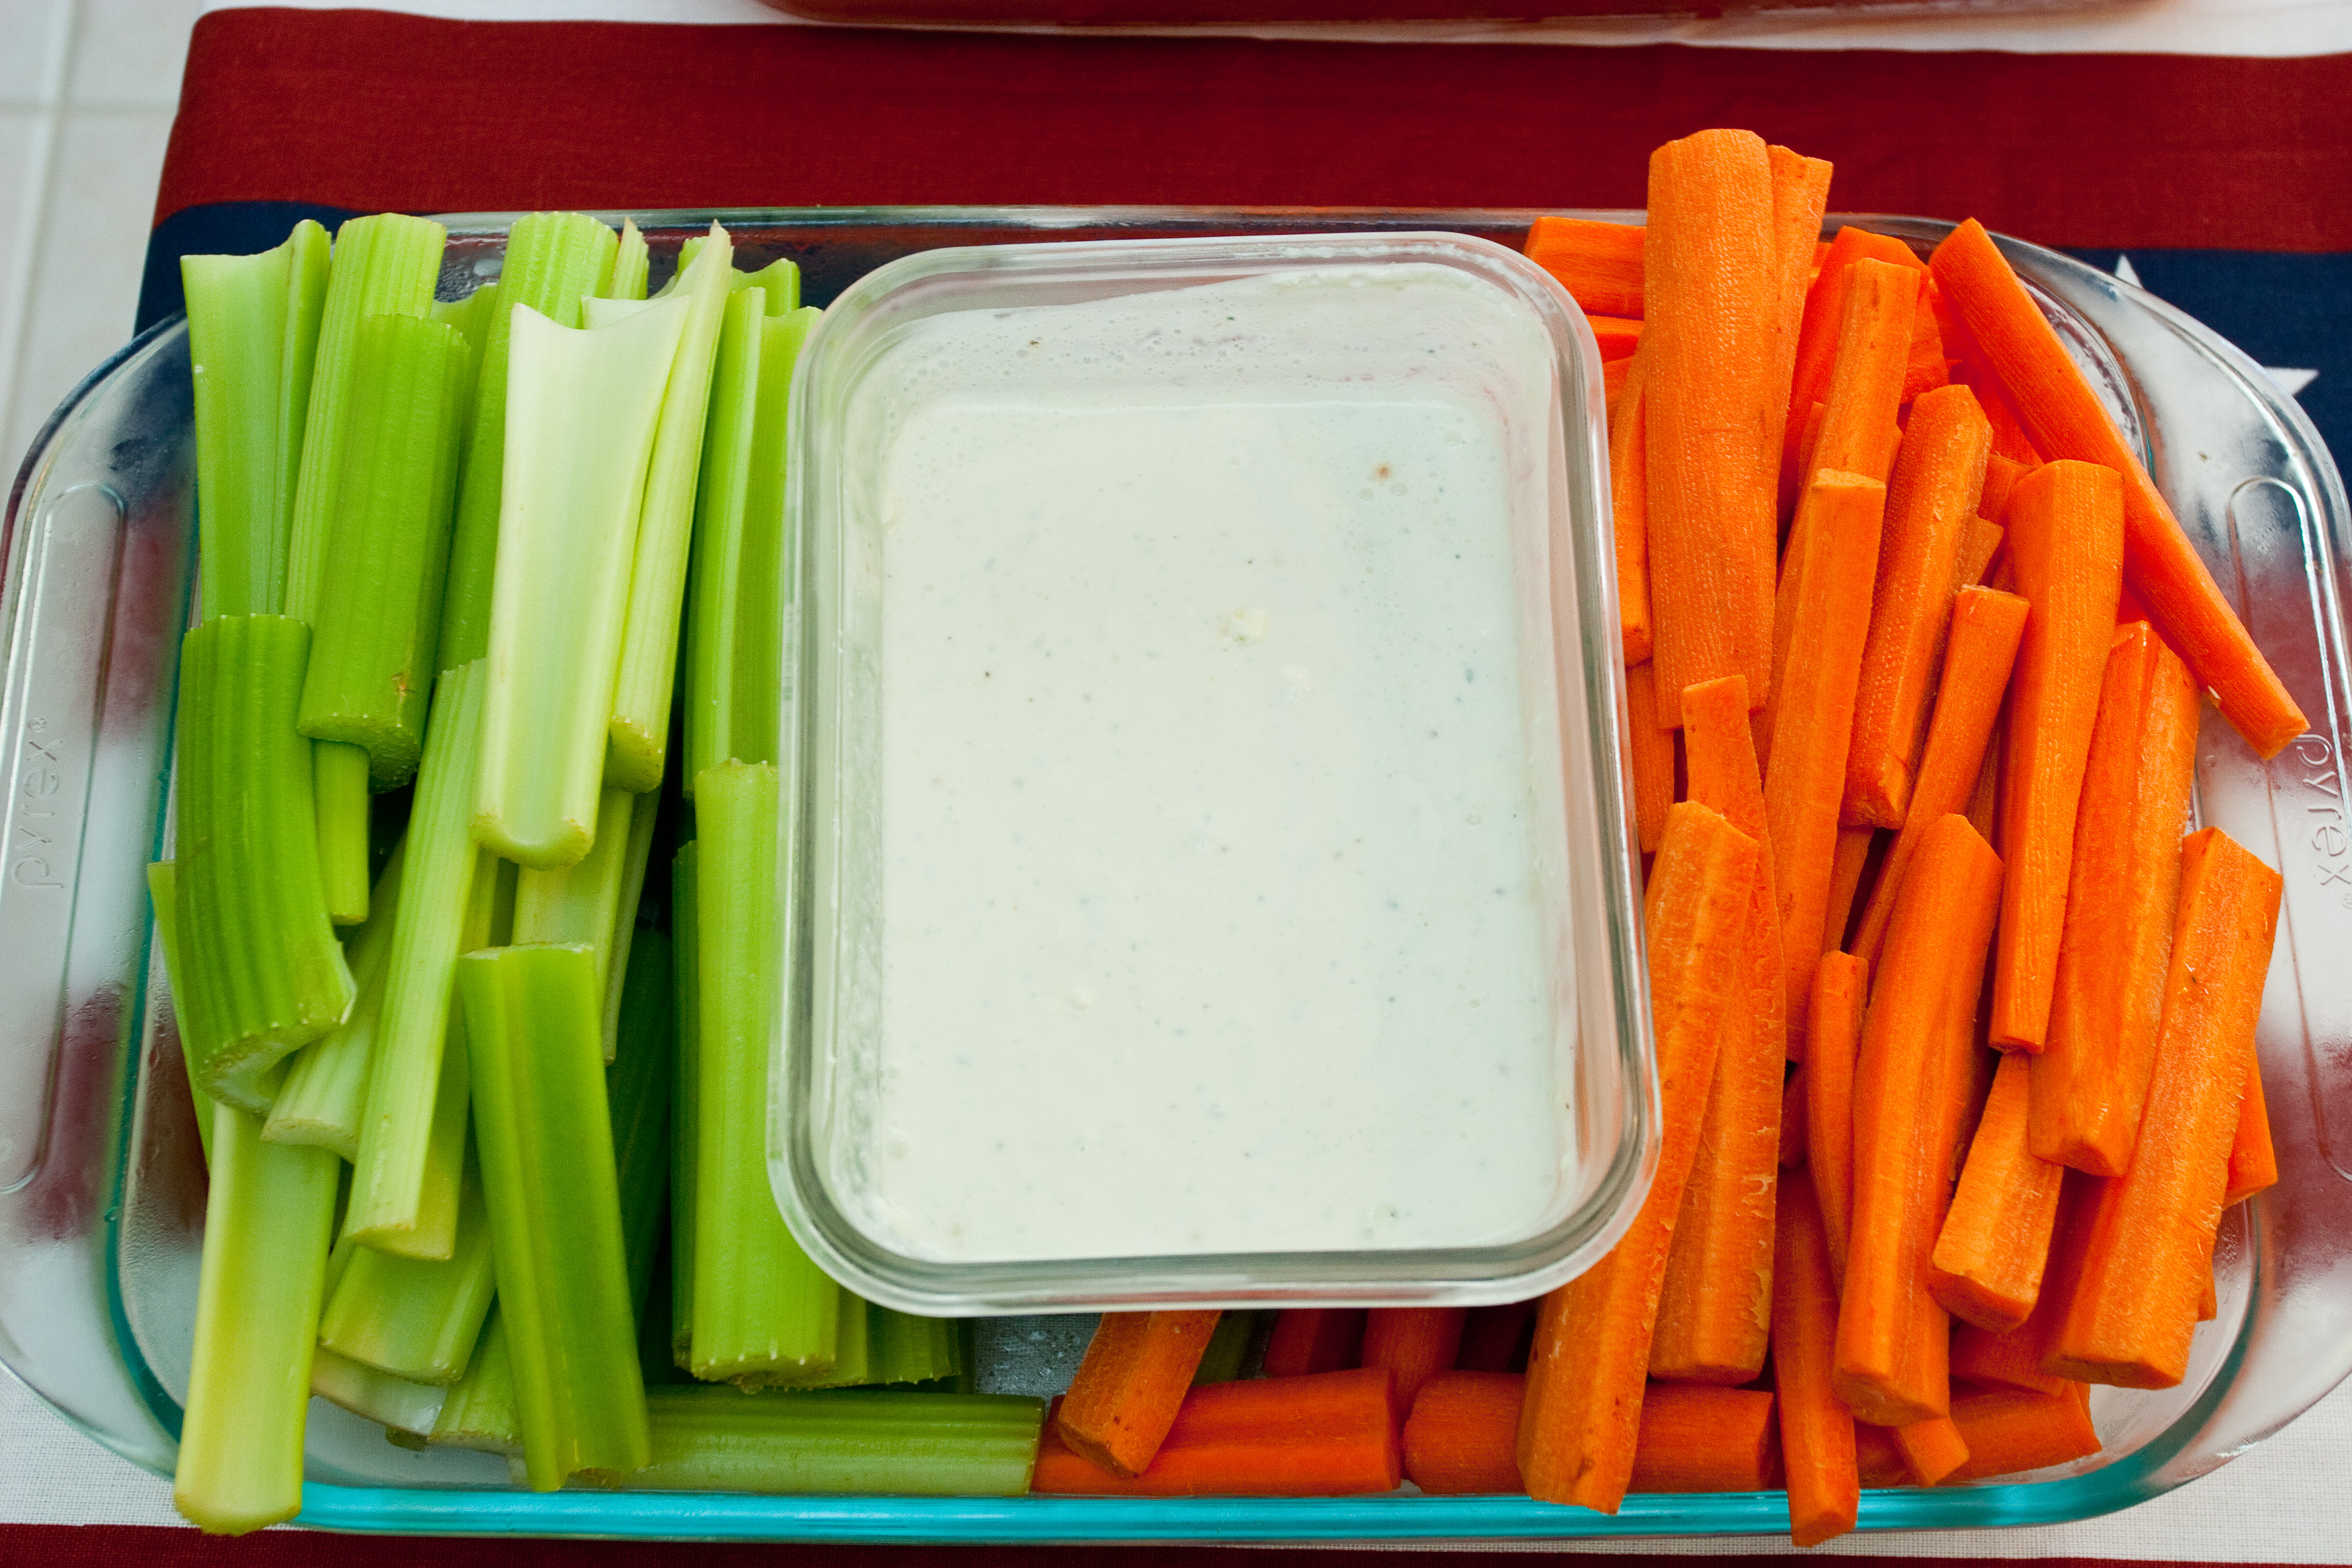
Flag of Ireland
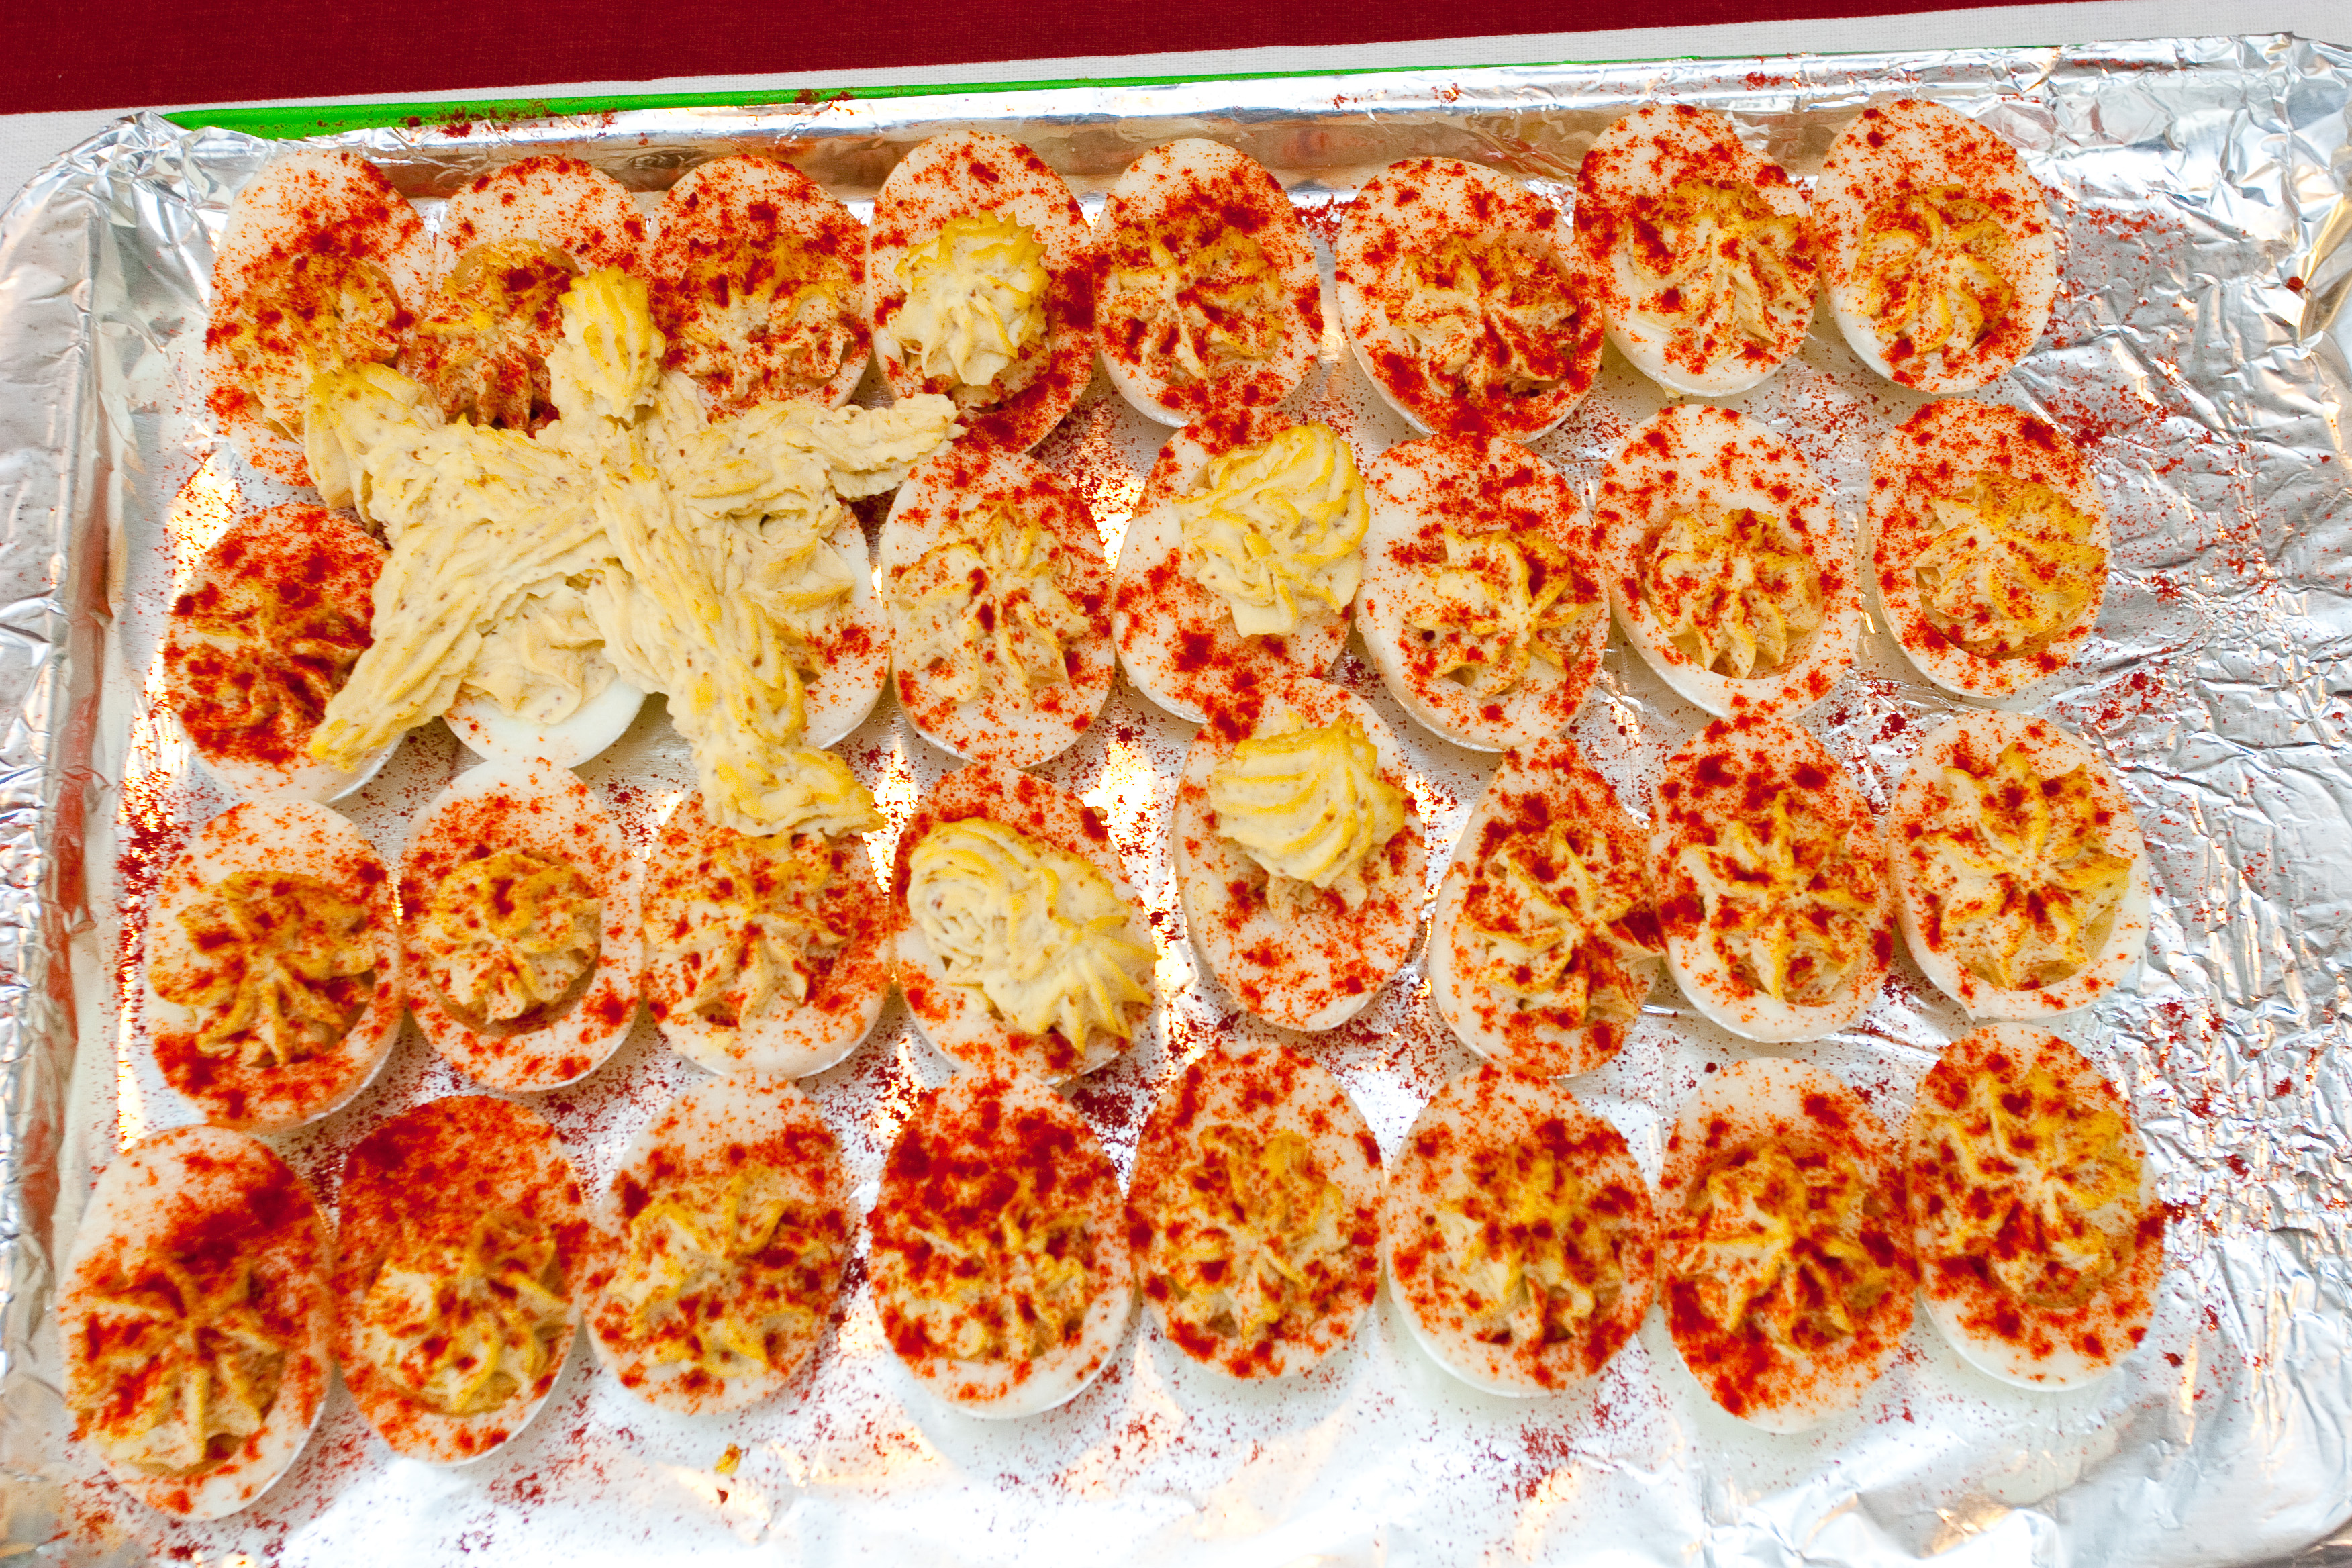
Flag of China
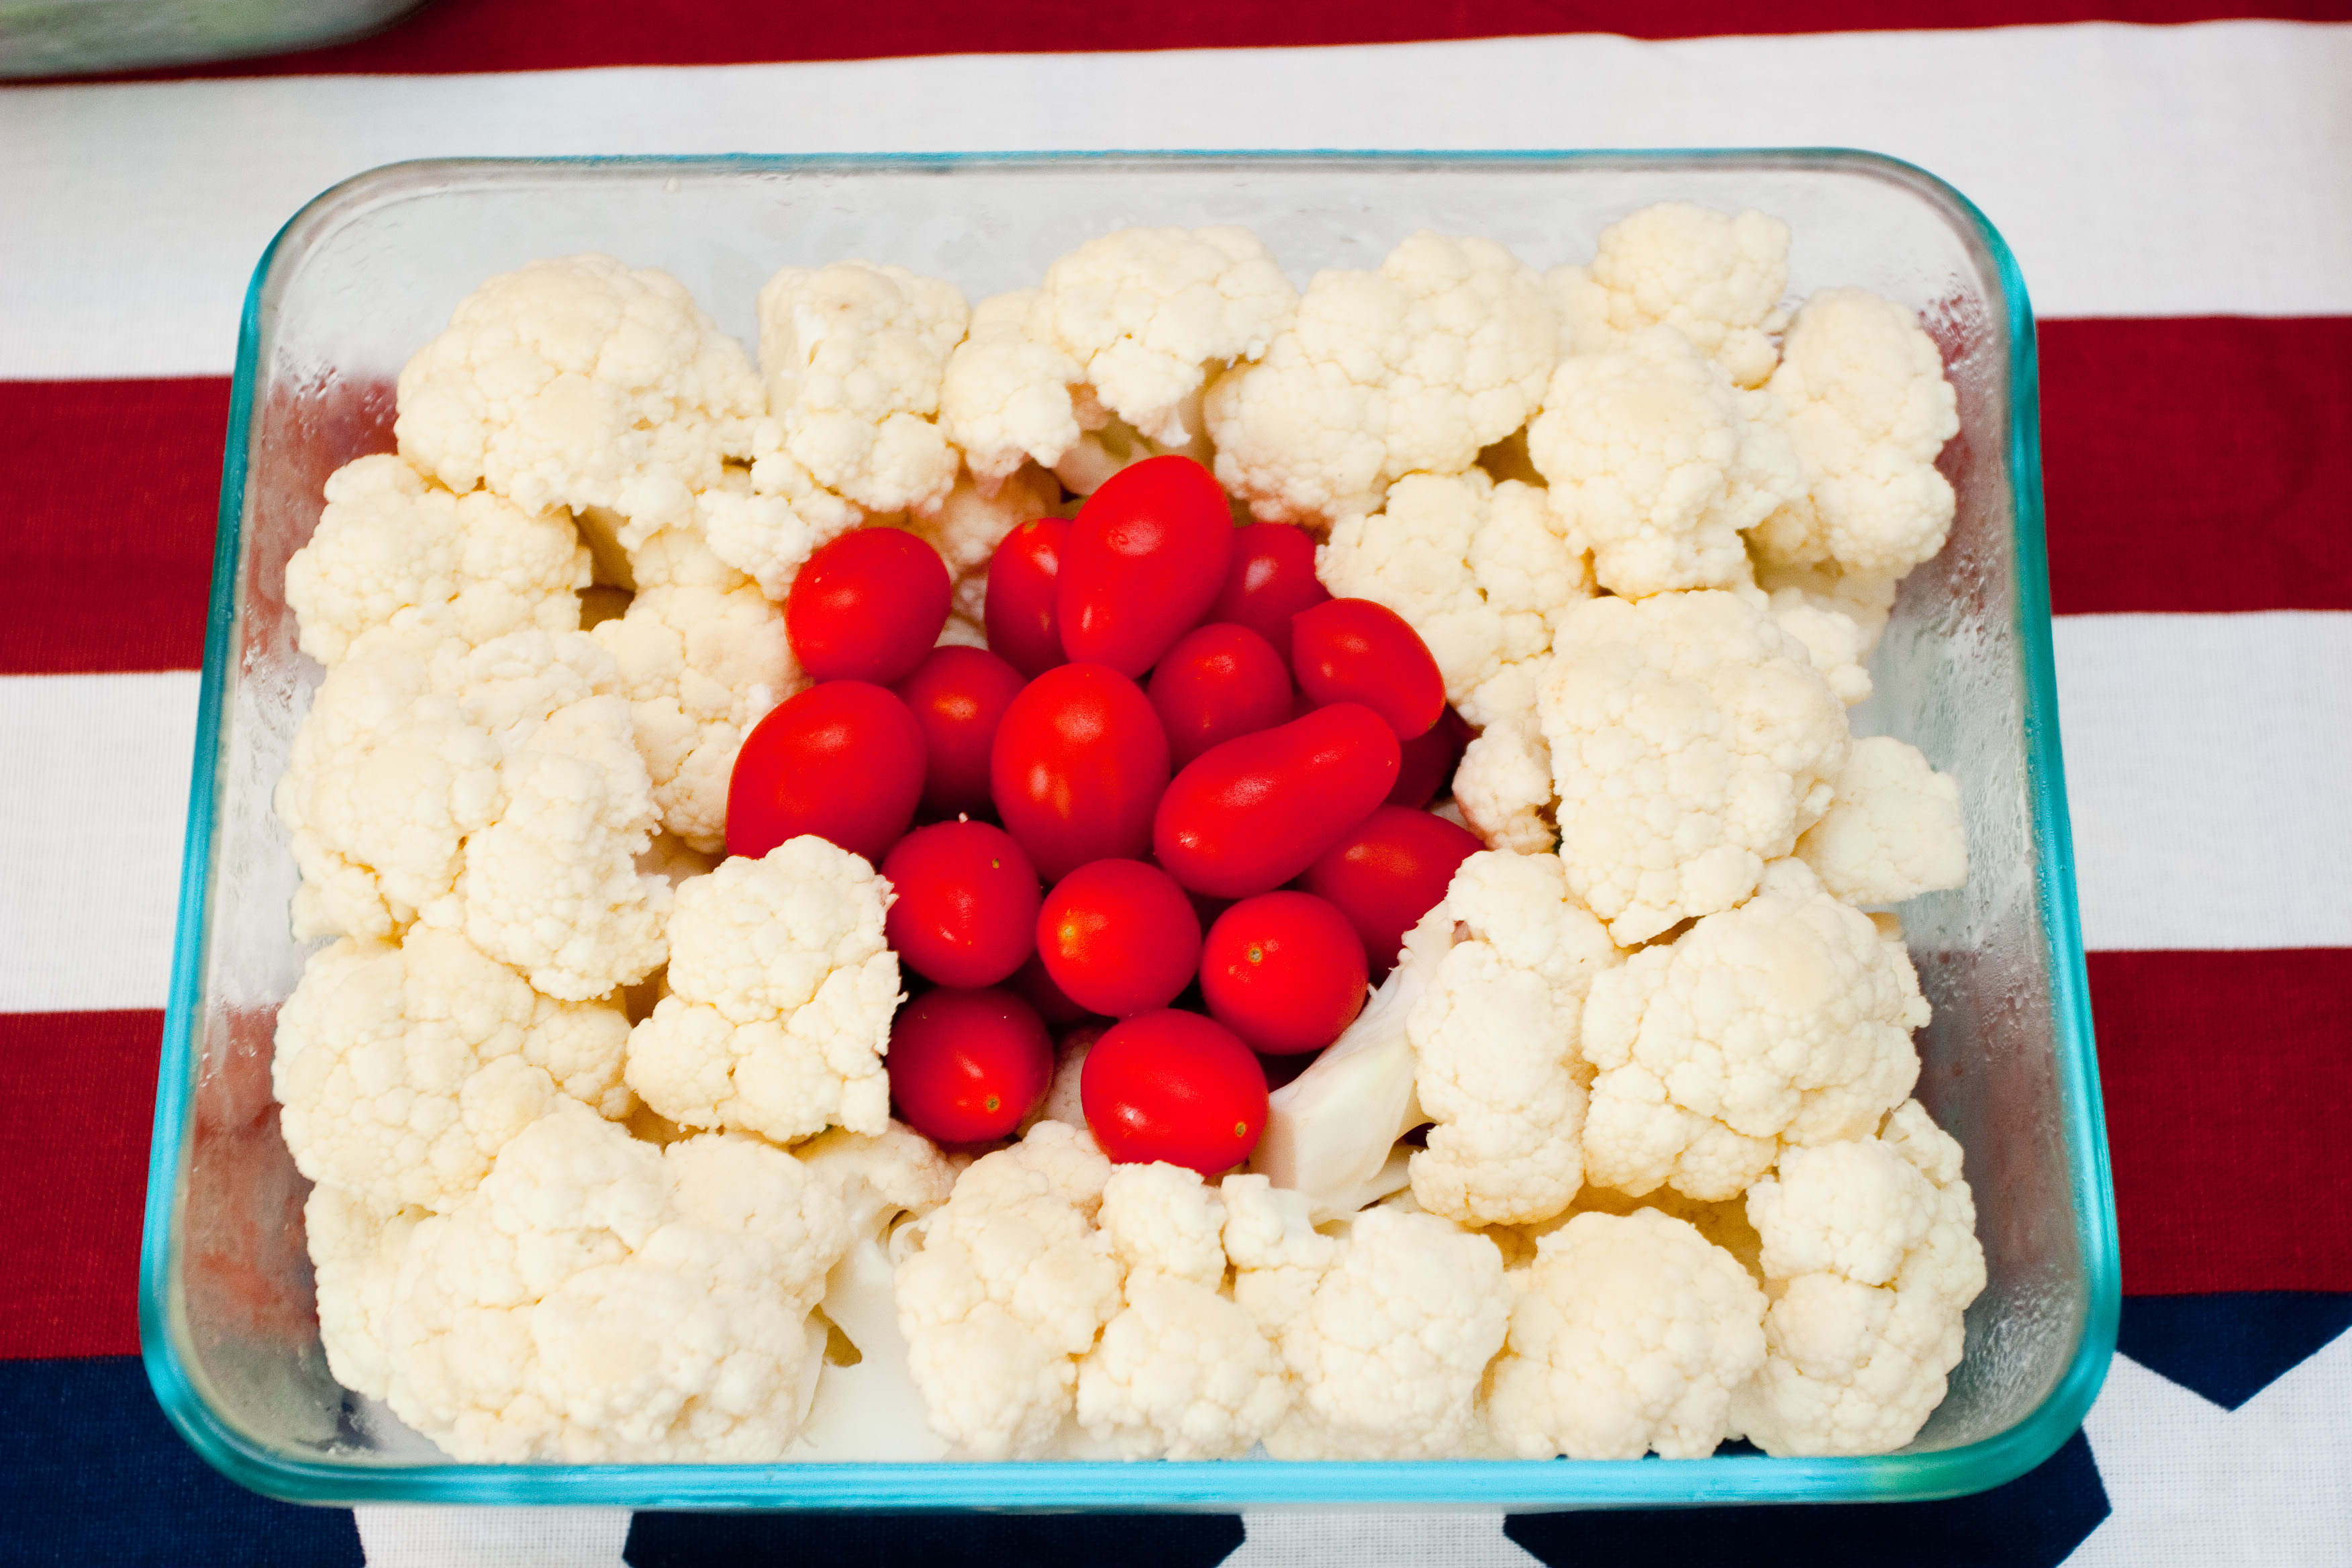
Flag of Japan
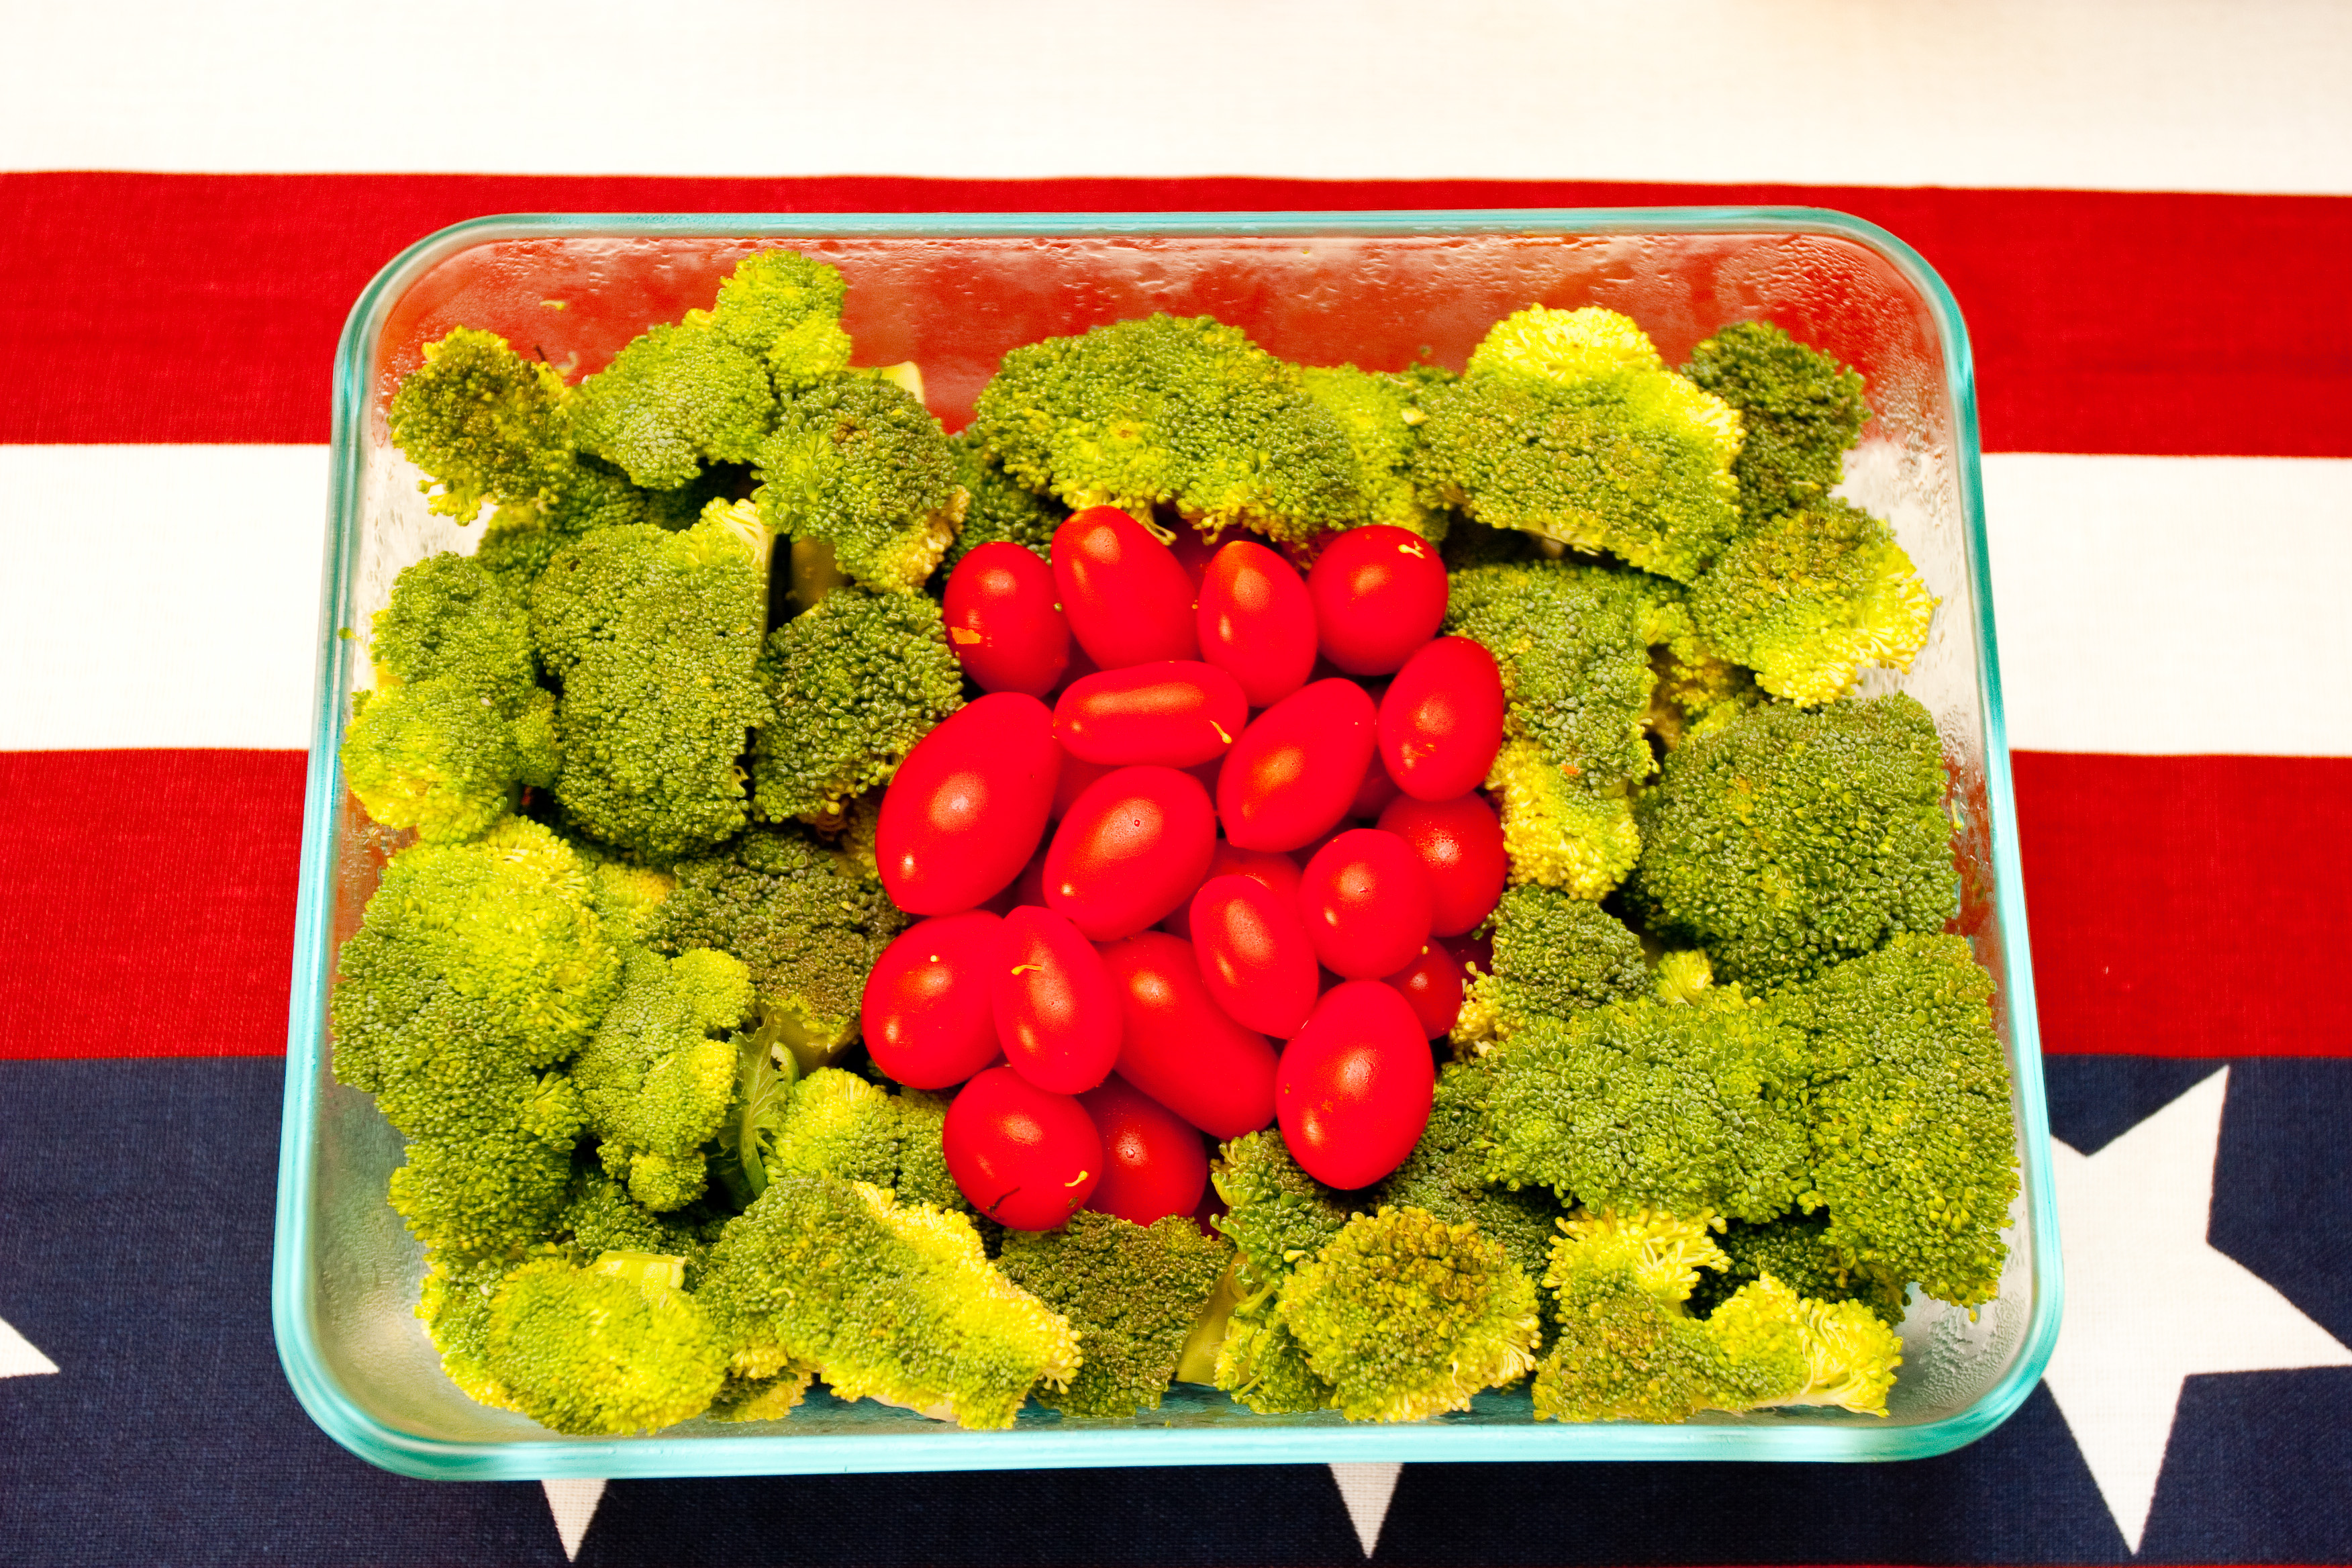
Flag of Bangladesh
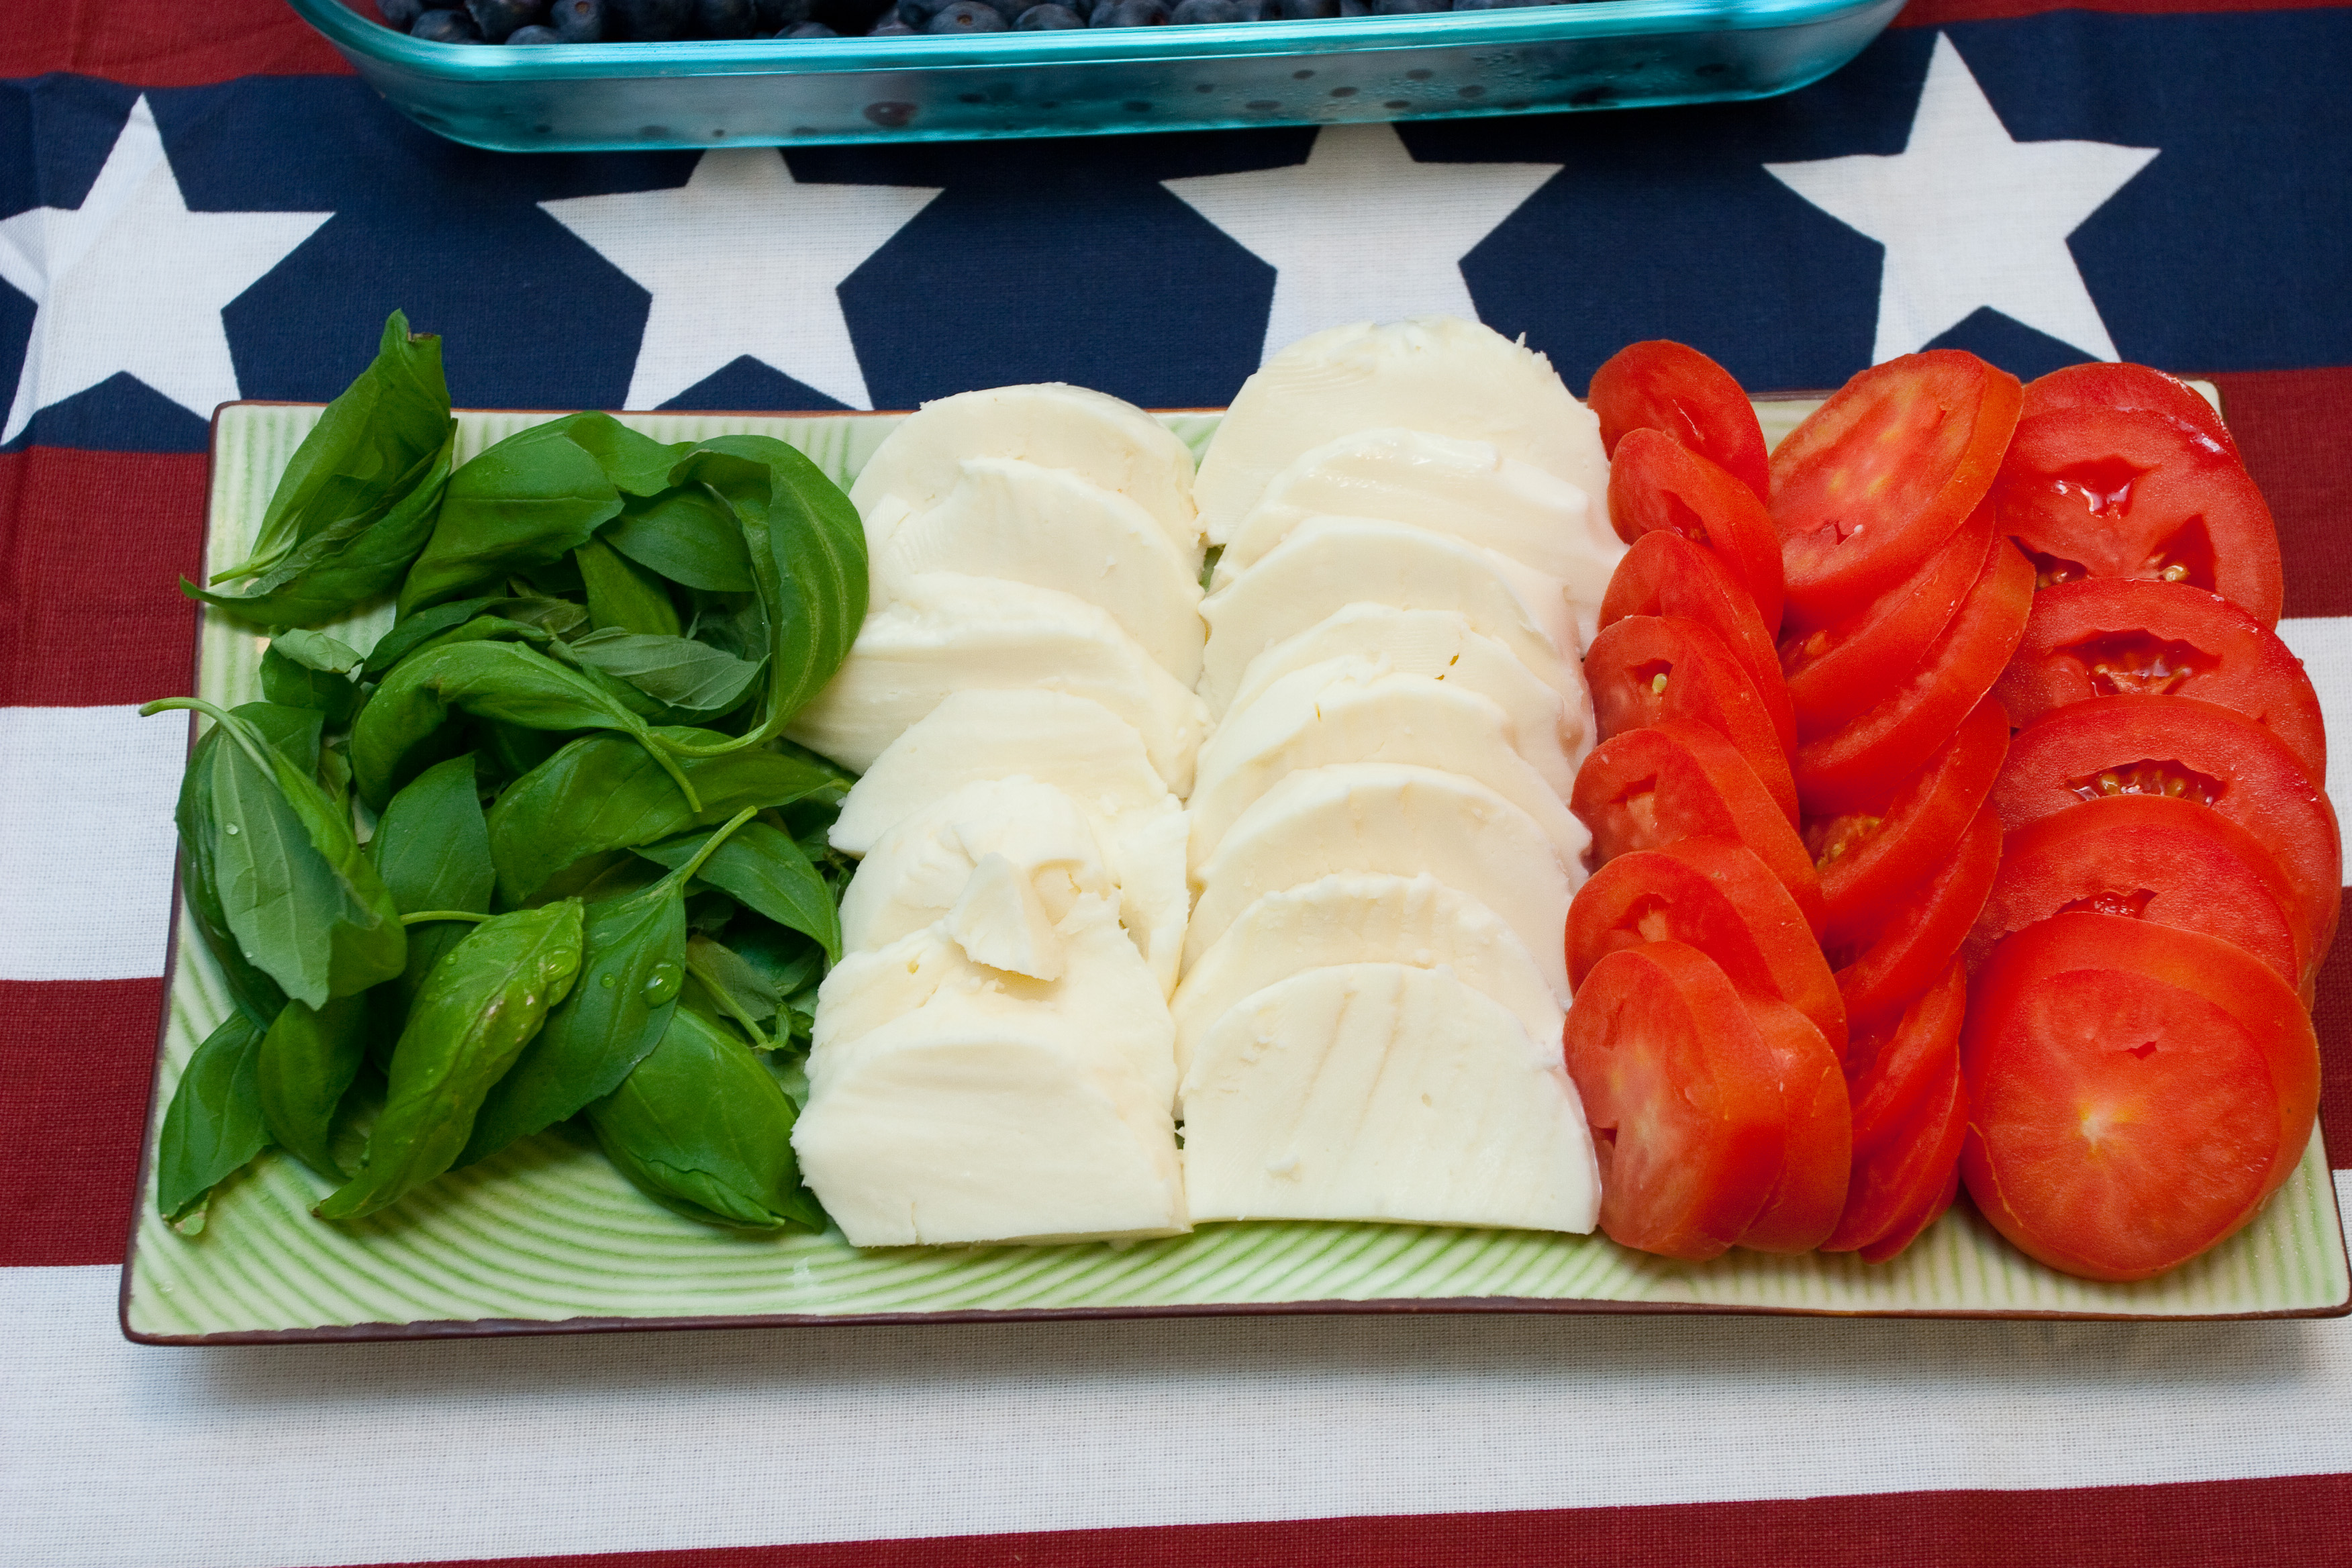
Flag of Italy
I asked my friends and family if I could borrow any rectangular platters they had to use for the party–especially any with lids. So I had plenty to work with and created FOOD ART! (Note: for the homemade blue cheese dressing in the Ireland flag, go here. For the deviled eggs recipe in the China flag, go here.)
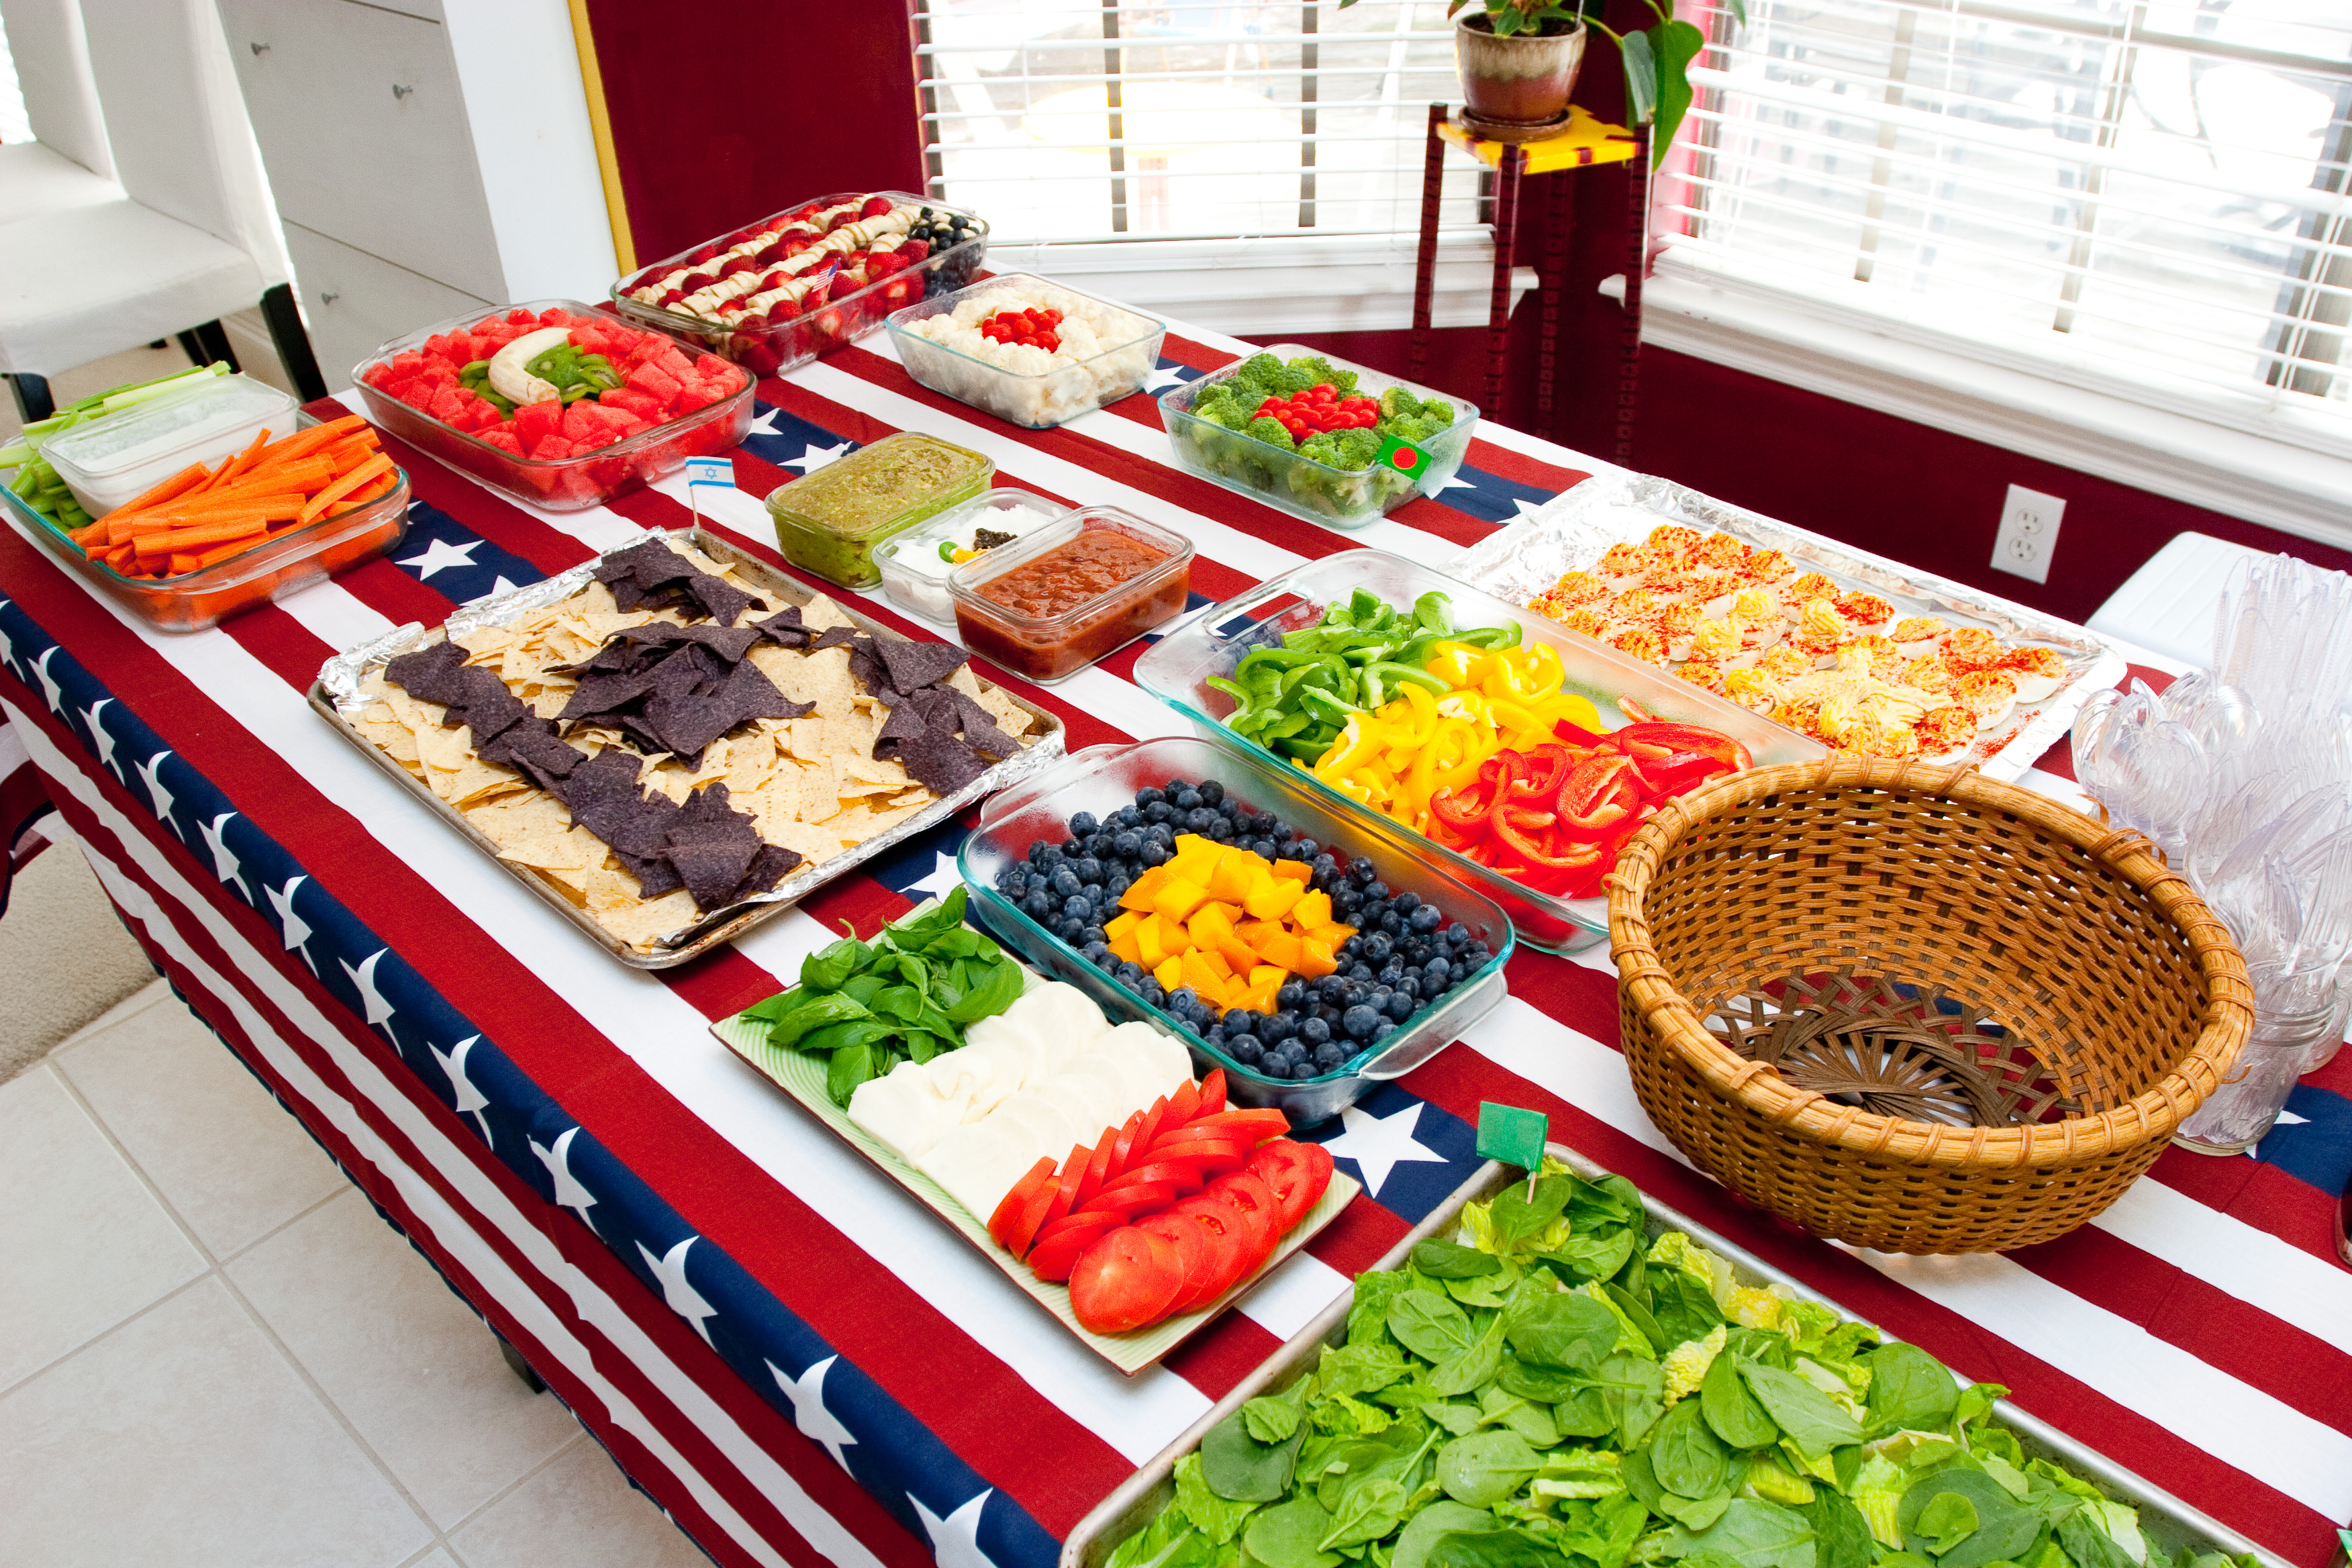
Display of Food Art
I was intrigued by Alex’s idea for a “Flag Hunt,” but I needed supplies to offer the parameters for the hunt. My first thought was to try to make the flags myself… but the realities of the space-time continuum made that plan unrealistic. I would have needed to start creating flags months ago. Instead, I checked out Oriental Trading and found a package of 15 different 6″ x 4″ flags (72 total flags in a pack… meaning 4-5 of each flag). I purchased 3 packages, so each party guest could have one of each flag. While they weren’t the best quality (plastic flags on a plastic stick), they were affordable and could serve as both the scavenger hunt bounty and the party favors.
So I took another pictorial flag book from the library, a different color stack of post-it notes, and gathered just enough info to offer some of each flag’s story as part of the scavenger hunt. While it was helpful to preview the library books (and “flag” them with post-its for easy reference), in the end I found that it was easier to copy and paste info from Wikipedia into a document (Flags Stories) rather than re-write each story.
Then, my husband and I brainstormed 15 different locations on our property (for 4, 5, 6, and 7 year olds to safely do a scavenger hunt). I put on my cheesiest poetry thinking hat and came up with a song or rhyme for each clue. (Again, I did this during a long car ride).
- Come over to play / on any old day / winter, spring, summer or fall. / In this box you’ll find / trucks, chalk, and balls. [Outside Toys Box]
- For us to move to Nassau Bay, we have to sell our house one day. This sign tells others who to call, and that there’s a pool for all y’all. [For Sale Sign]
- STOP in the name of love, before you break my heart! STOP in the car on the street if you’re driving! [STOP Sign]
- Roses are red, violets are blue, Alex is turning 6, and so are many of you. These flowers aren’t roses. These flowers aren’t violets. These flowers are petunias. And they’re in a colorful box. [Flower Box]
- On a hot, hot, hot day / You come over to play / And to try to stay cool / You jump in the pool / And if you want a toy / Whether you’re a girl or a boy / You’ll find lots of tricks / Like dive rings and sticks [Pool toy box]
- Sand in your fingers, sand in your toes. Sand in THIS yard. You know where it goes [Sandbox]
- Waterslide, waterslide everywhere. From where does the water come? Follow the hose back to the SPOUT. From THERE does the water come. [Faucet]
- The pool equipment goes whrrr, whrrr, whrrr. Whrrr, whrrr, whrrr… [Pool Pump]
- Riding along in my automobile… Who knows what my car looks like? [By the front tire of my car]
- Mary, Mary quite contrary. How does your GARDEN grow? With silver bells and cockle shells and pretty maids all in a row. Alex, Alex with your cowlicks, where does your Daddy grow: tomatoes and Brussels sprouts and veggies all in a row. [Garden]
- Flower power in a chair, flower power over there. Flower power in the sun. Flower power; just pick one. [Behind one of the painted flower chairs]
- Repeat after me: There was a tree (There was a tree). In the middle of a pot (In the middle of a pot). And in this tree (And in this tree). There was a lemon (There was a lemon). A lemon on the tree, and the tree in the pot, and the pot on the rocks… [Potted Lemon Tree]
- Ding-Dong the witch is dead! Witch old witch; the wicked witch! Ding-Dong the Wicked Witch is Dead! DING-DONG! Bell out of order; please knock! [Doorbell]
- Winnie the Pooh, Winnie the Pooh. Tubby little tummy all stuffed with fluff, he’s Winnie the Pooh, Winnie the Pooh, willie, silly, nillie old bear. Winnie the Pooh went to the six tall pines, but in our yard we only have one tall pine. The next clue can be found there. [Pine tree]
- Oh, say can you see at the dawn’s early light… I pledge allegiance to the flag… Which flag are these referencing??? The final bag can be found near an American flag. [USA Flag Decoration in Back Yard]
The clues really had nothing to do with flags themselves… they just brought the kids from place to place. At the start of the scavenger hunt, I passed around “Flag Bags.”
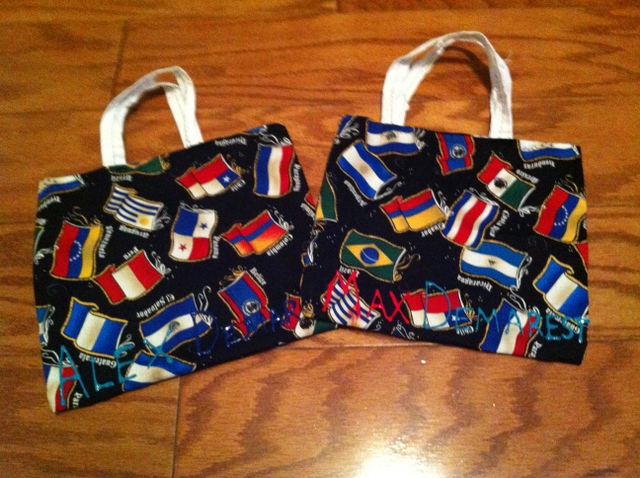
Flag Bags used for Party Favors
I got 2 yards of the only “flag” fabric I could find at JoAnn’s, and sewed very basic bags. I’m not really one for measurements or pinning in my primitive sewing skills… I basically folded the fabric to make sure I’d have enough bags for everyone. Then I cut, sewed a seam at the top, and stitched down each side. I would’ve used ribbons for the handles, but years ago my Mother-in-Law had sewn “ties” for a project my husband was working on, and I had a bunch leftover… I thought they made perfect handles for each bag. Then, in the kids’ summer camp art supply section, I found very inexpensive fabric puff paints, with which I painted each guest’s name. The Flag Bags were ultimately the kids party favor bags (reusable), included a couple of pencils from Oriental Trading.
At each location, they’d find a ziplock bag with a different country’s flag. While the flags were passed around to each guest, I read a short blurb about each flag’s story. To make it easier on myself, I had cut the Flags Stories document up into blurbs and stuck each into the corresponding ziplock bag of flags.
At the end of the scavenger hunt, the kids went back to swimming. (If we didn’t have the pool, I probably would have done a few more activities, like having the kids make their own flag… but I find kids are content to swim and play!) I encouraged the parents at the party to remind the kids about their flags when they watch the Summer Olympics, starting July 27.
In addition to the flag platters, for decorations, I purchased a couple of international flag banners (which are no longer available) from Oriental Trading.

I also decided to finally follow through on a gift idea for Alex. At Christmas, my parents bought him an assortment of 100 4″x6″ international flags from Miniature Flag Shop. He wanted to be able to put the flags “on the map where they go.” So 7 months later I used the birthday-gift/party-decoration as motivation. I found a 2’x3′ world map poster from Michael’s for $12.99 (and used a 40% off coupon, of course).
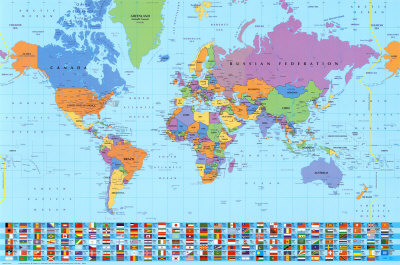
Then at Lowe’s, I found a piece of 3/4 inch thick pine board that was the exact size I needed (2’x3′) for about $16. I could’ve gotten plywood and cut/sanded myself for less money, but I was happy to save time, effort, and energy there. Rather than using the real Mod Podge, I mixed up a homemade version with 50-50 glue and water and decopodged the poster to the board. After it dried, I used the thickest nail I could find in our garage and “started” the flag holes on the countries. Then, I gently drilled 1/4″ holes around the map. I didn’t quite get all the countries, but I did focus on Alex’s favorites.

For the cake, I baked two 8″ rounds and decorated them as the two sides of a globe map. When it came to the miniature international toothpick flags, I let Alex insert the bulk of them.
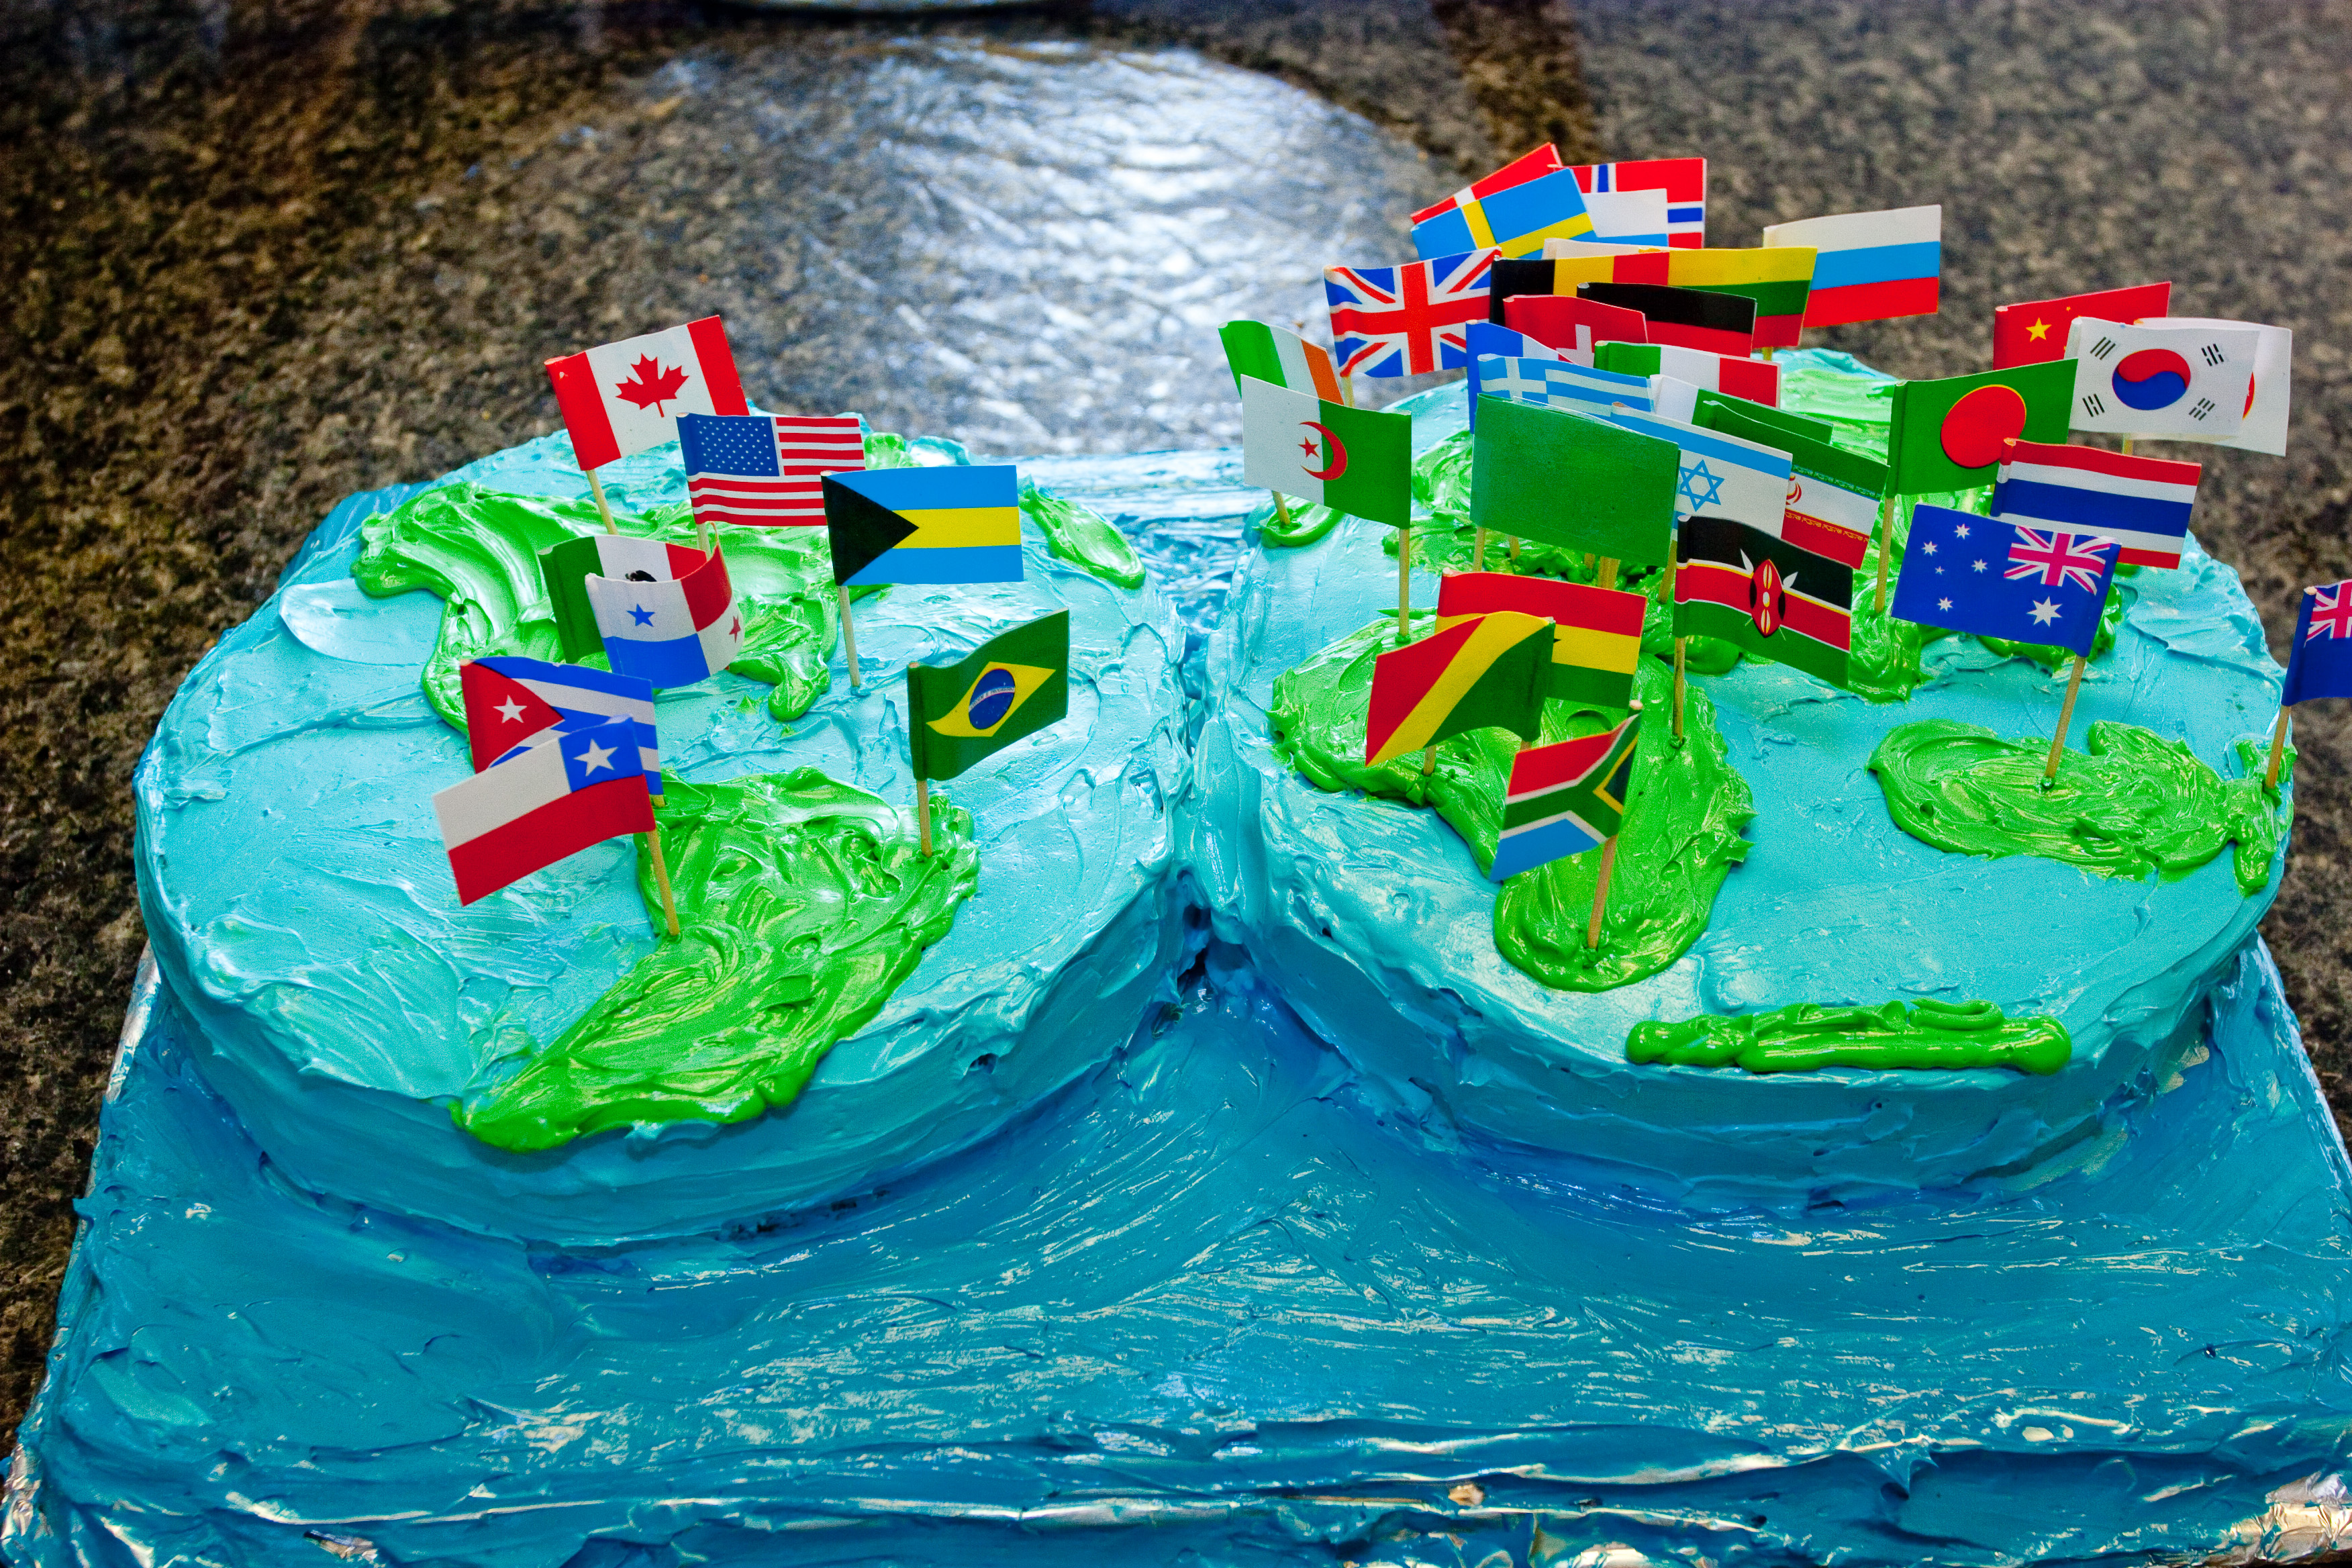
Globe Cake with Toothpick Flags
I made one yellow cake (on the left with Europe, Asia, Africa etc) and one gluten free, dairy free chocolate cake (on the right with North and South America). I used America’s Test Kitchen yellow cake and buttercream icing recipes because they are phenomenal – tasty and (relatively) easy to follow directions. The gf/df cake recipe comes from Hip2Save. My kids and I LOVE this recipe because it tastes FANTASTIC! It doesn’t use any “fake” flours or flour substitutes. Since none of us have an issue with butter, I used the buttercream icing on everything.
I was pretty pleased with how it all turned out! It was fun, functional, tasty, and healthy.
“The national flags all over the world © Depositphotos.com/Alan”




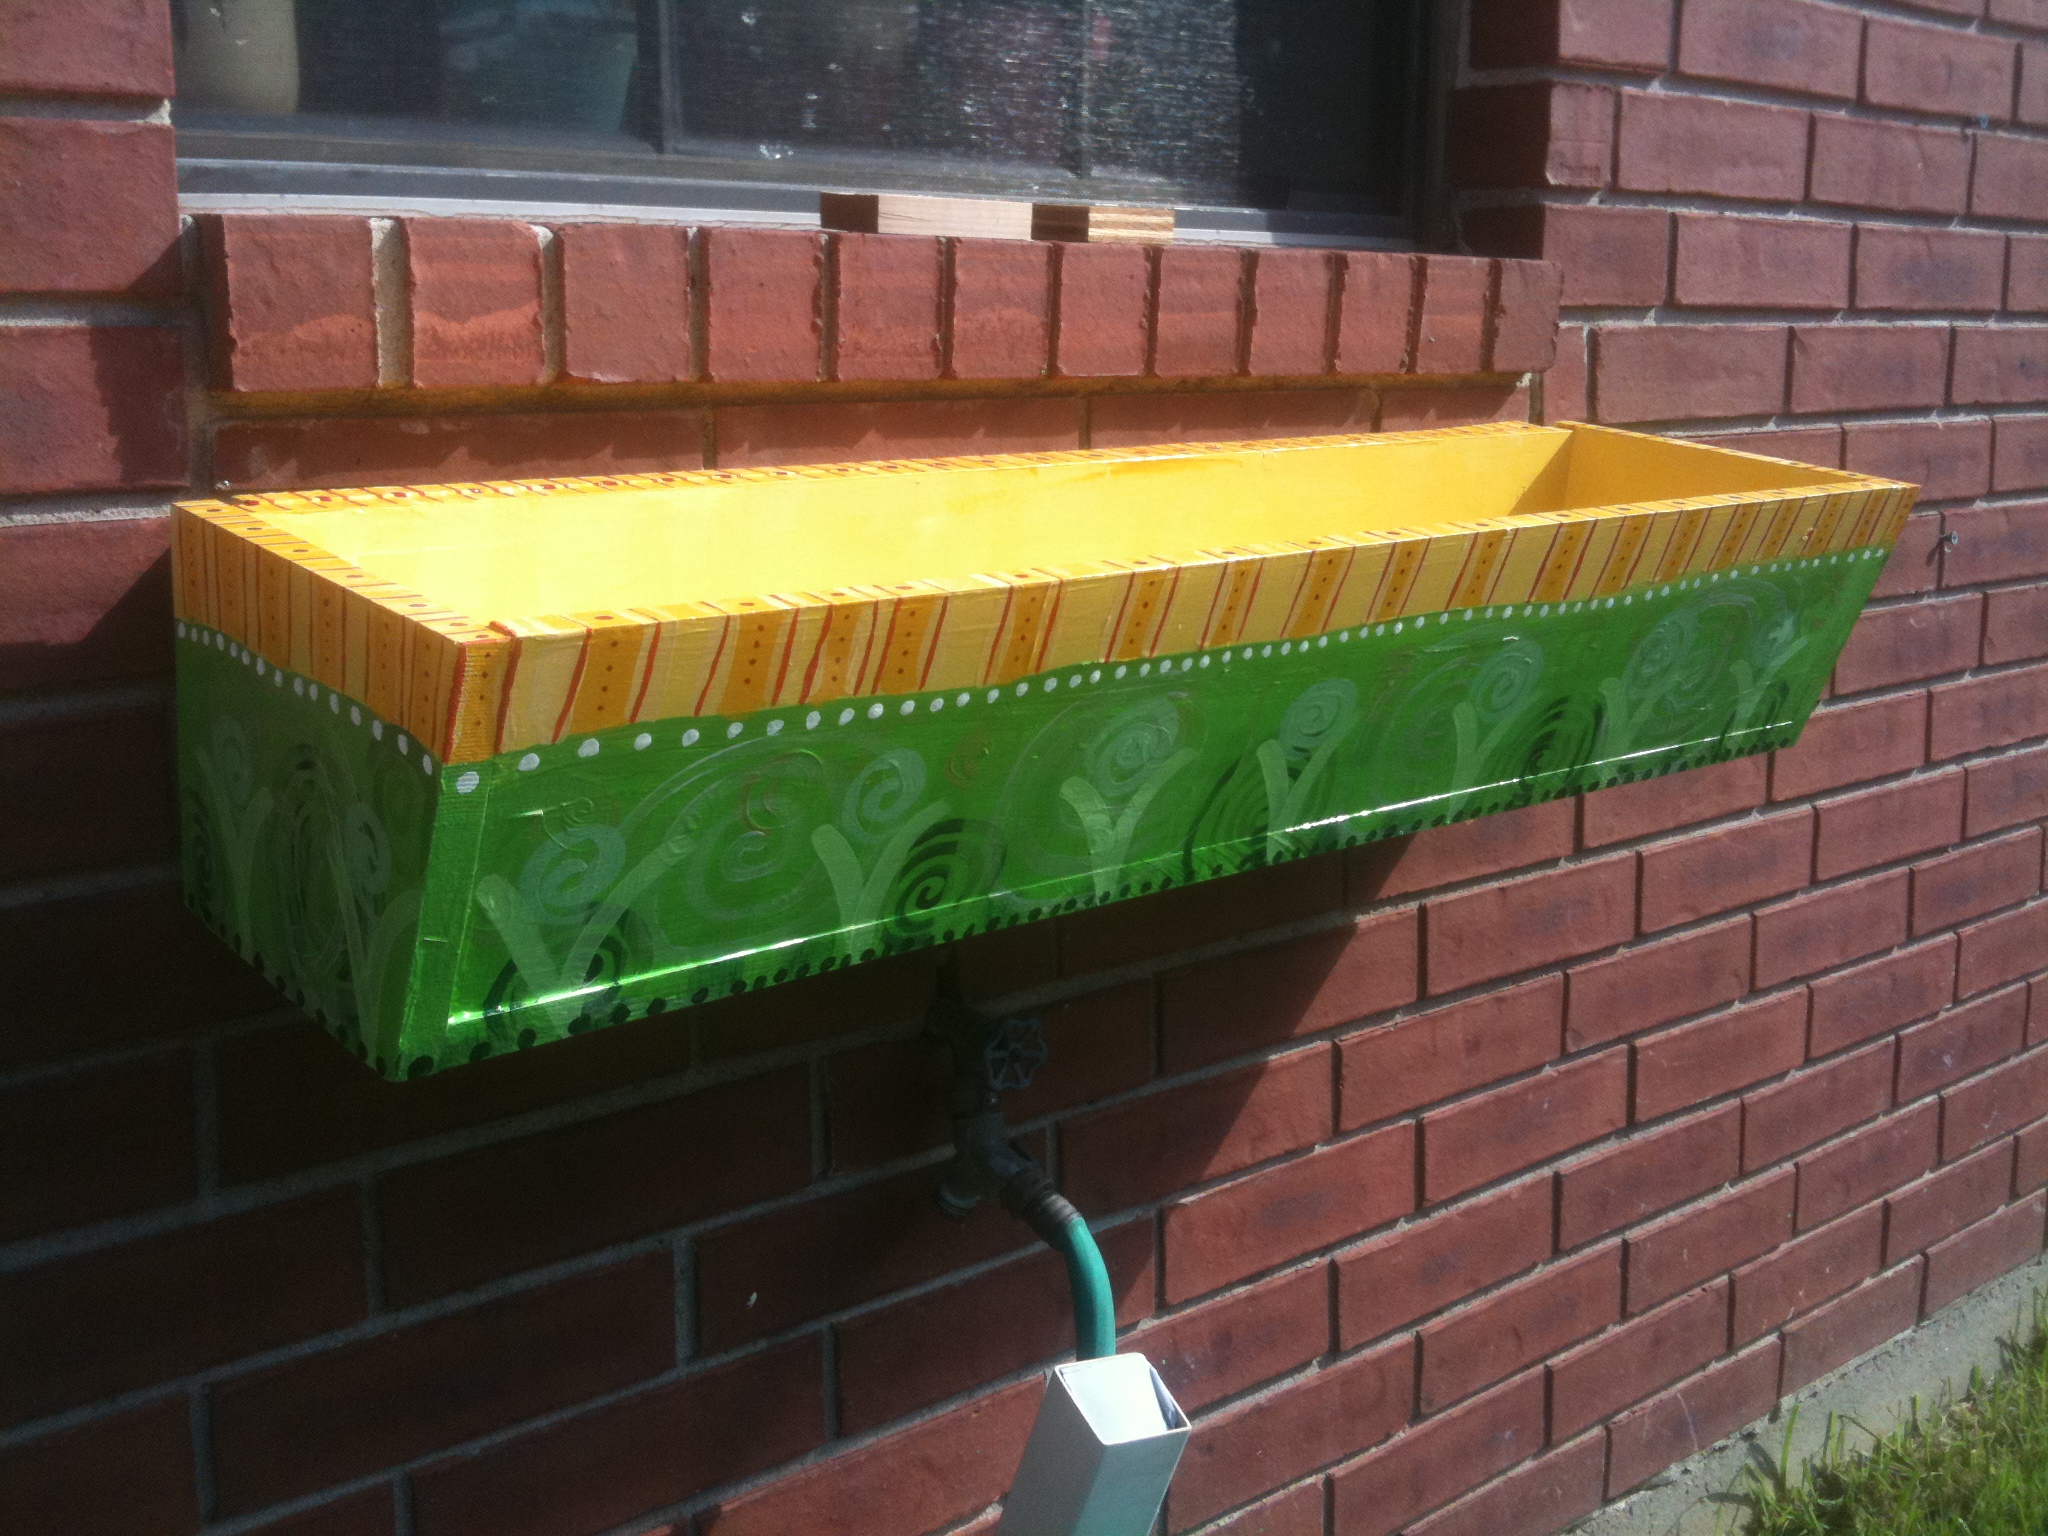 Flower Box – I casually mentioned that I would love a flower box outside of my kitchen window. A few months later, my engineer built me one out of scrap wood in the garage, and I painted it in some of my favorite colors.
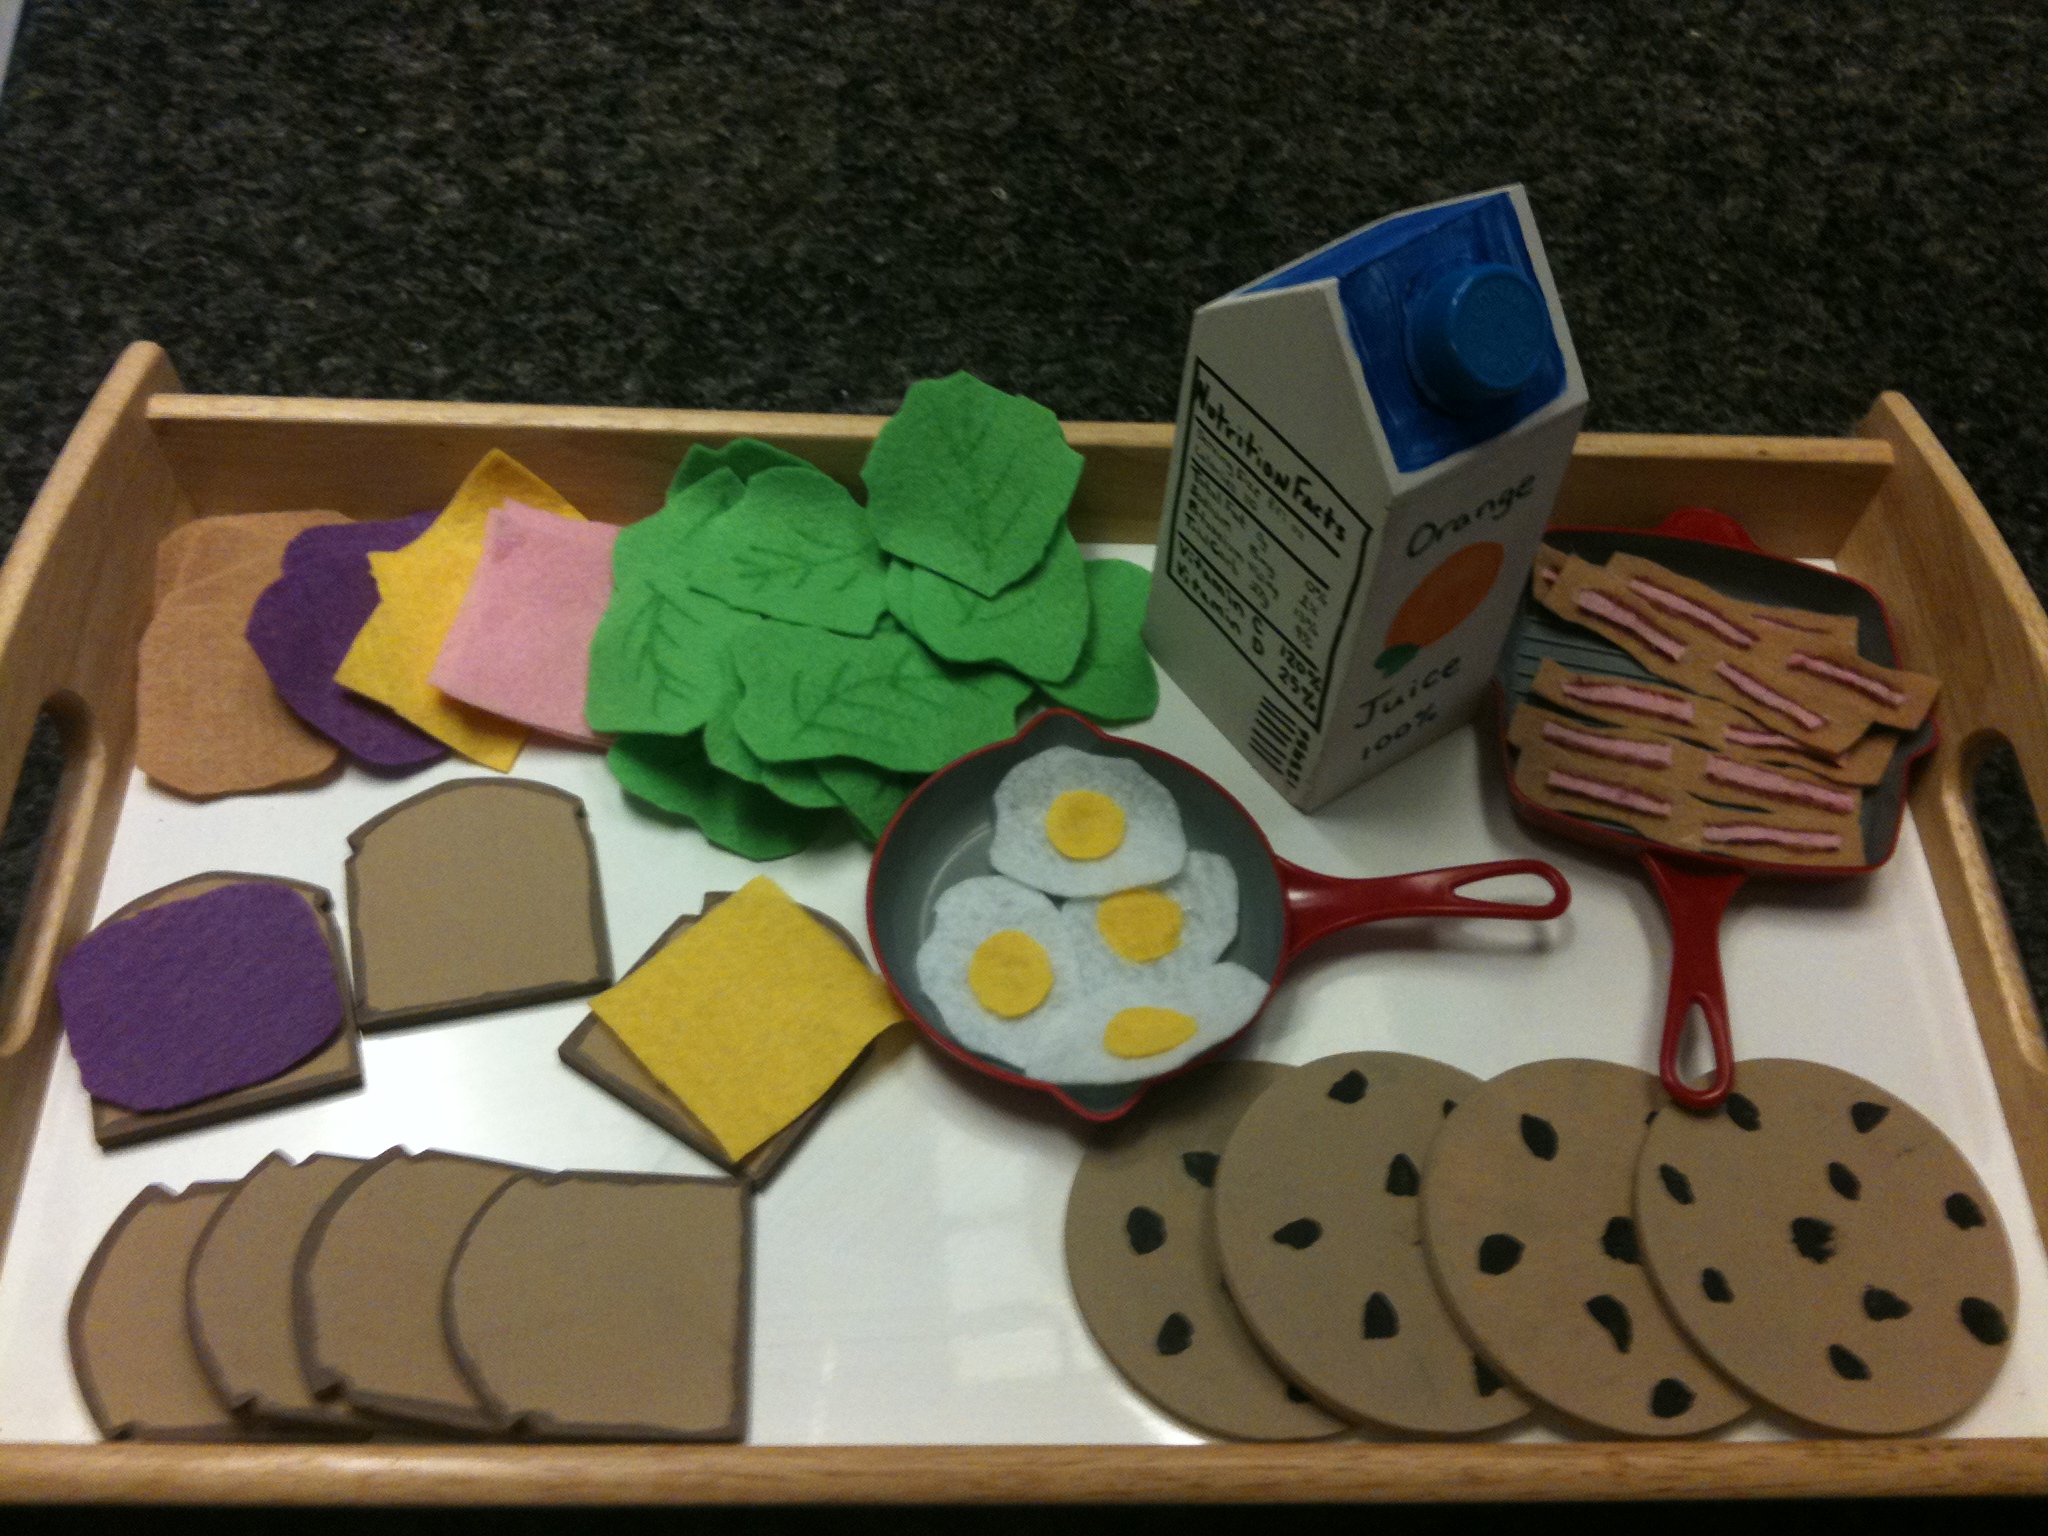 Play Kitchen Food – Shortly after we the boys got a play kitchen for Christmas, I saw the need for more and better play food. Less plastic foods; more along the lines of the stuff the kids ate and saw in our own home.
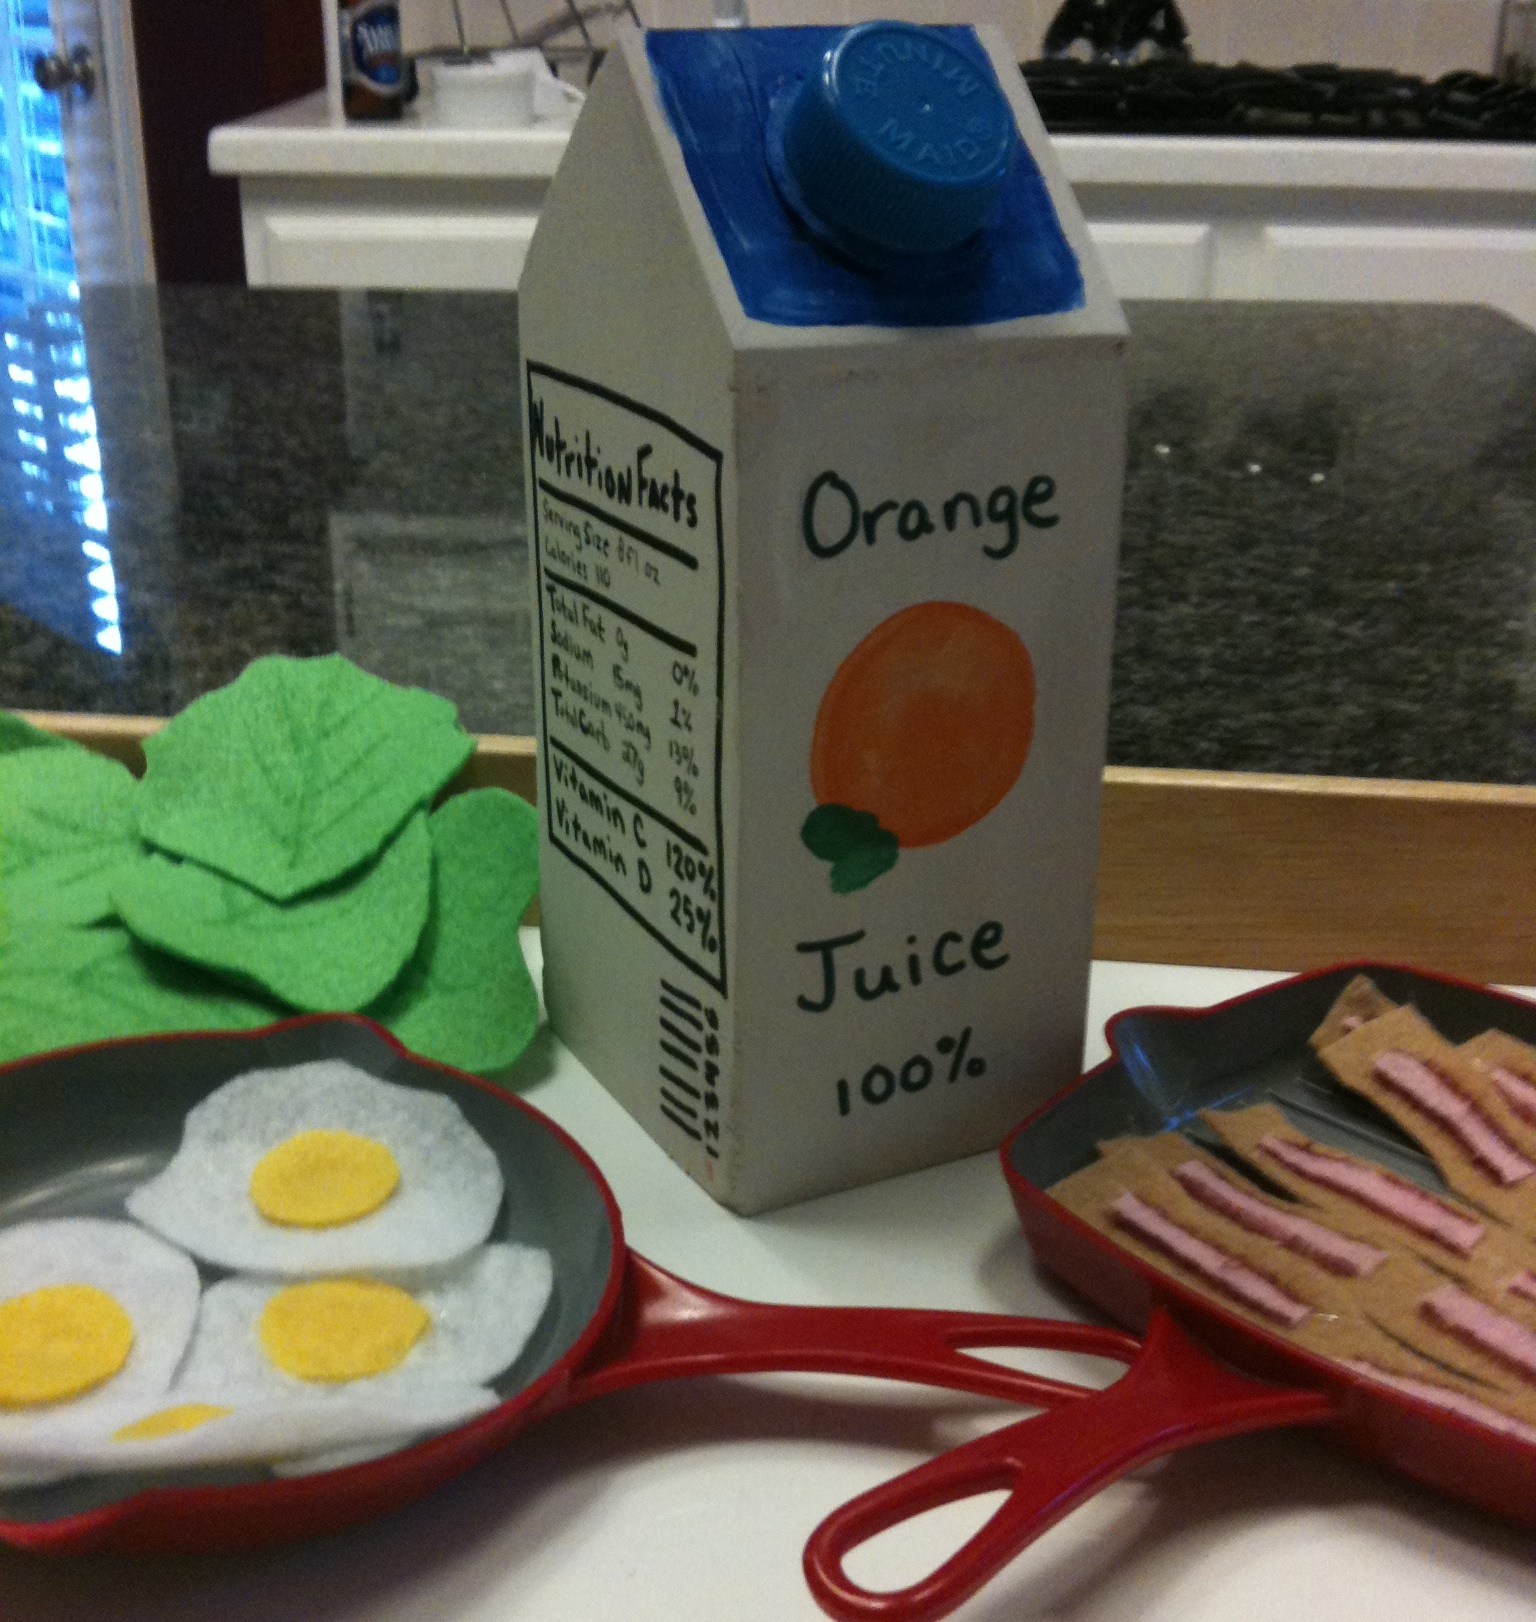 Orange Juice Container: Engineer-Boy had a vision of creating a milk container, but since we don’t drink milk out of those half-gallon containers any more, it became an OJ container. Of course, I painted all the details… but I knew my boys would want to try to open and close it, so I was trying to think of a way to make that happen… In comes Peter with the idea to cut the whole plastic contraption off an actual, empty OJ container and glue it on to the wooden side. Worked PERFECTLY! One important lesson: although it’s easier to write with a Sharpie, if you polyurethane over it, the Sharpie will run. Use a paint-pen!
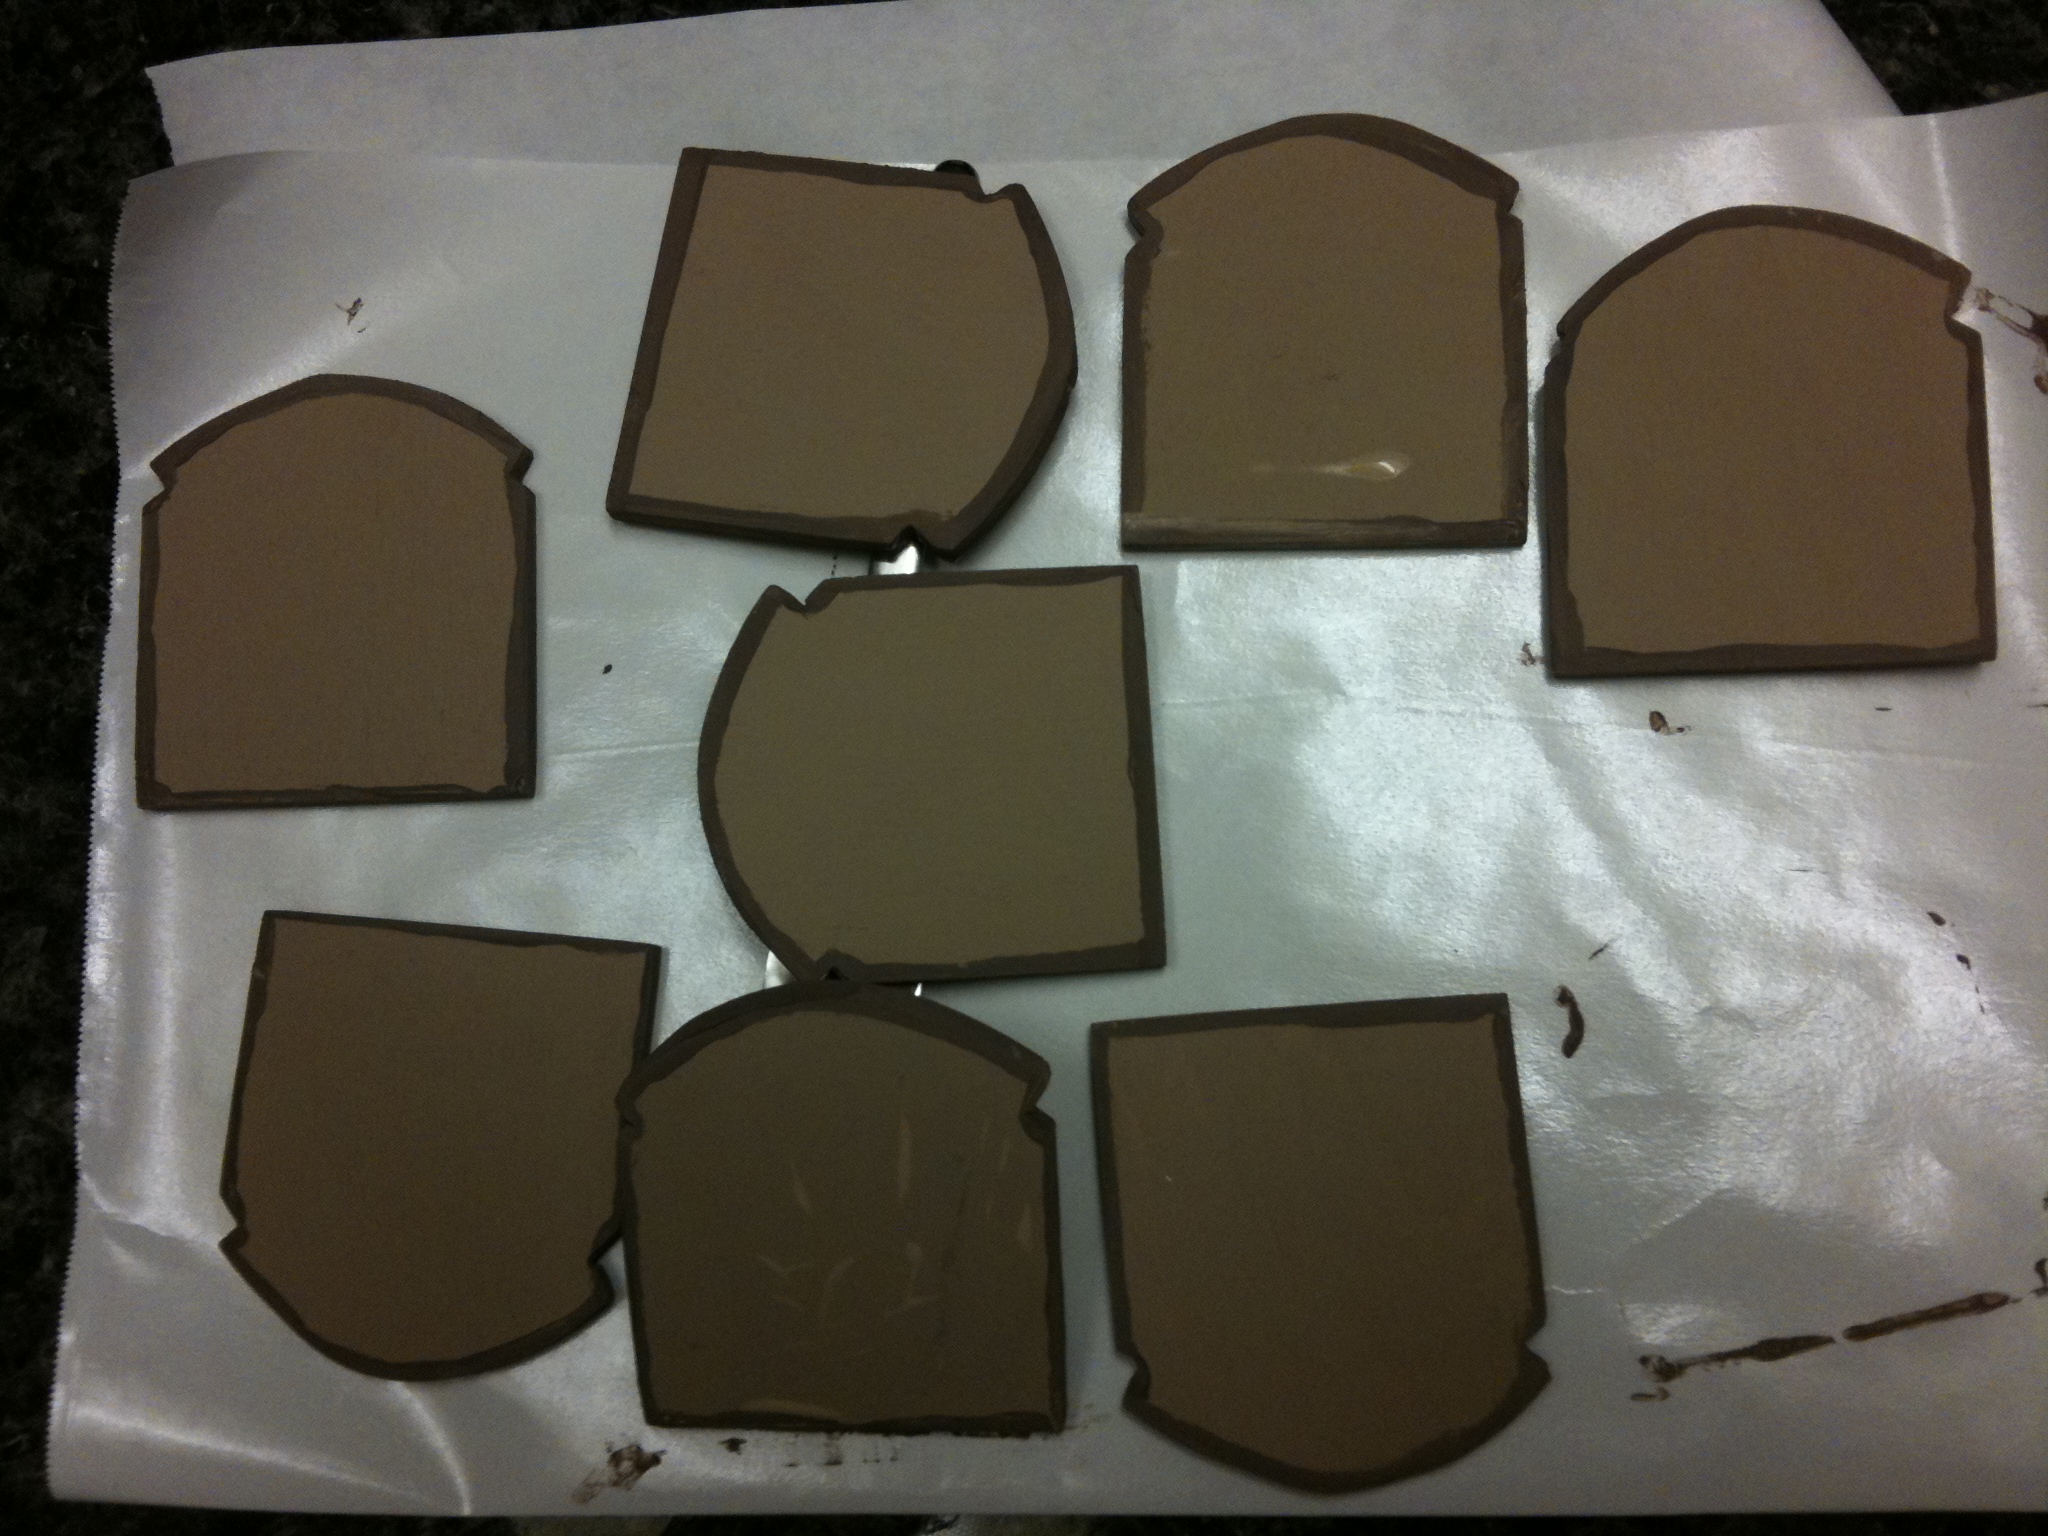 Bread: With his jigsaw, Peter cut, shaped, and sanded the bread pieces. I did the detail paint.
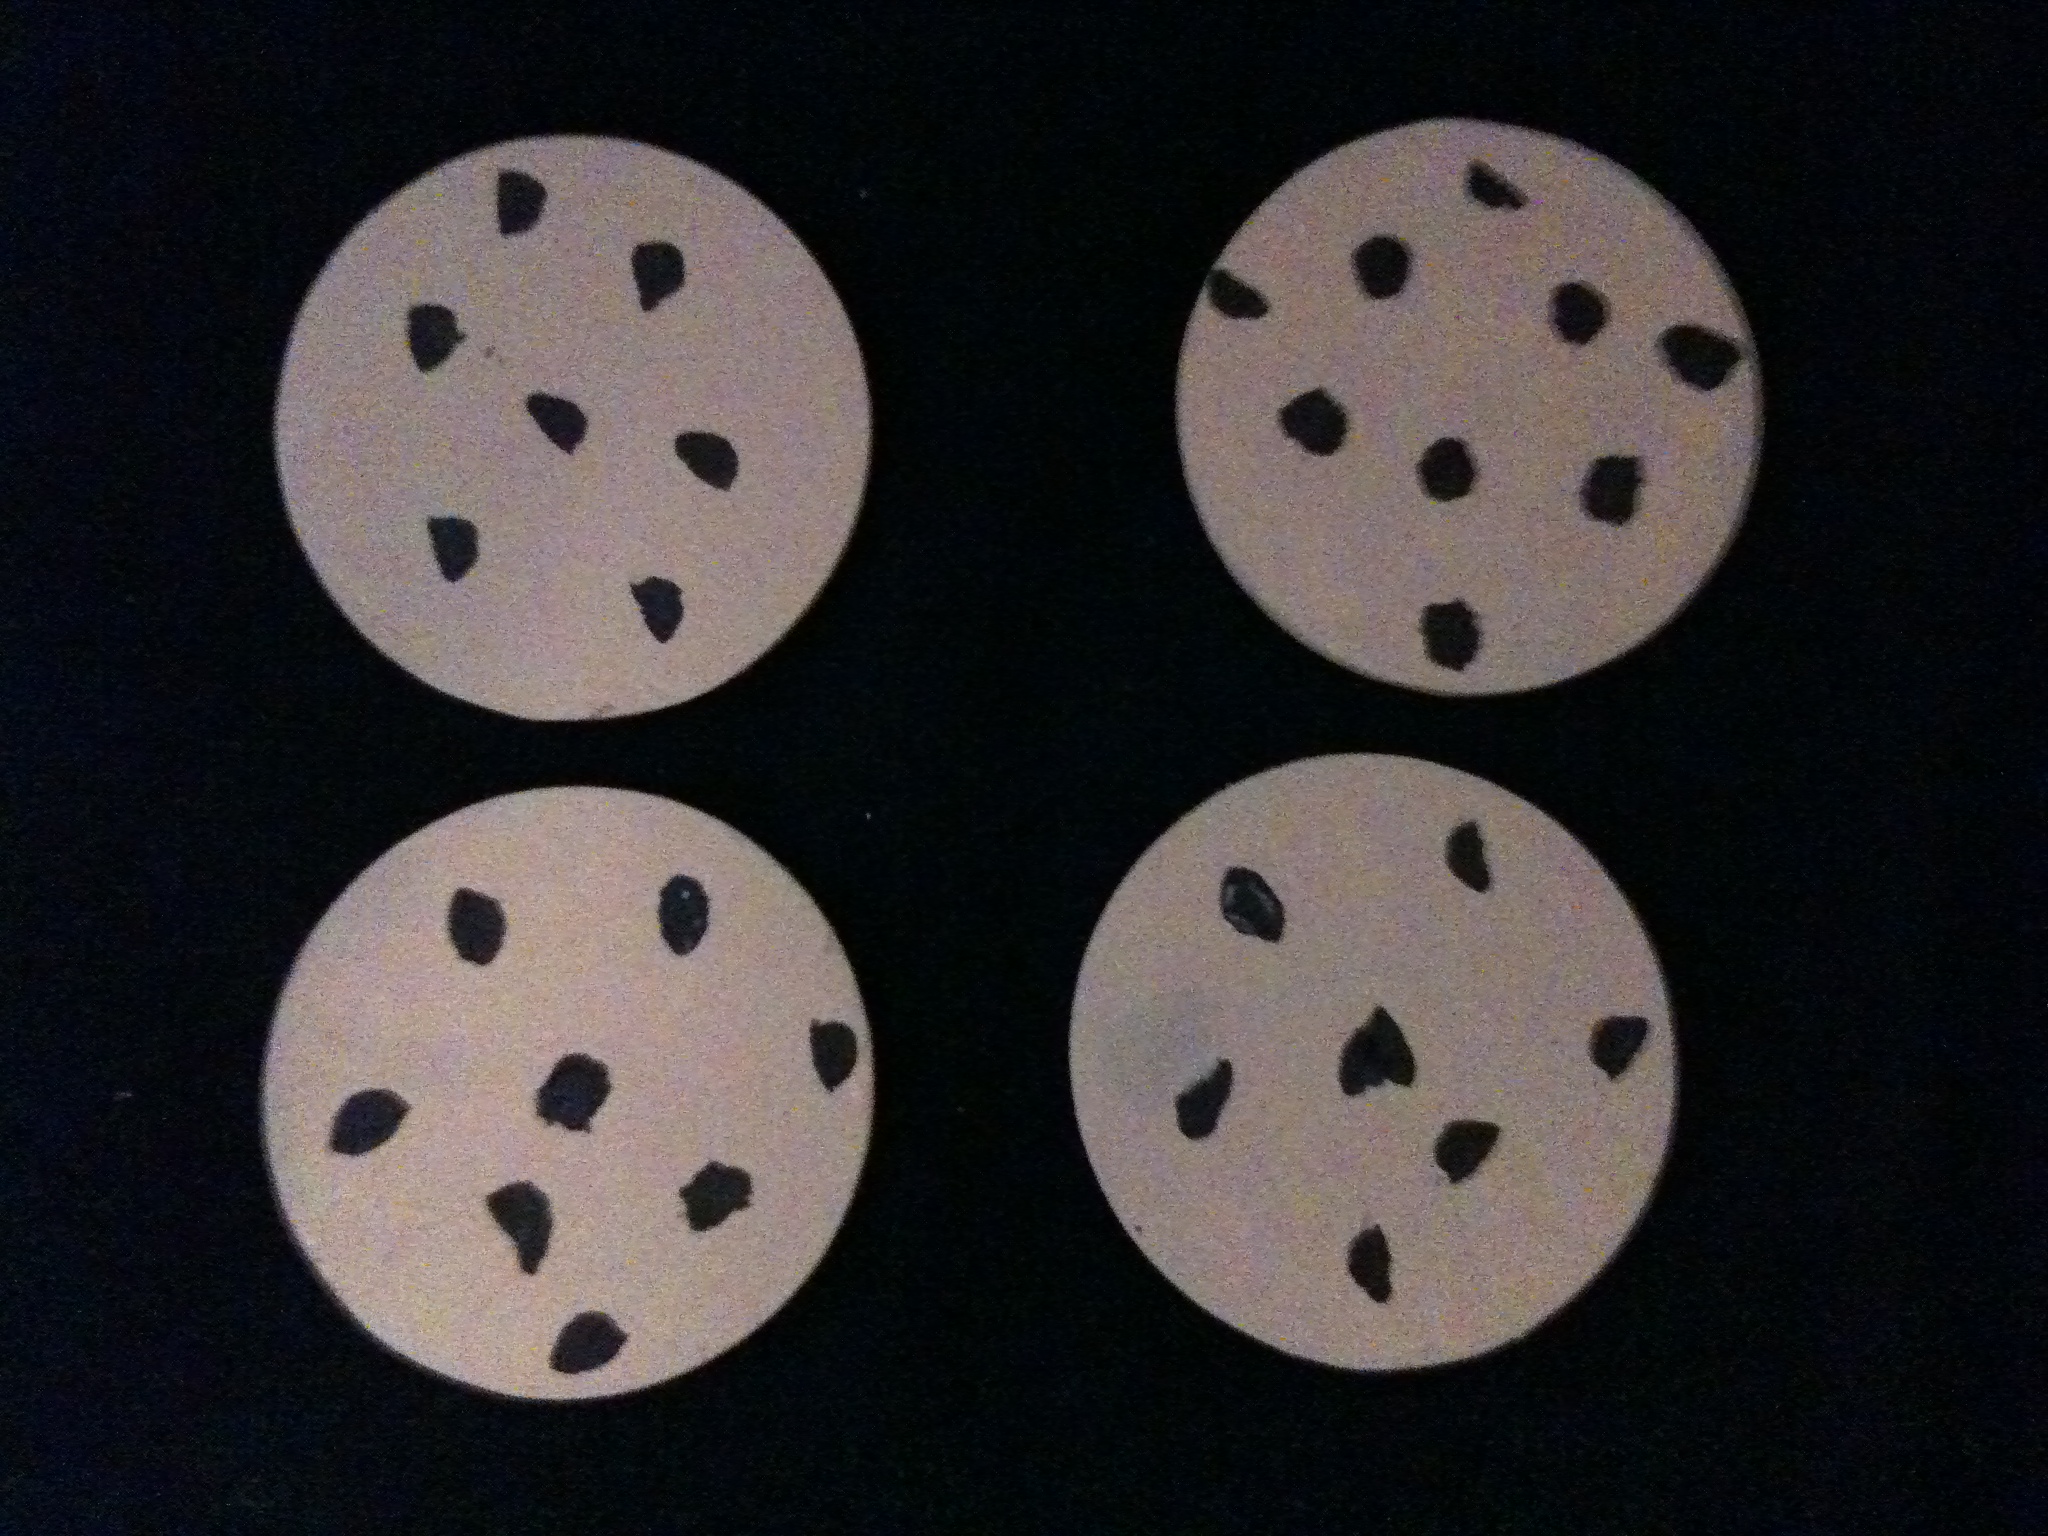 Cookies: Peter cut the circles out of plywood with a hole cutting drill bit… cutting these took a looooong time, but sanding was pretty straightforward. I think if we were to do this again, I’d suggest buying wooden circles from a craft store and just painting them. Important lesson from painting: When dotting the cookies with chocolate chips, avoid the temptation to think “more is better.” My first attempt looked like the cookies had some disease, like chip-pox. Less is best.
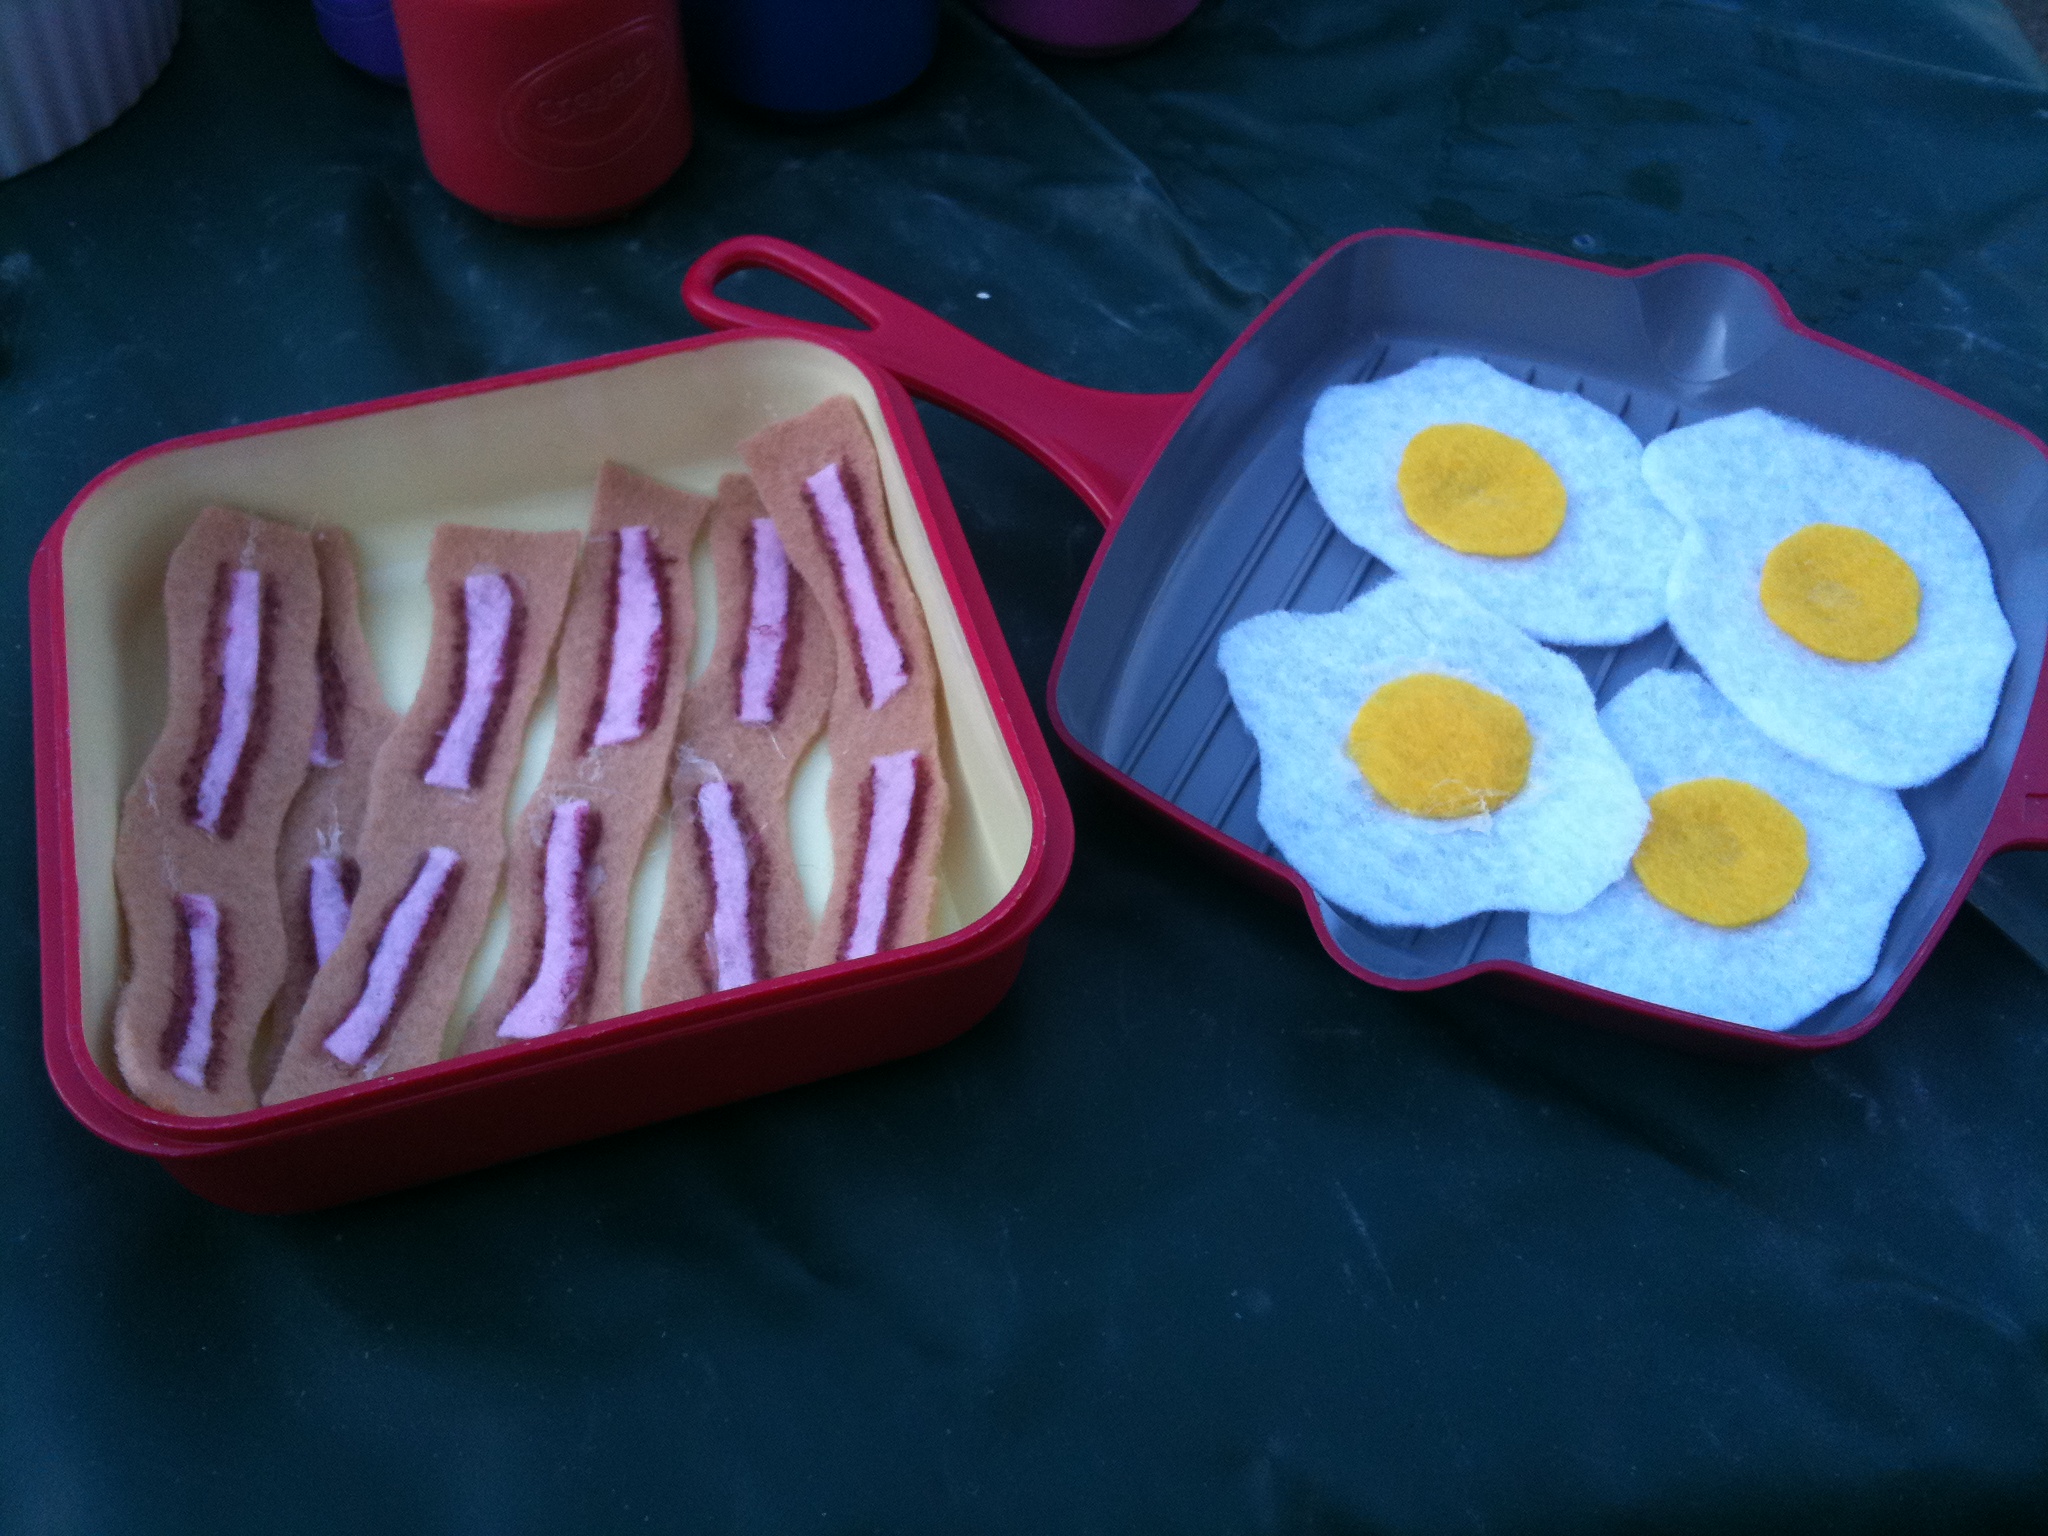 Felt Food: I identified some of the foods we eat… ones that I could easily cut out of felt and glue together (no sewing needed): fried eggs, bacon, ham, cheese, peanut butter, jelly, and lettuce. I kept the list limited to the foods I knew would be easily recognizable in addition to easy to make. Just cut and hot glue. I did sketch lettuce leaf veins with a Sharpie.
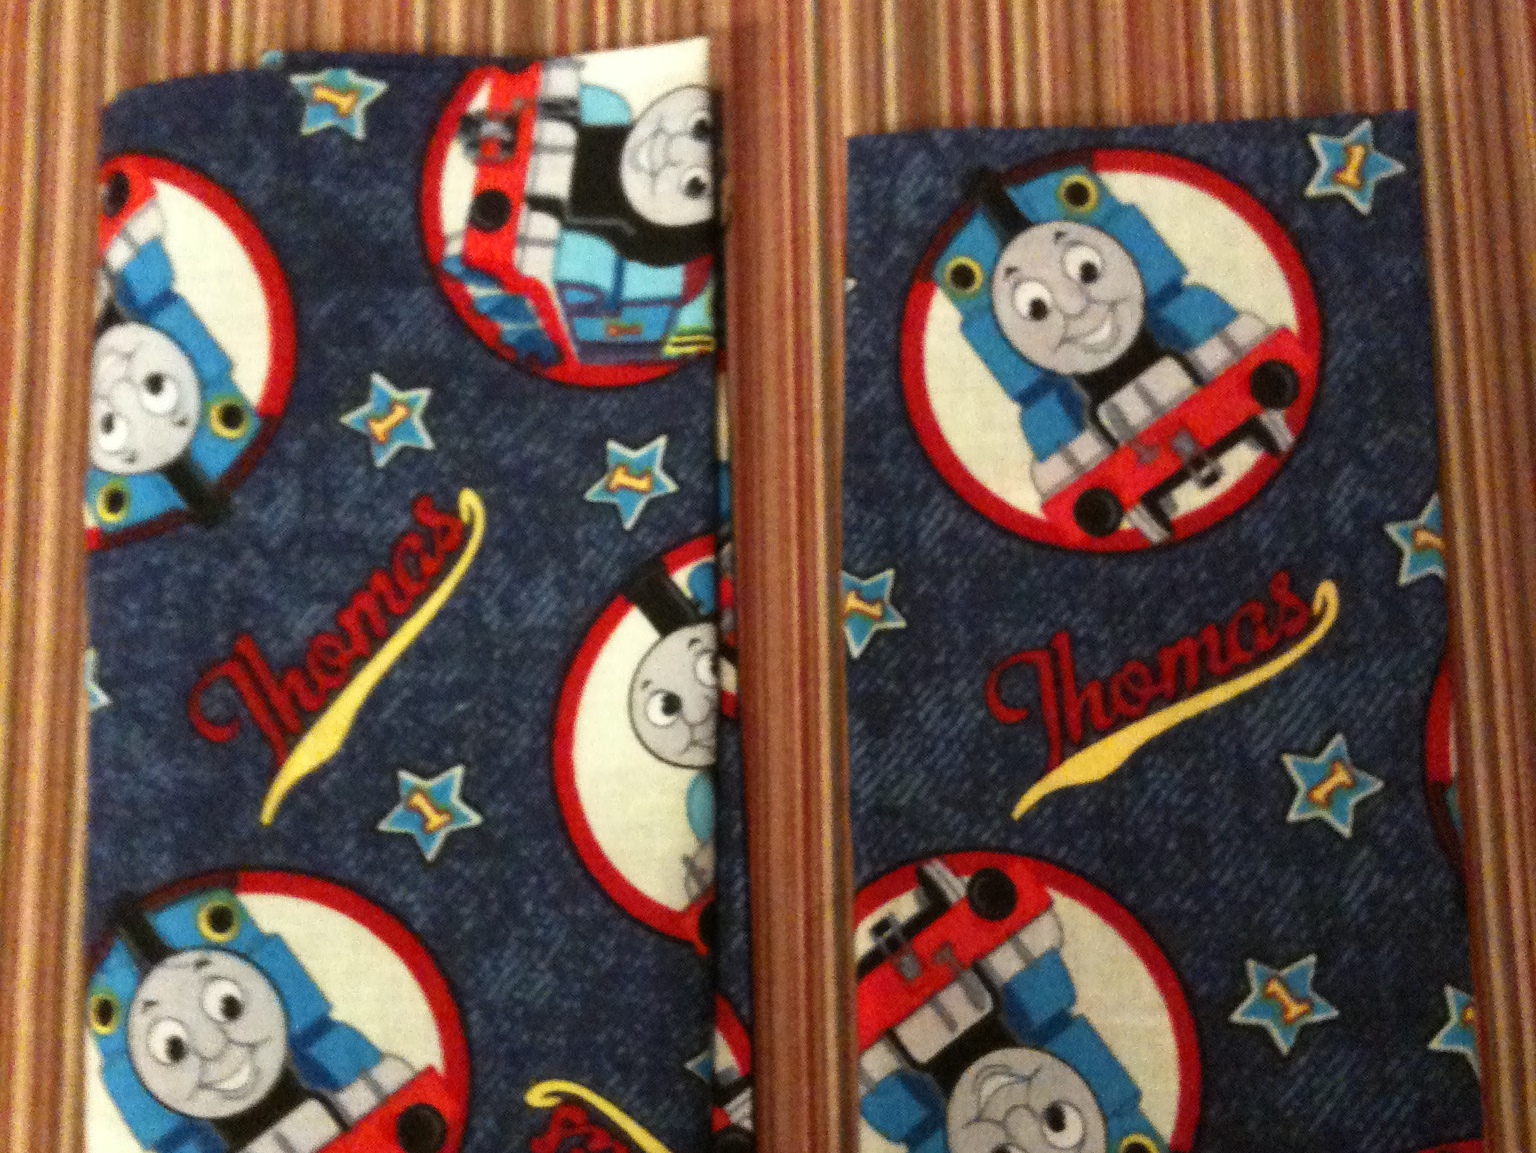
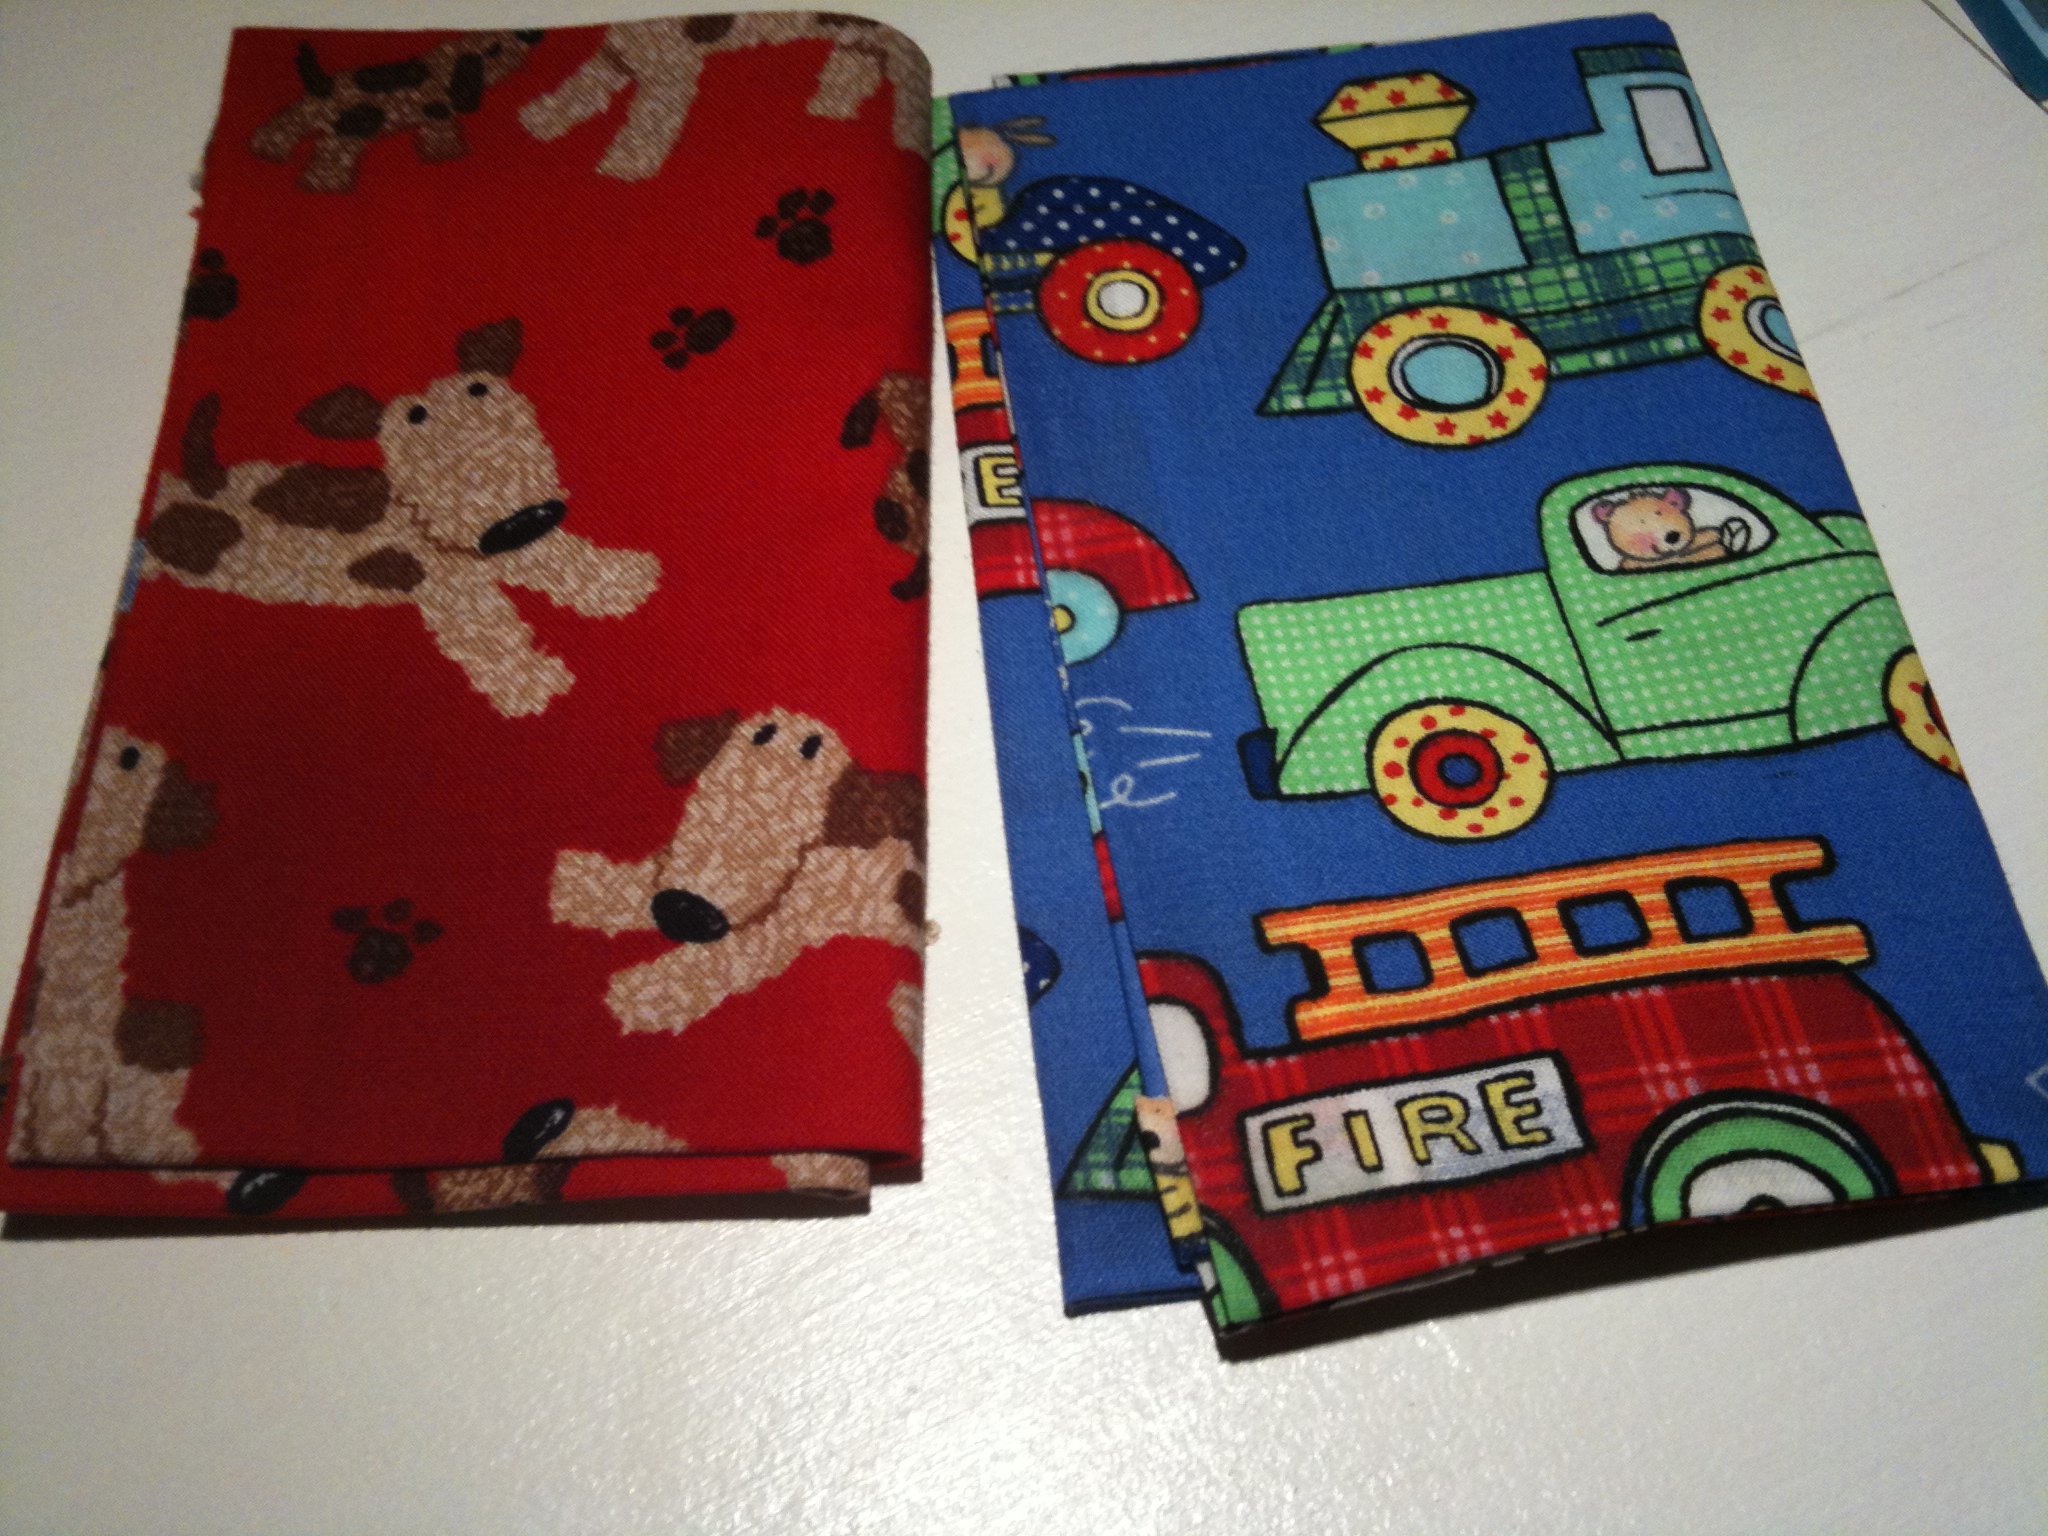 1. As part of our environmental consciousness, we use cloth napkins in our house. I realized at one point that it might be fun for the kids to have some kid-friendly ones. So I cut up some fabric and ironed the edges with Heat-N-Bond.
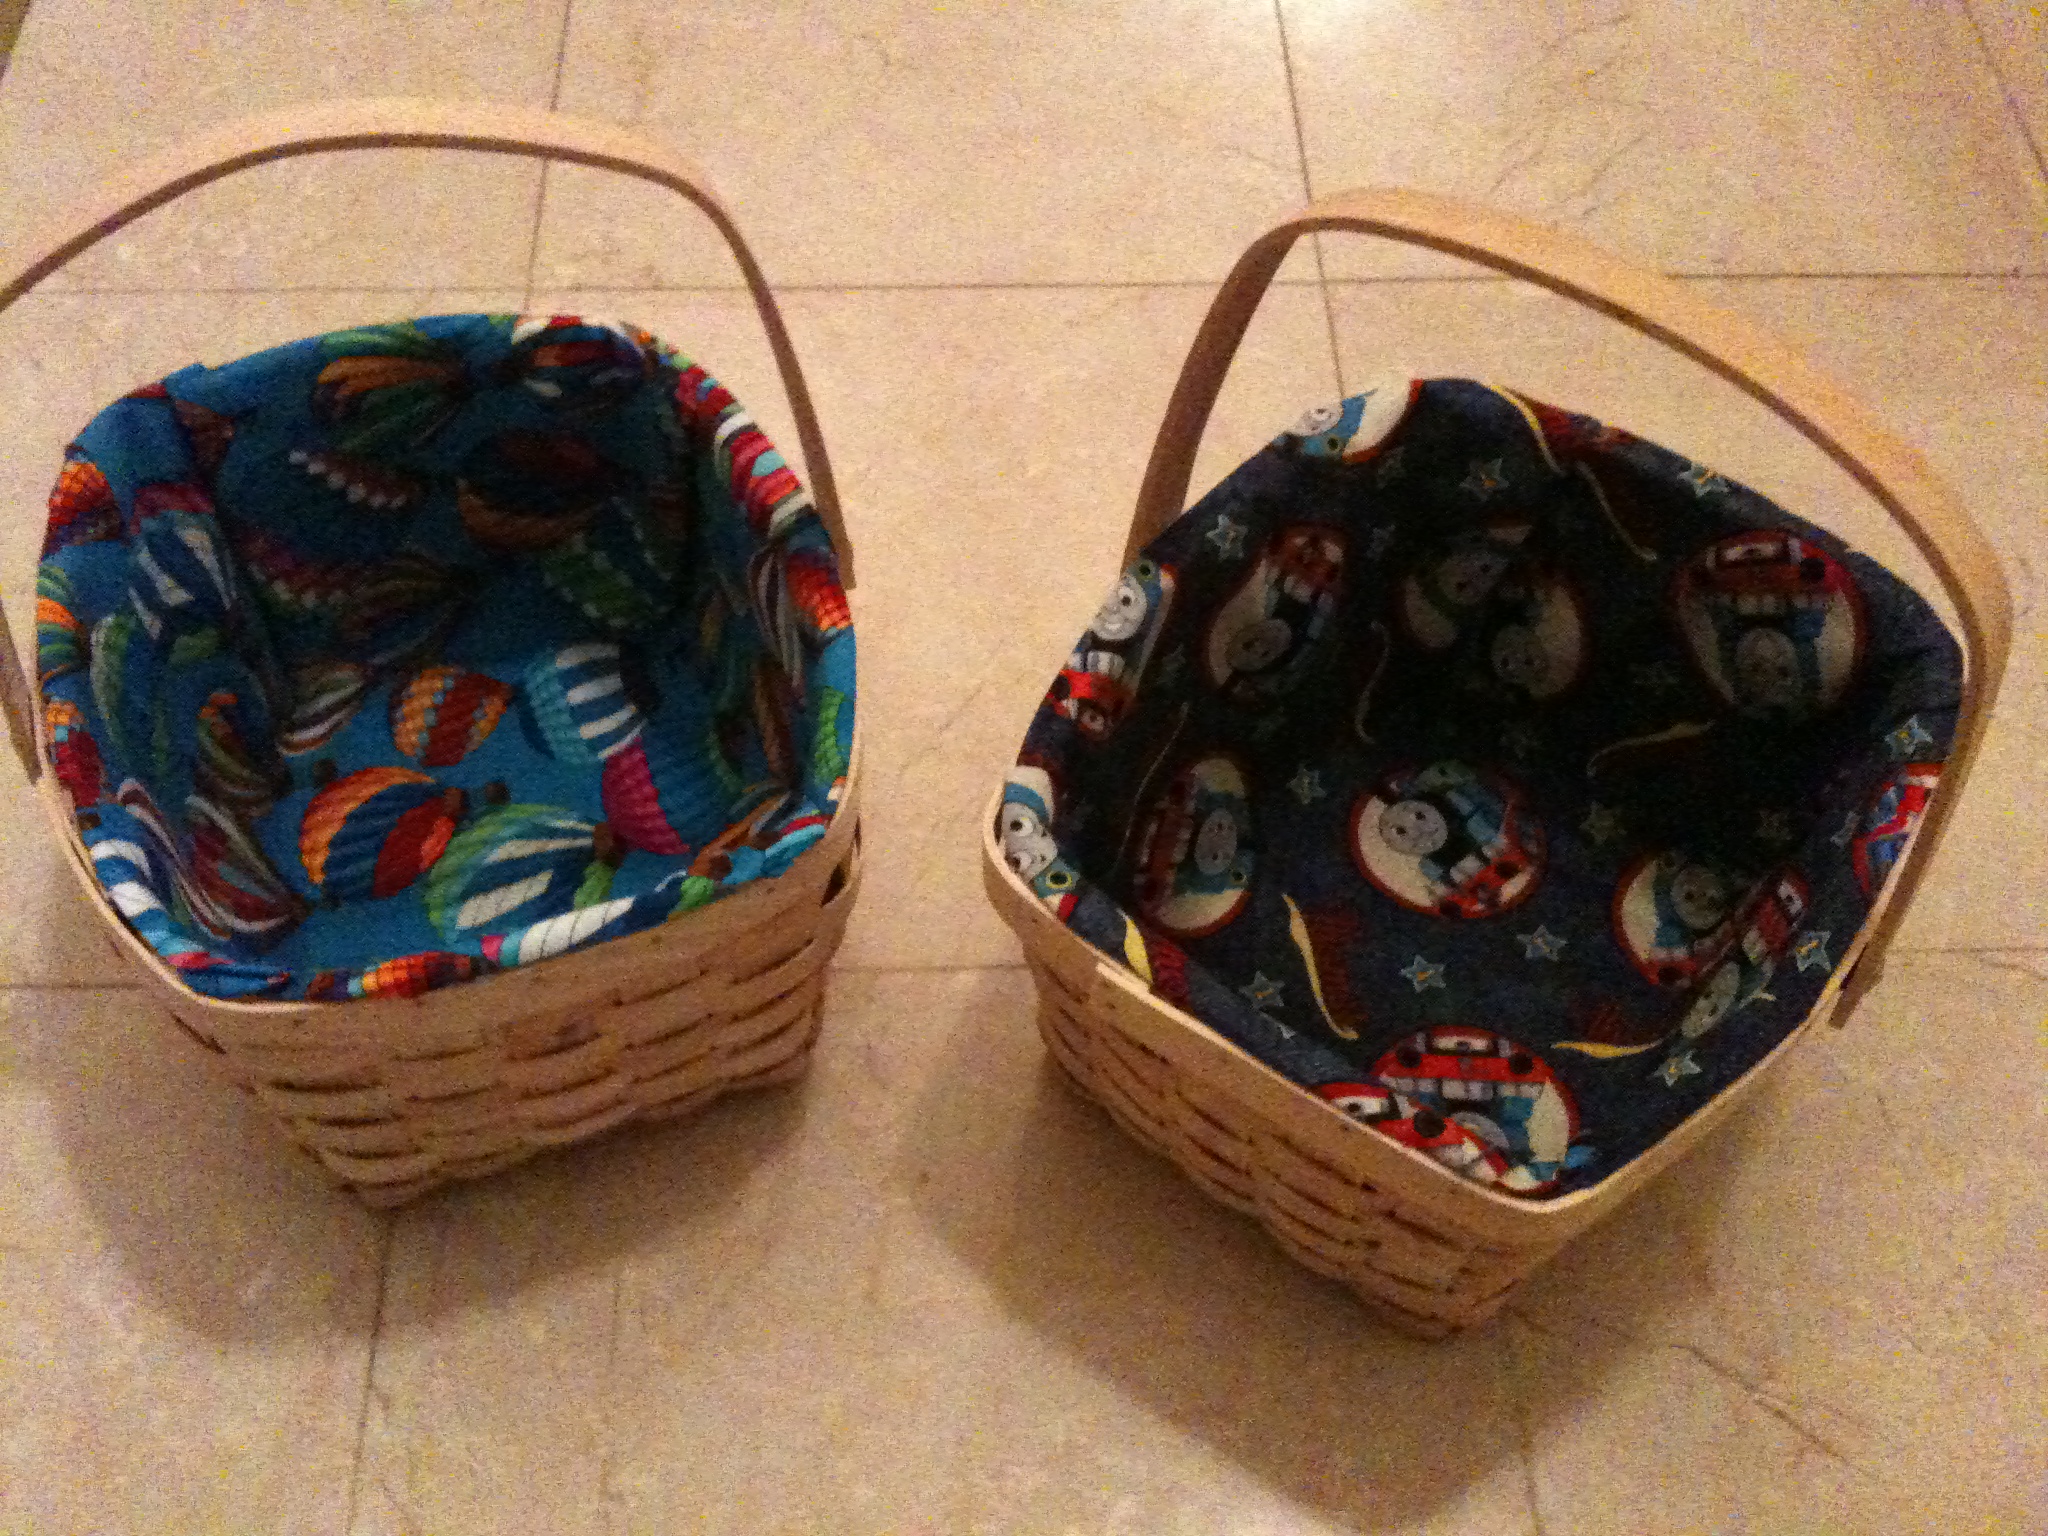 2. Since I already had Thomas fabric, I decided to line a basket with it for all the little odds and ends that kids pick up at parties and whatnot that don’t actually belong in any category other than “Random Stuff.”
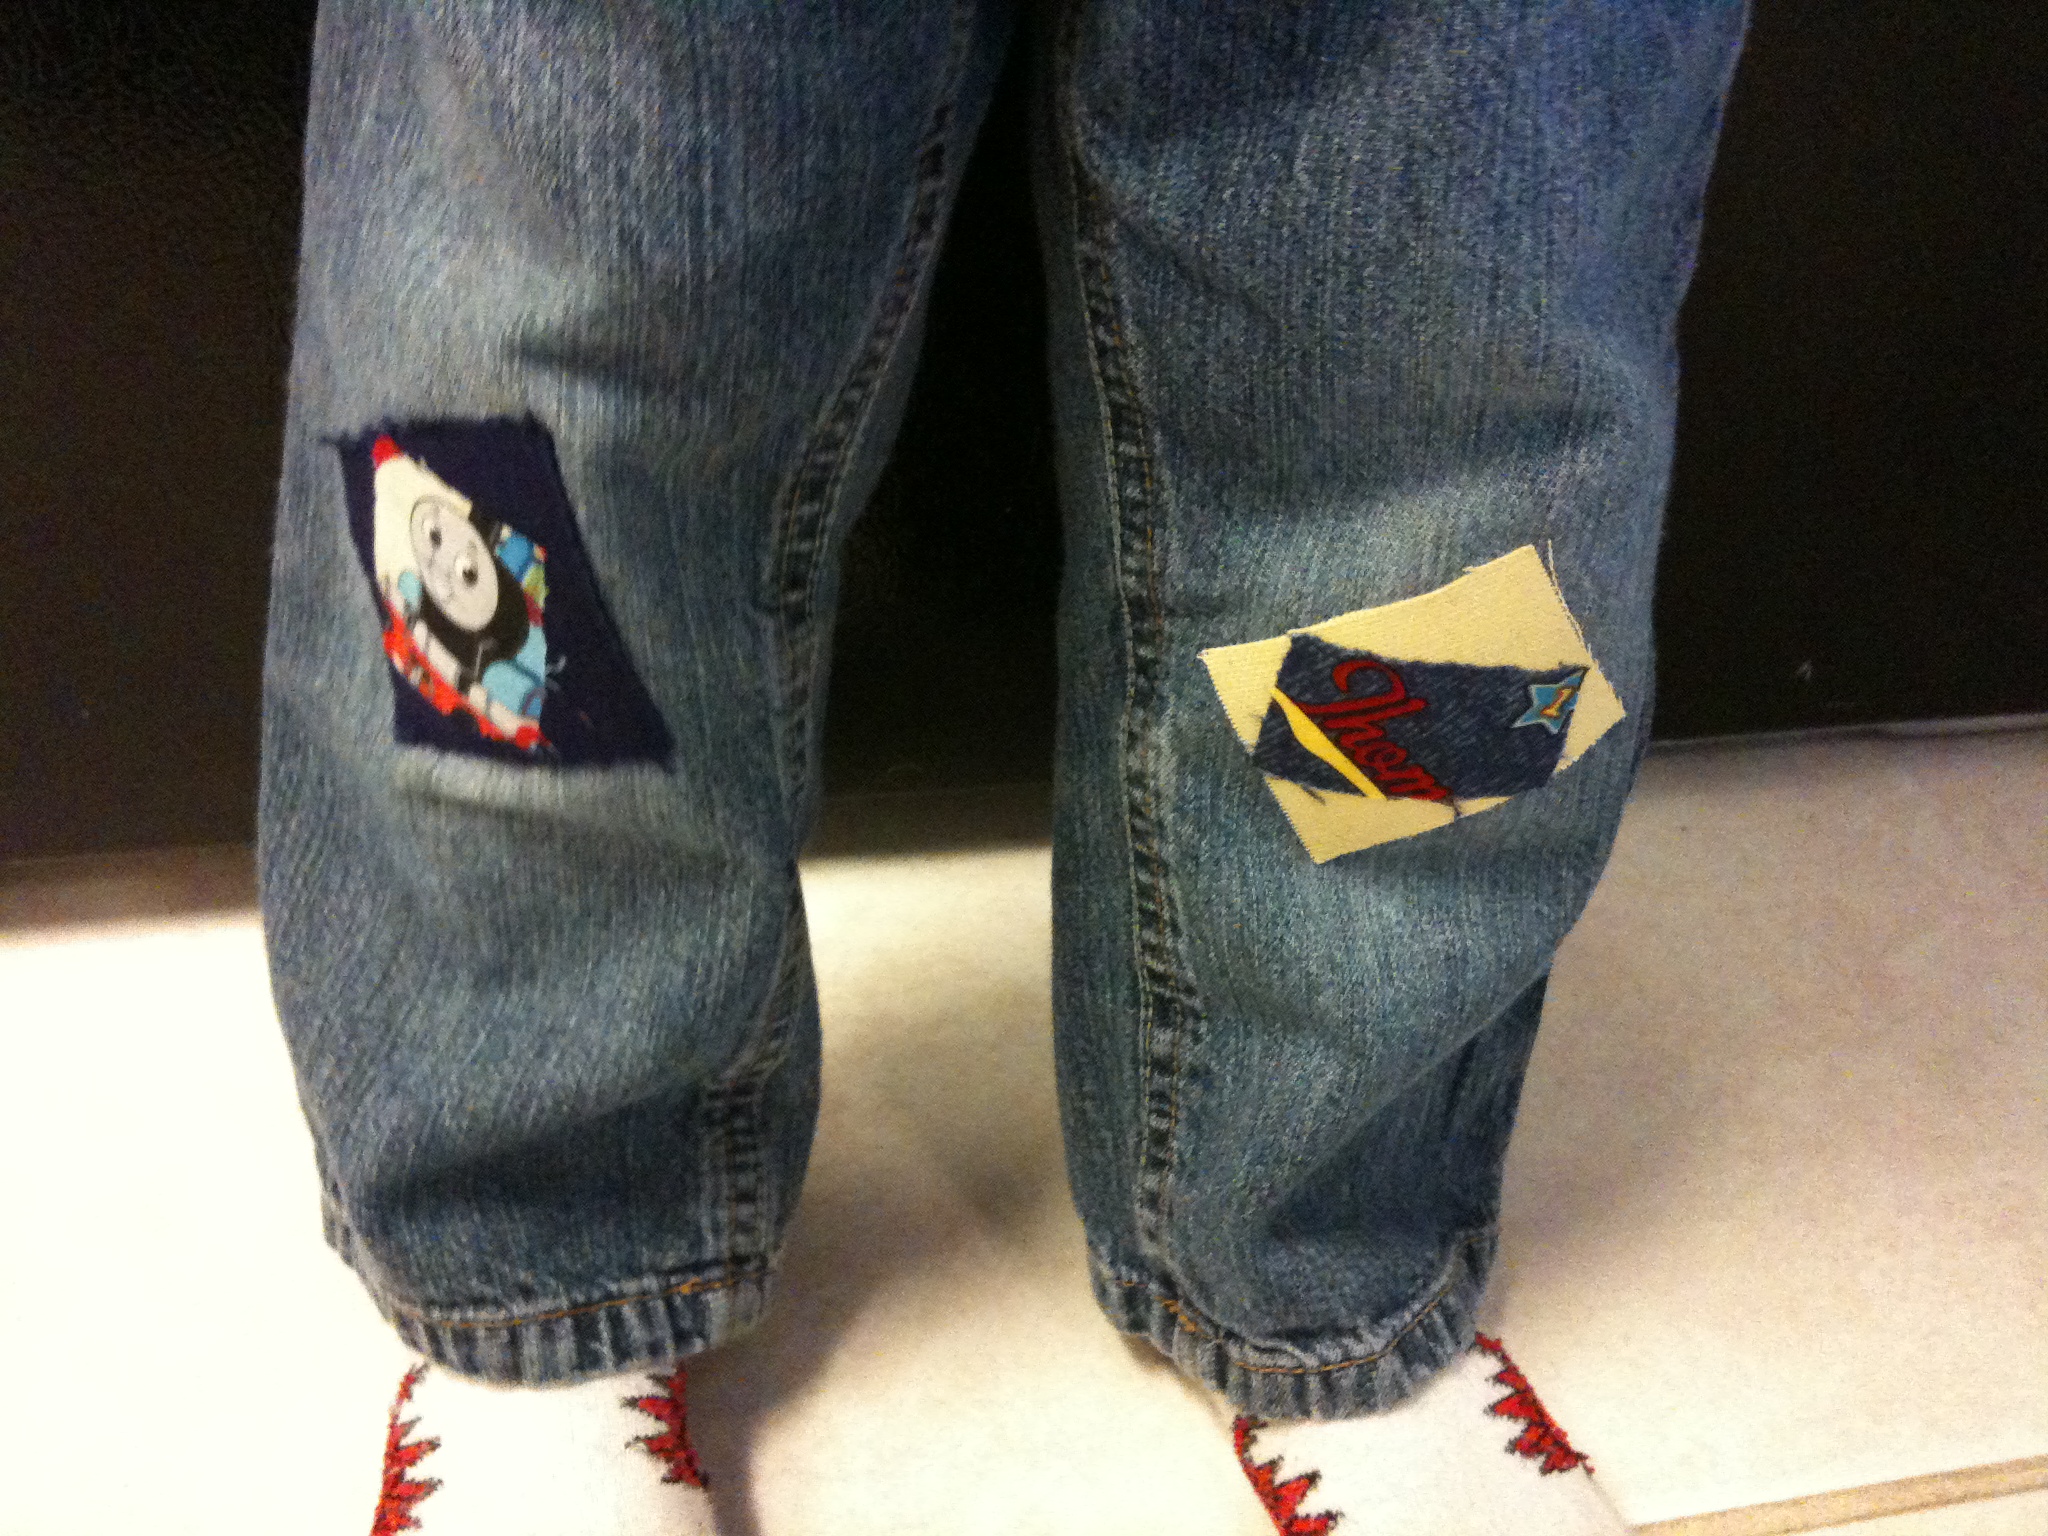 3. Three true statements: (1) My two boys are 17 months apart, which allows for the money-saving perk of hand-me-downs. (2) My two boys are rough on their clothes, especially the knees, especially since they are clumsy like me and fall a lot. (3) I am frugal and creative. So, before I learned to sew, I just zapped these on with Heat-N-Bond.
 4. I found that the Heat-N-Bond also made for a good edge seam seal for making a tablecloth for the kids’ play table.
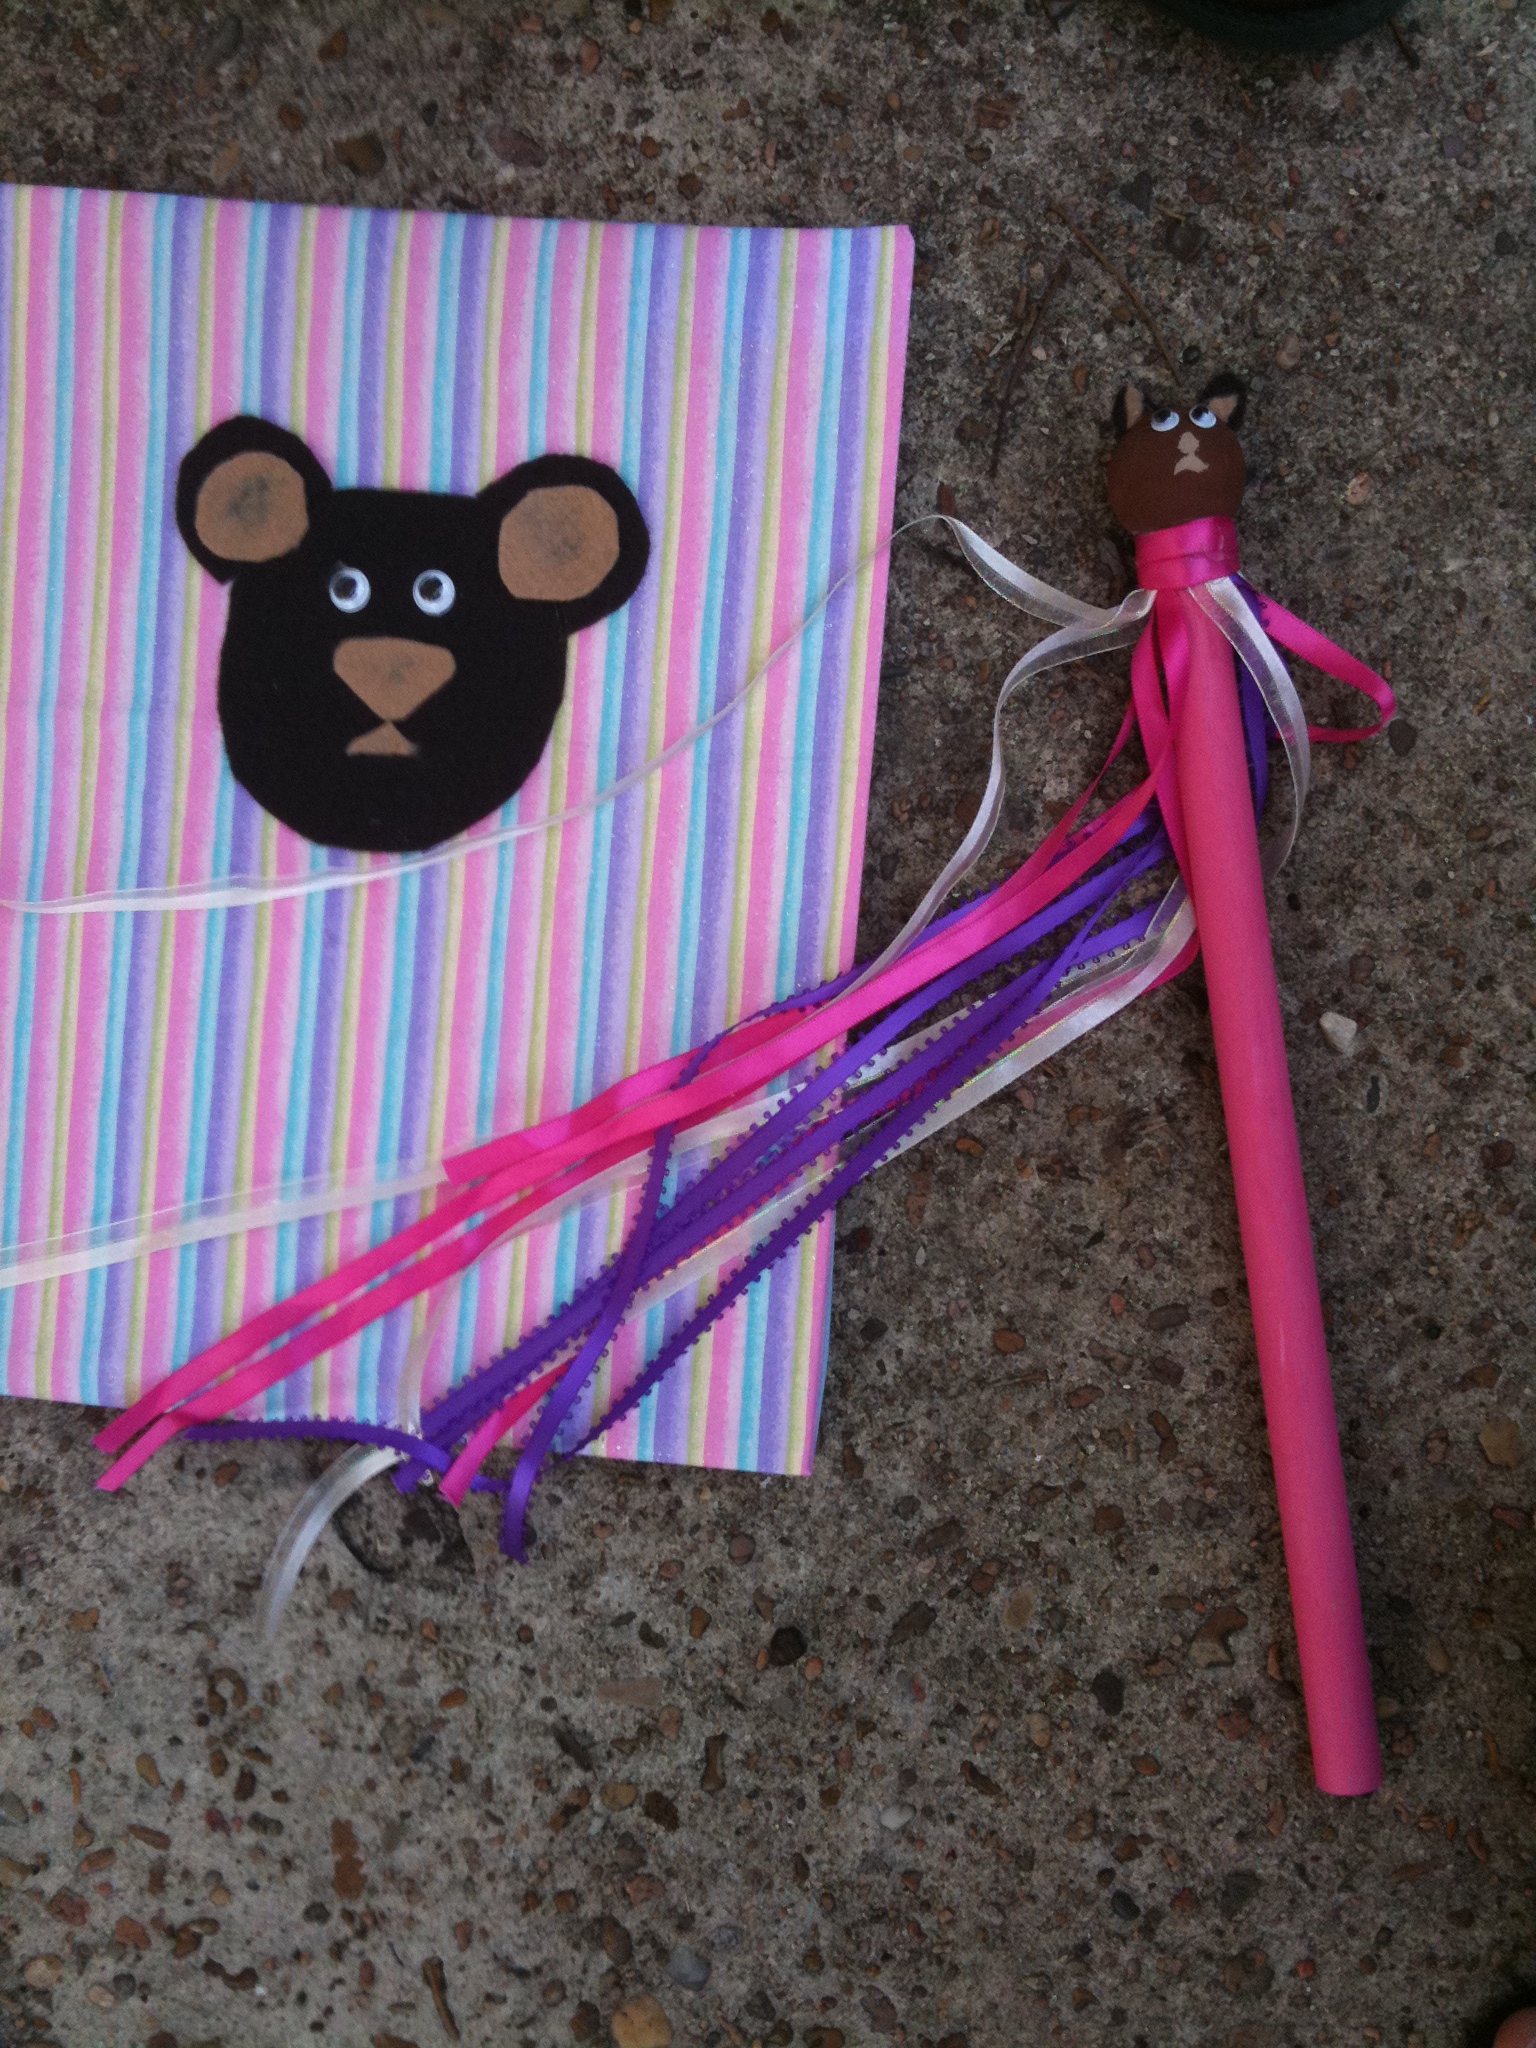 5. One of my best girlfriends is an uber-awesome party planner. She even blogs about it at
 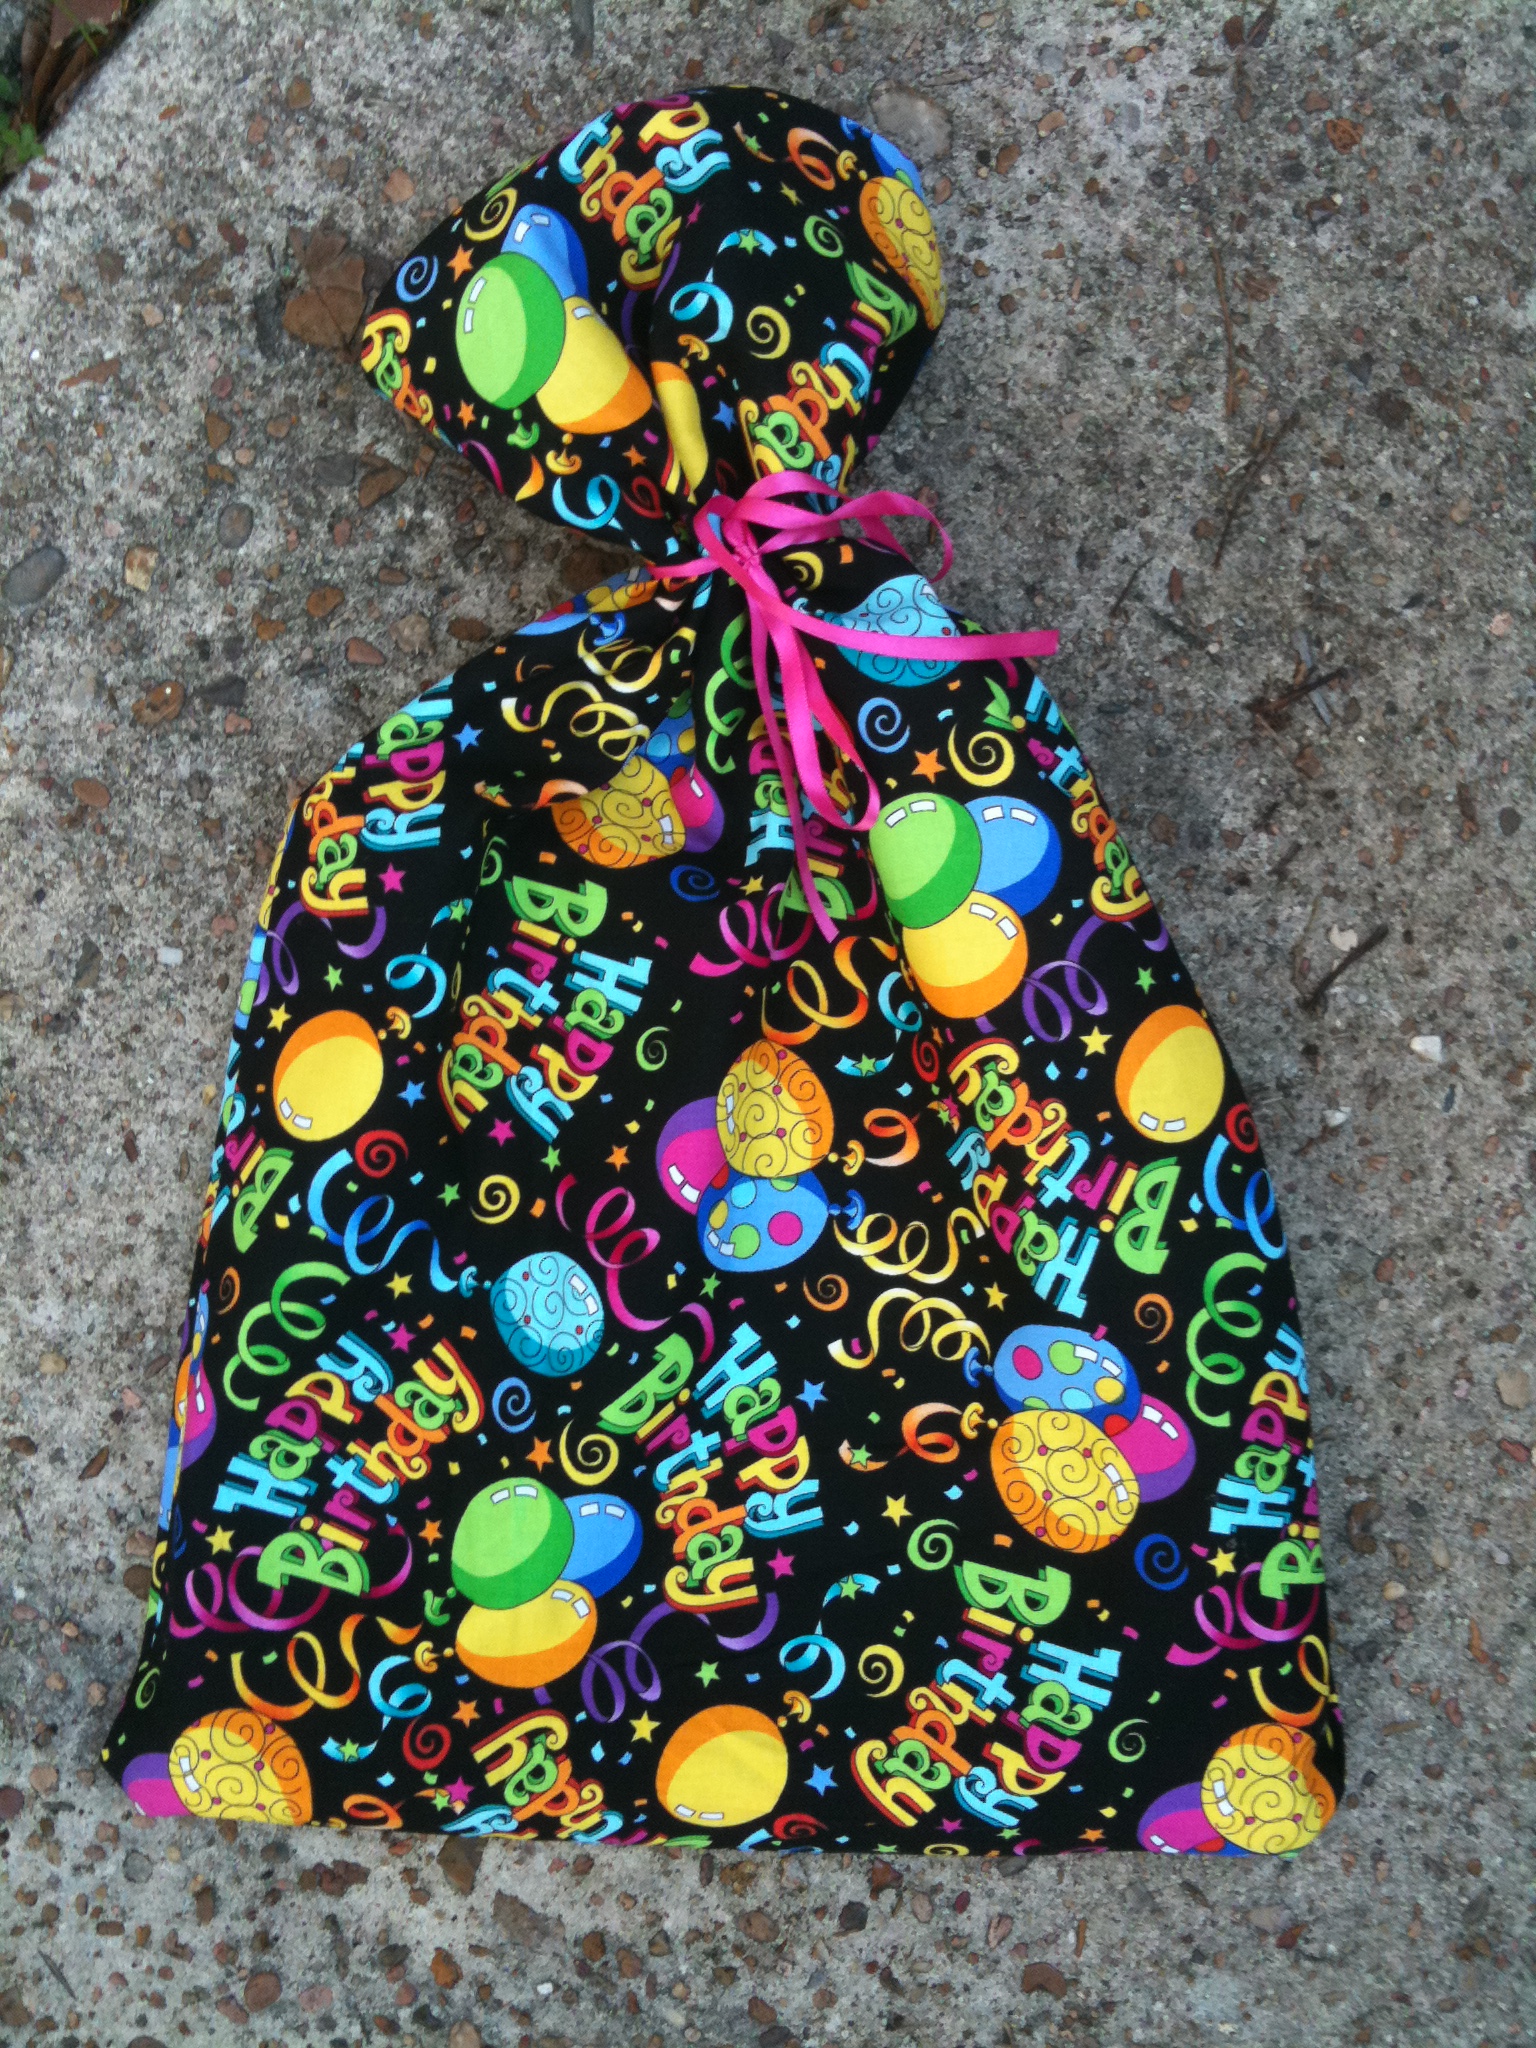 6. Instead of a gift-bag, I found some birthday fabric and made reusable birthday sacks.
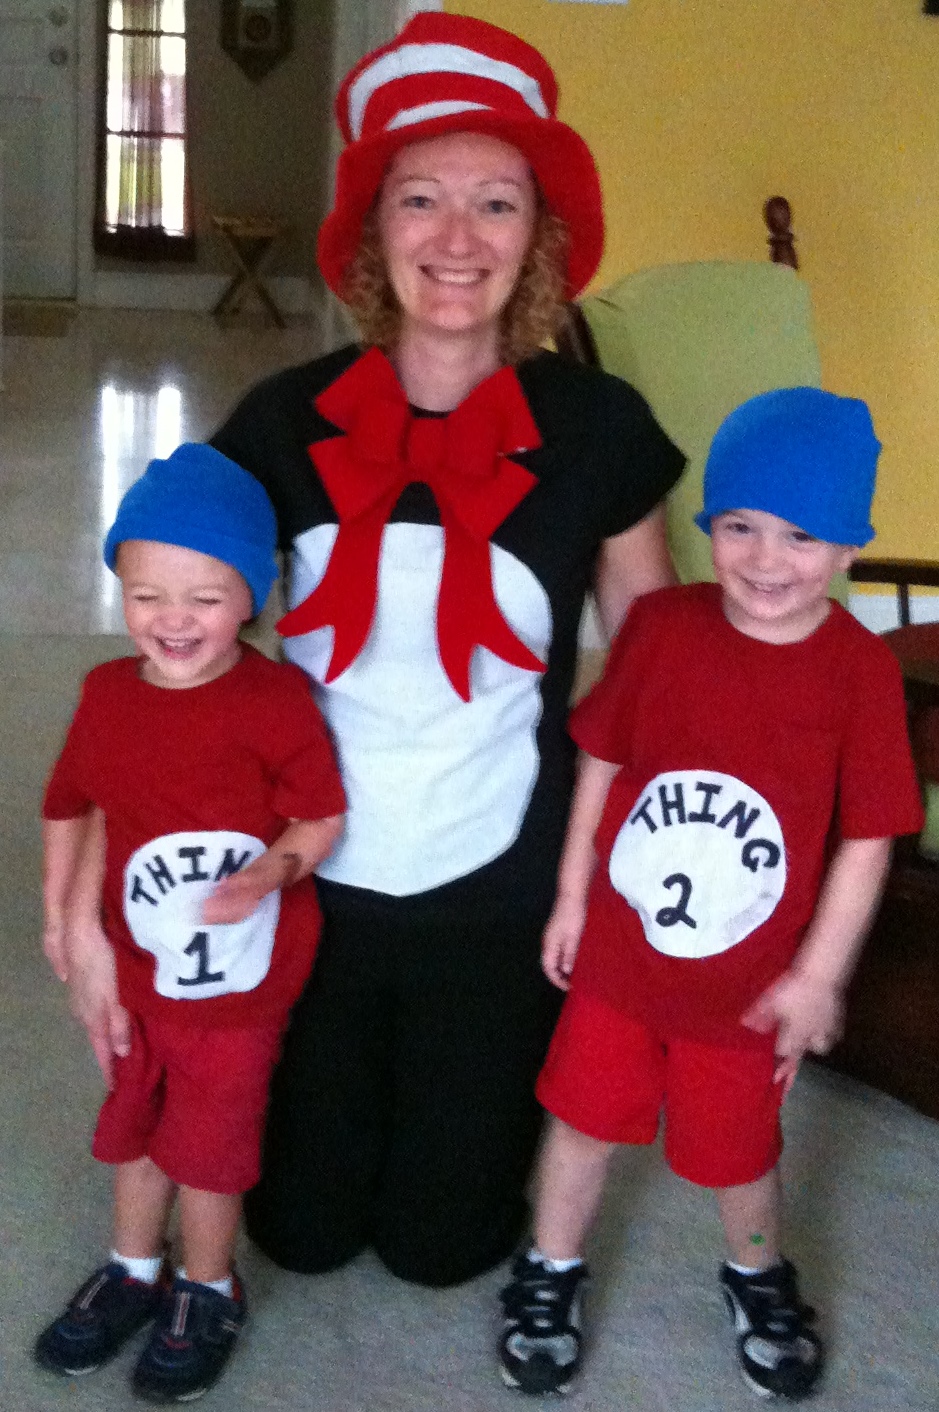 7. I love, love, LOVE Dr. Seuss. And so do my boys. For Halloween 2009, I was still determining what they would dress up as… I tried asking them once, but they neither understood the question nor cared about the answer. But I did! So, while shopping for trinkets in the Dollar Bins at Target months earlier, I found the red and white stove pipe hat… which led to my decision to dress up as the Cat in the Hat with my “Thing 1 and Thing 2.” I cut the white circles out of some cheap material and actually Sharpie’d the words on. I believe I even had the red shirts in the boys’ drawers. Once again, I stuck the the circles on with Heat-N-Bond. At this point, almost 2 1/2 yrs later, I would’ve gone with better material and fabric paint… but to my surprise, they really held up ok! I mean they LOOK homemade, but the kids LOVED them and so did everyone who saw them. I found the knit hats for $3 each at Target. I was pretty happy with this solution instead of a wig or actually dying my kids hair. The boys wore those shirts regularly until Alex outgrew his. I promised I’d make them new ones (with my vastly improved skills – I even sew a little now!), but that’s still in my projects-to-do pile.
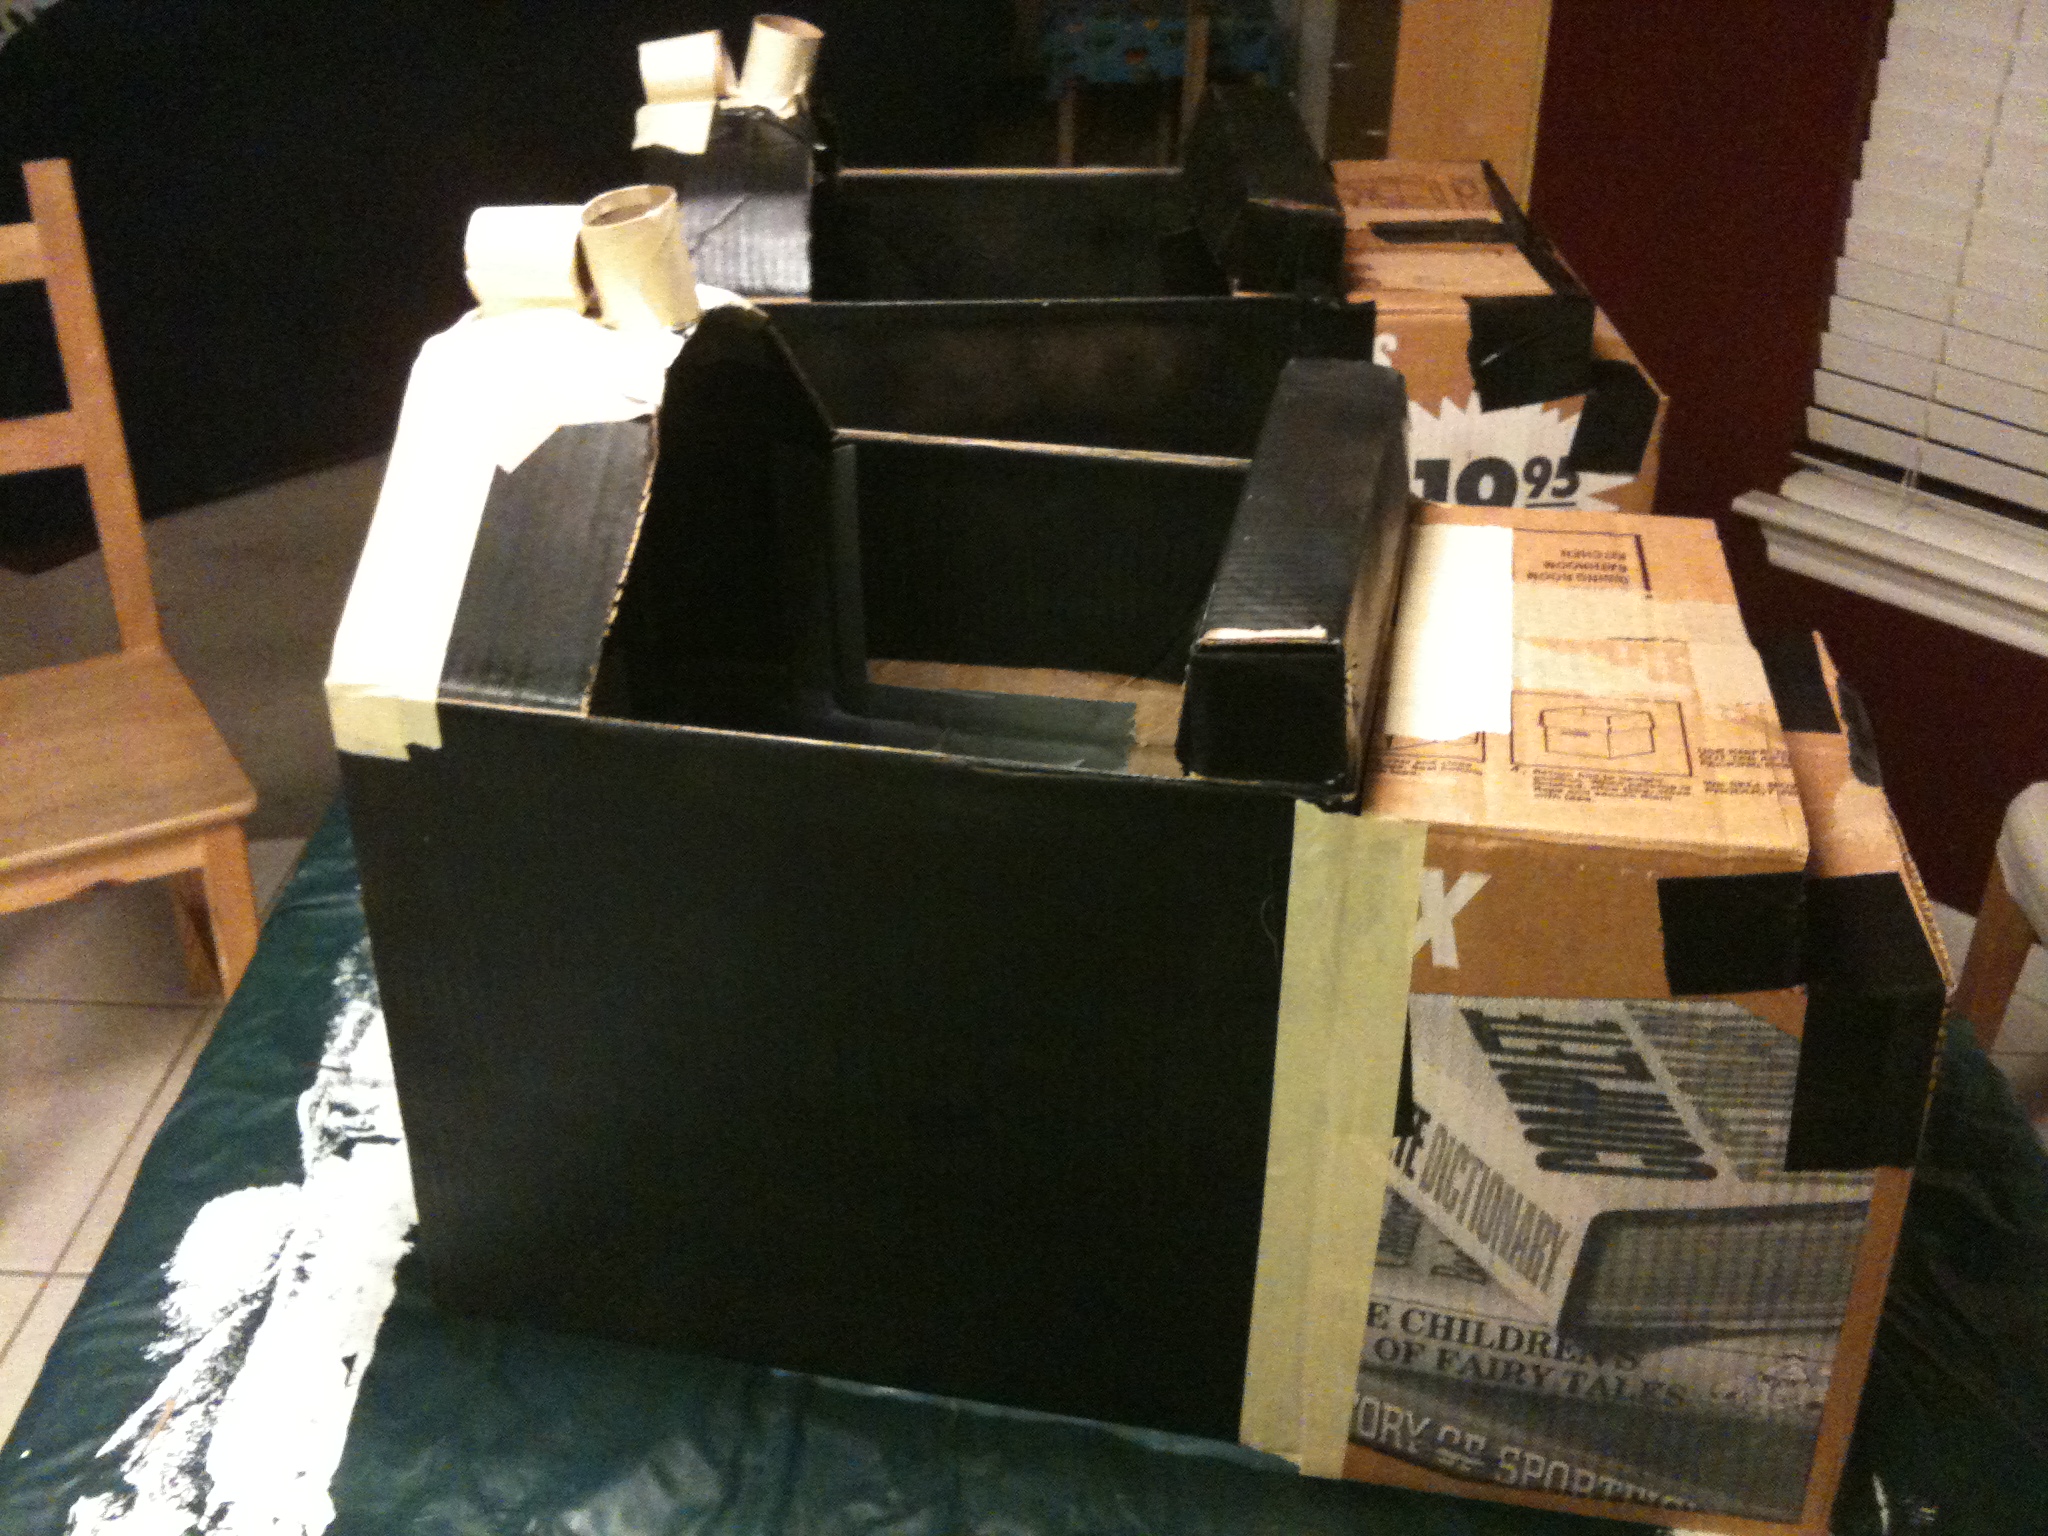
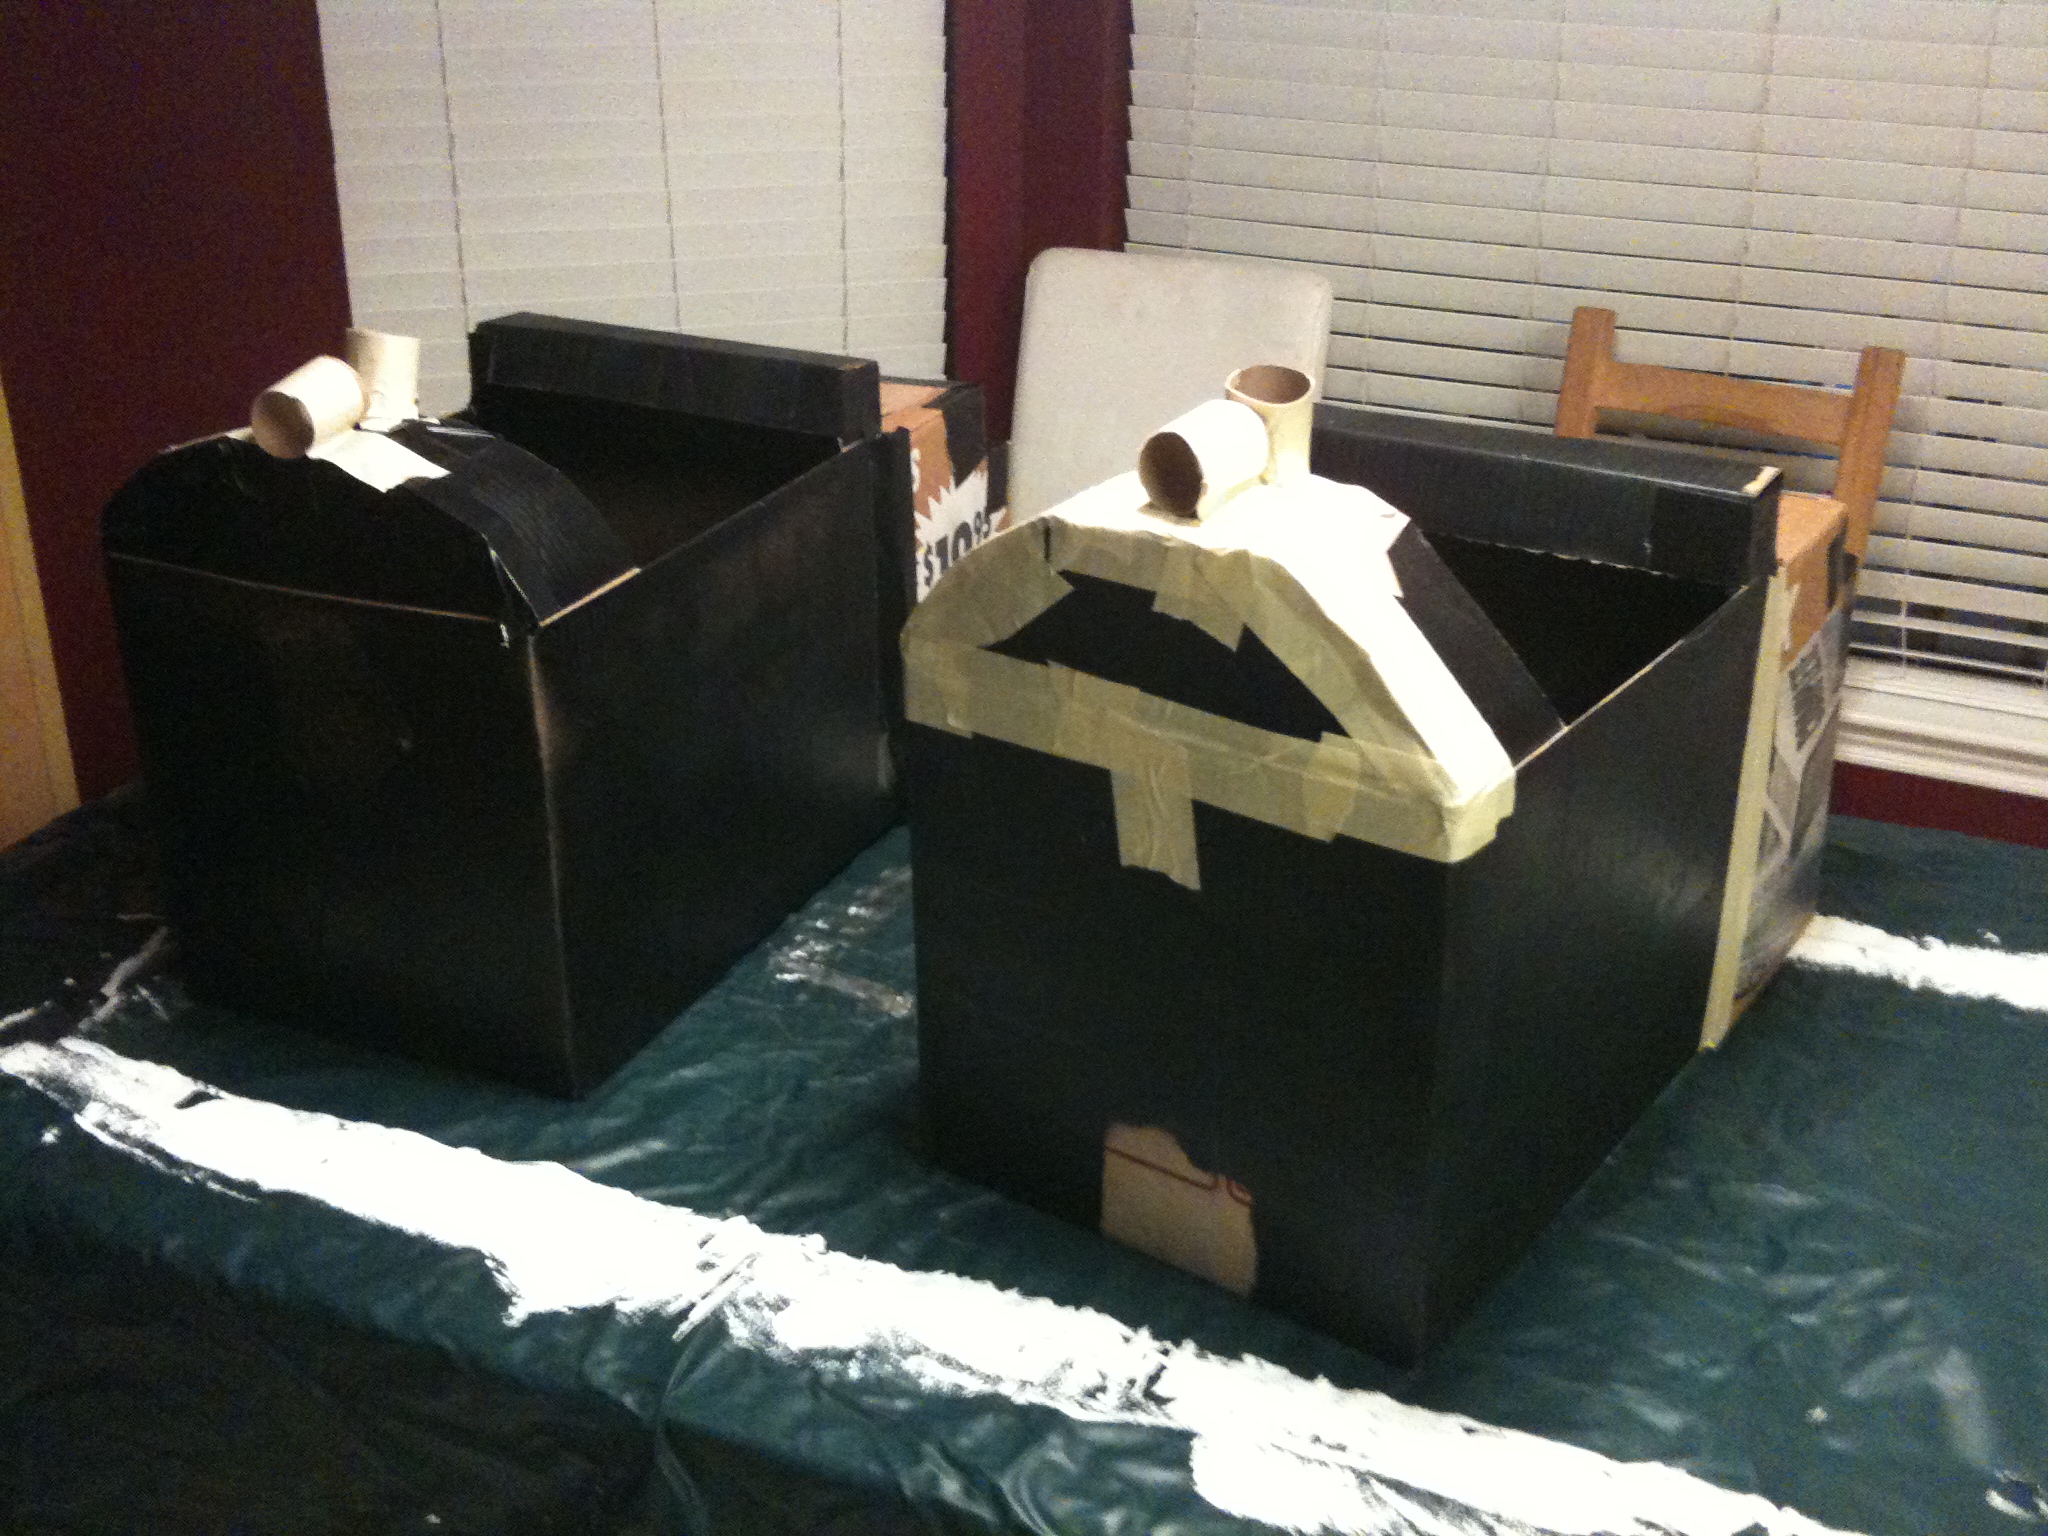

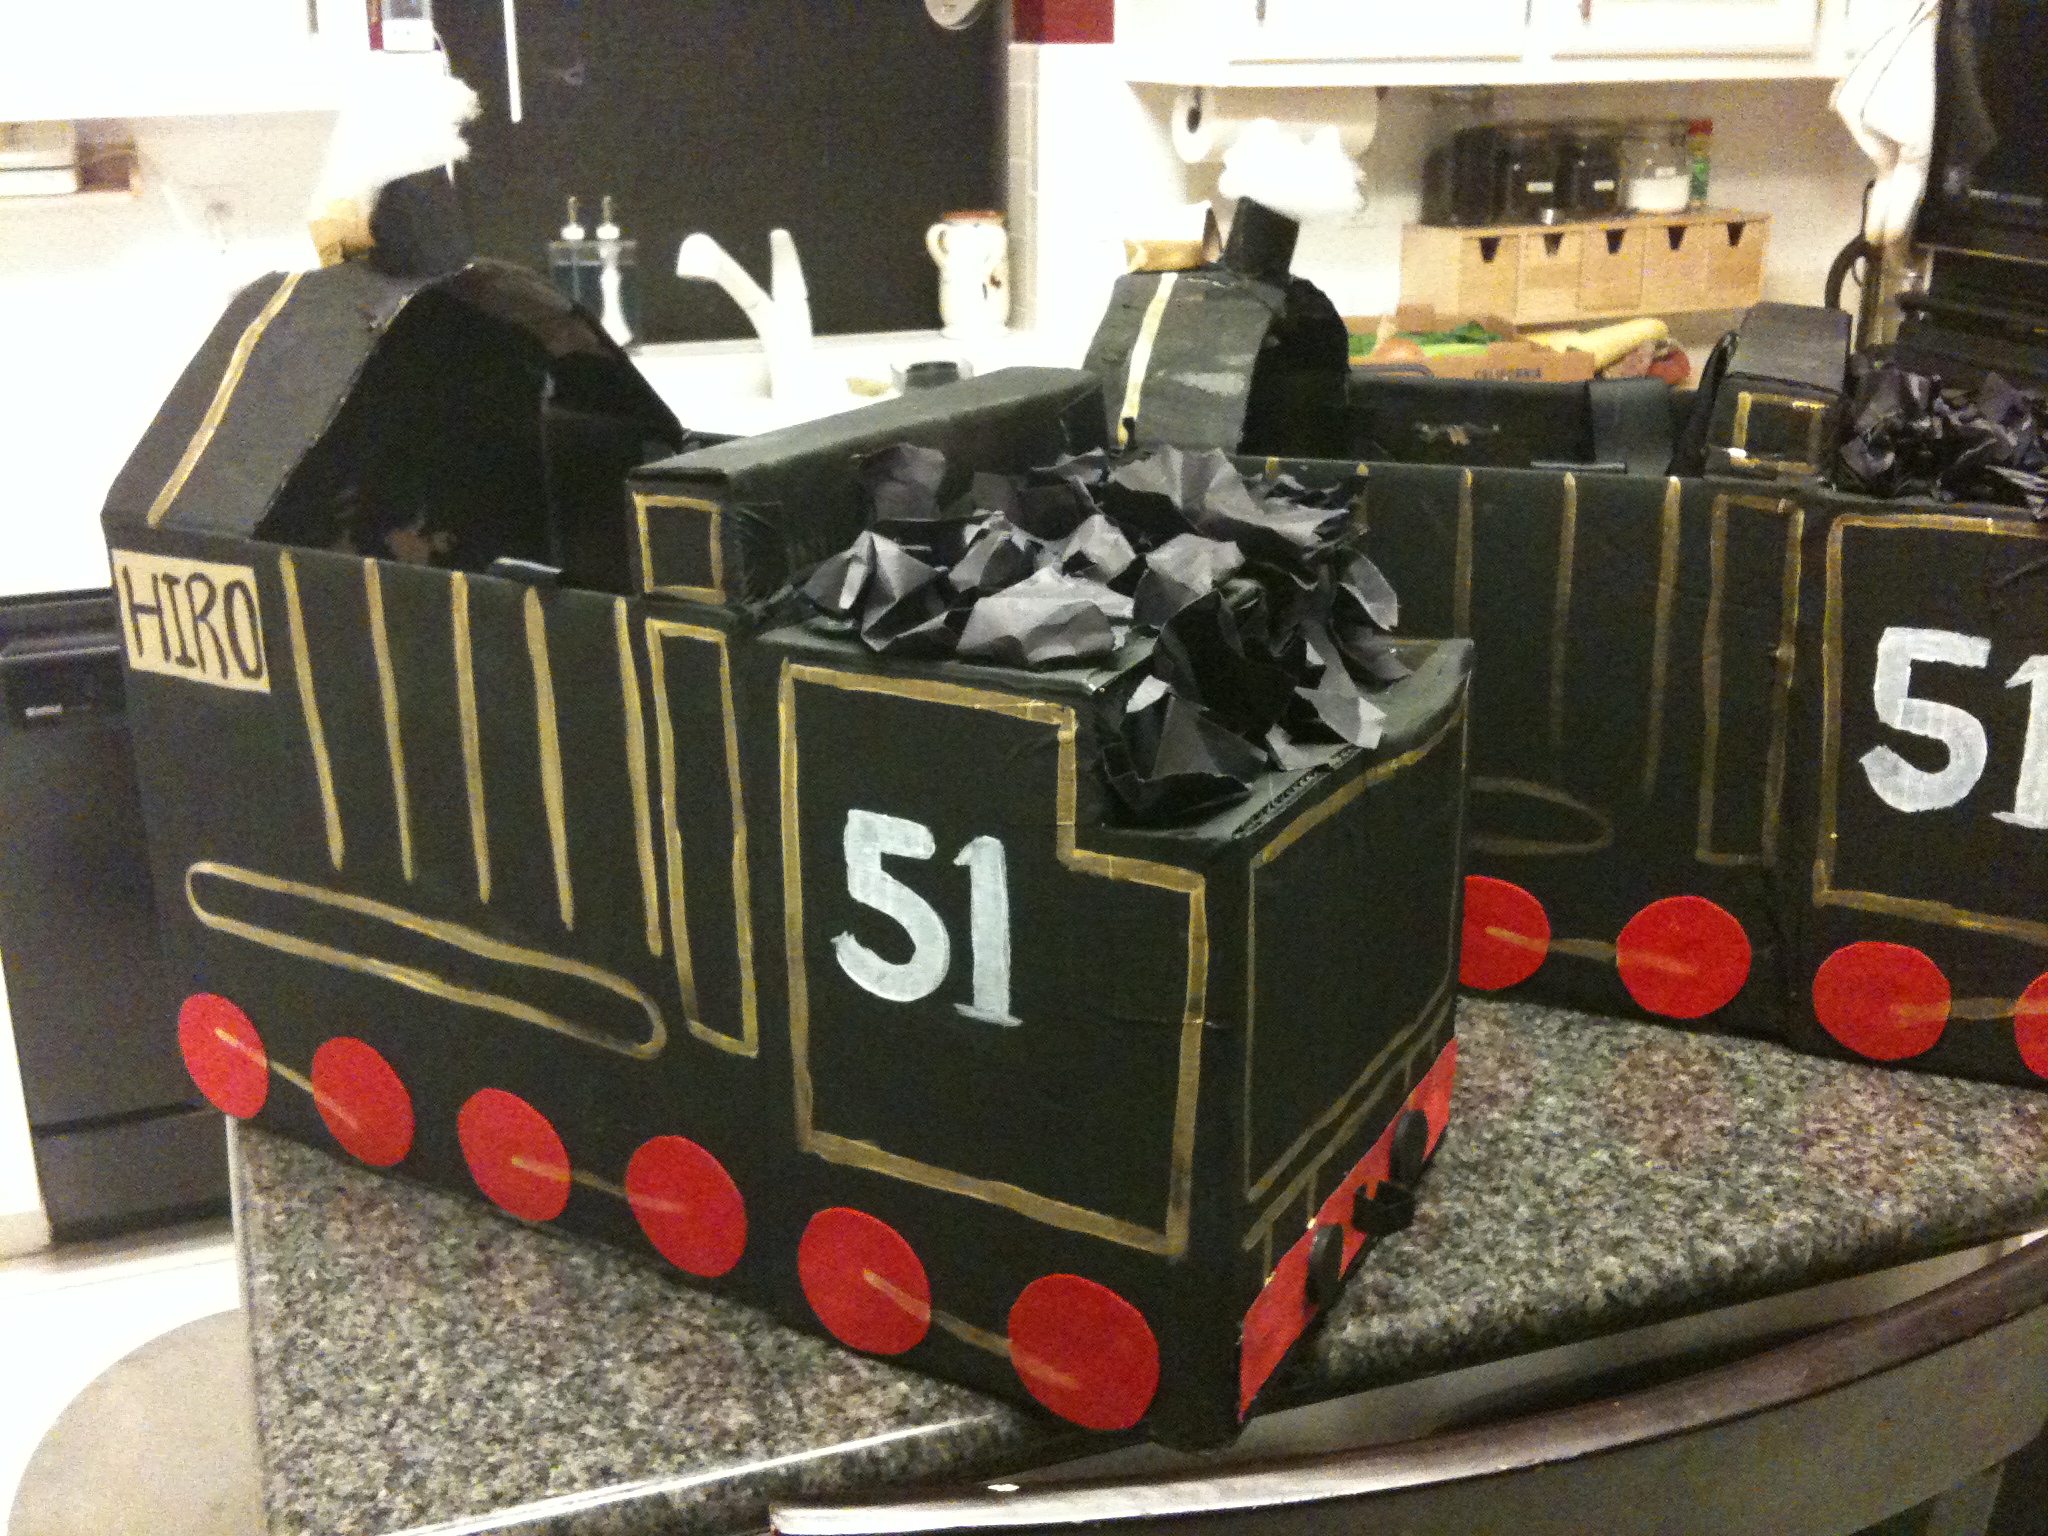
 8. The following year, About a month or two before Halloween (in 2010), I asked my boys what they wanted to be. BOTH wanted to be Hiro of the Rails, from Thomas the Train. And THAT costume did not exist in the stores. Or the internet. I checked. So, I pulled upon my days making props for theatre in high school. Cut up three small “book” boxes, and taped and shaped 1 1/2 of them together for each train. Painted them black with acrylic paint, and detailed: wheels from red foam paper, faces from scrapbook paper with hand-sketched and painted on faces (a-la me), and crumbled black construction paper for the coal. The only “cost” was some little headlamps I found in Target that could fit inside the toilet paper tube and turn on and off. Oh – and don’t forget the frayed cotton ball steam coming out of the funnel. The buffers were painted spice container lids hot glued to some red construction paper. And then I just painted the rest of the details in gold and white acrylic paint. When the boys went to put them on, I attached thick (2″ or so) ribbon with hot glue in “backpack” style so the boys could put the costumes on and take them off at will. They were a HUGE hit – with the boys and the neighborhood. And the kids played in and with them for months afterwards.
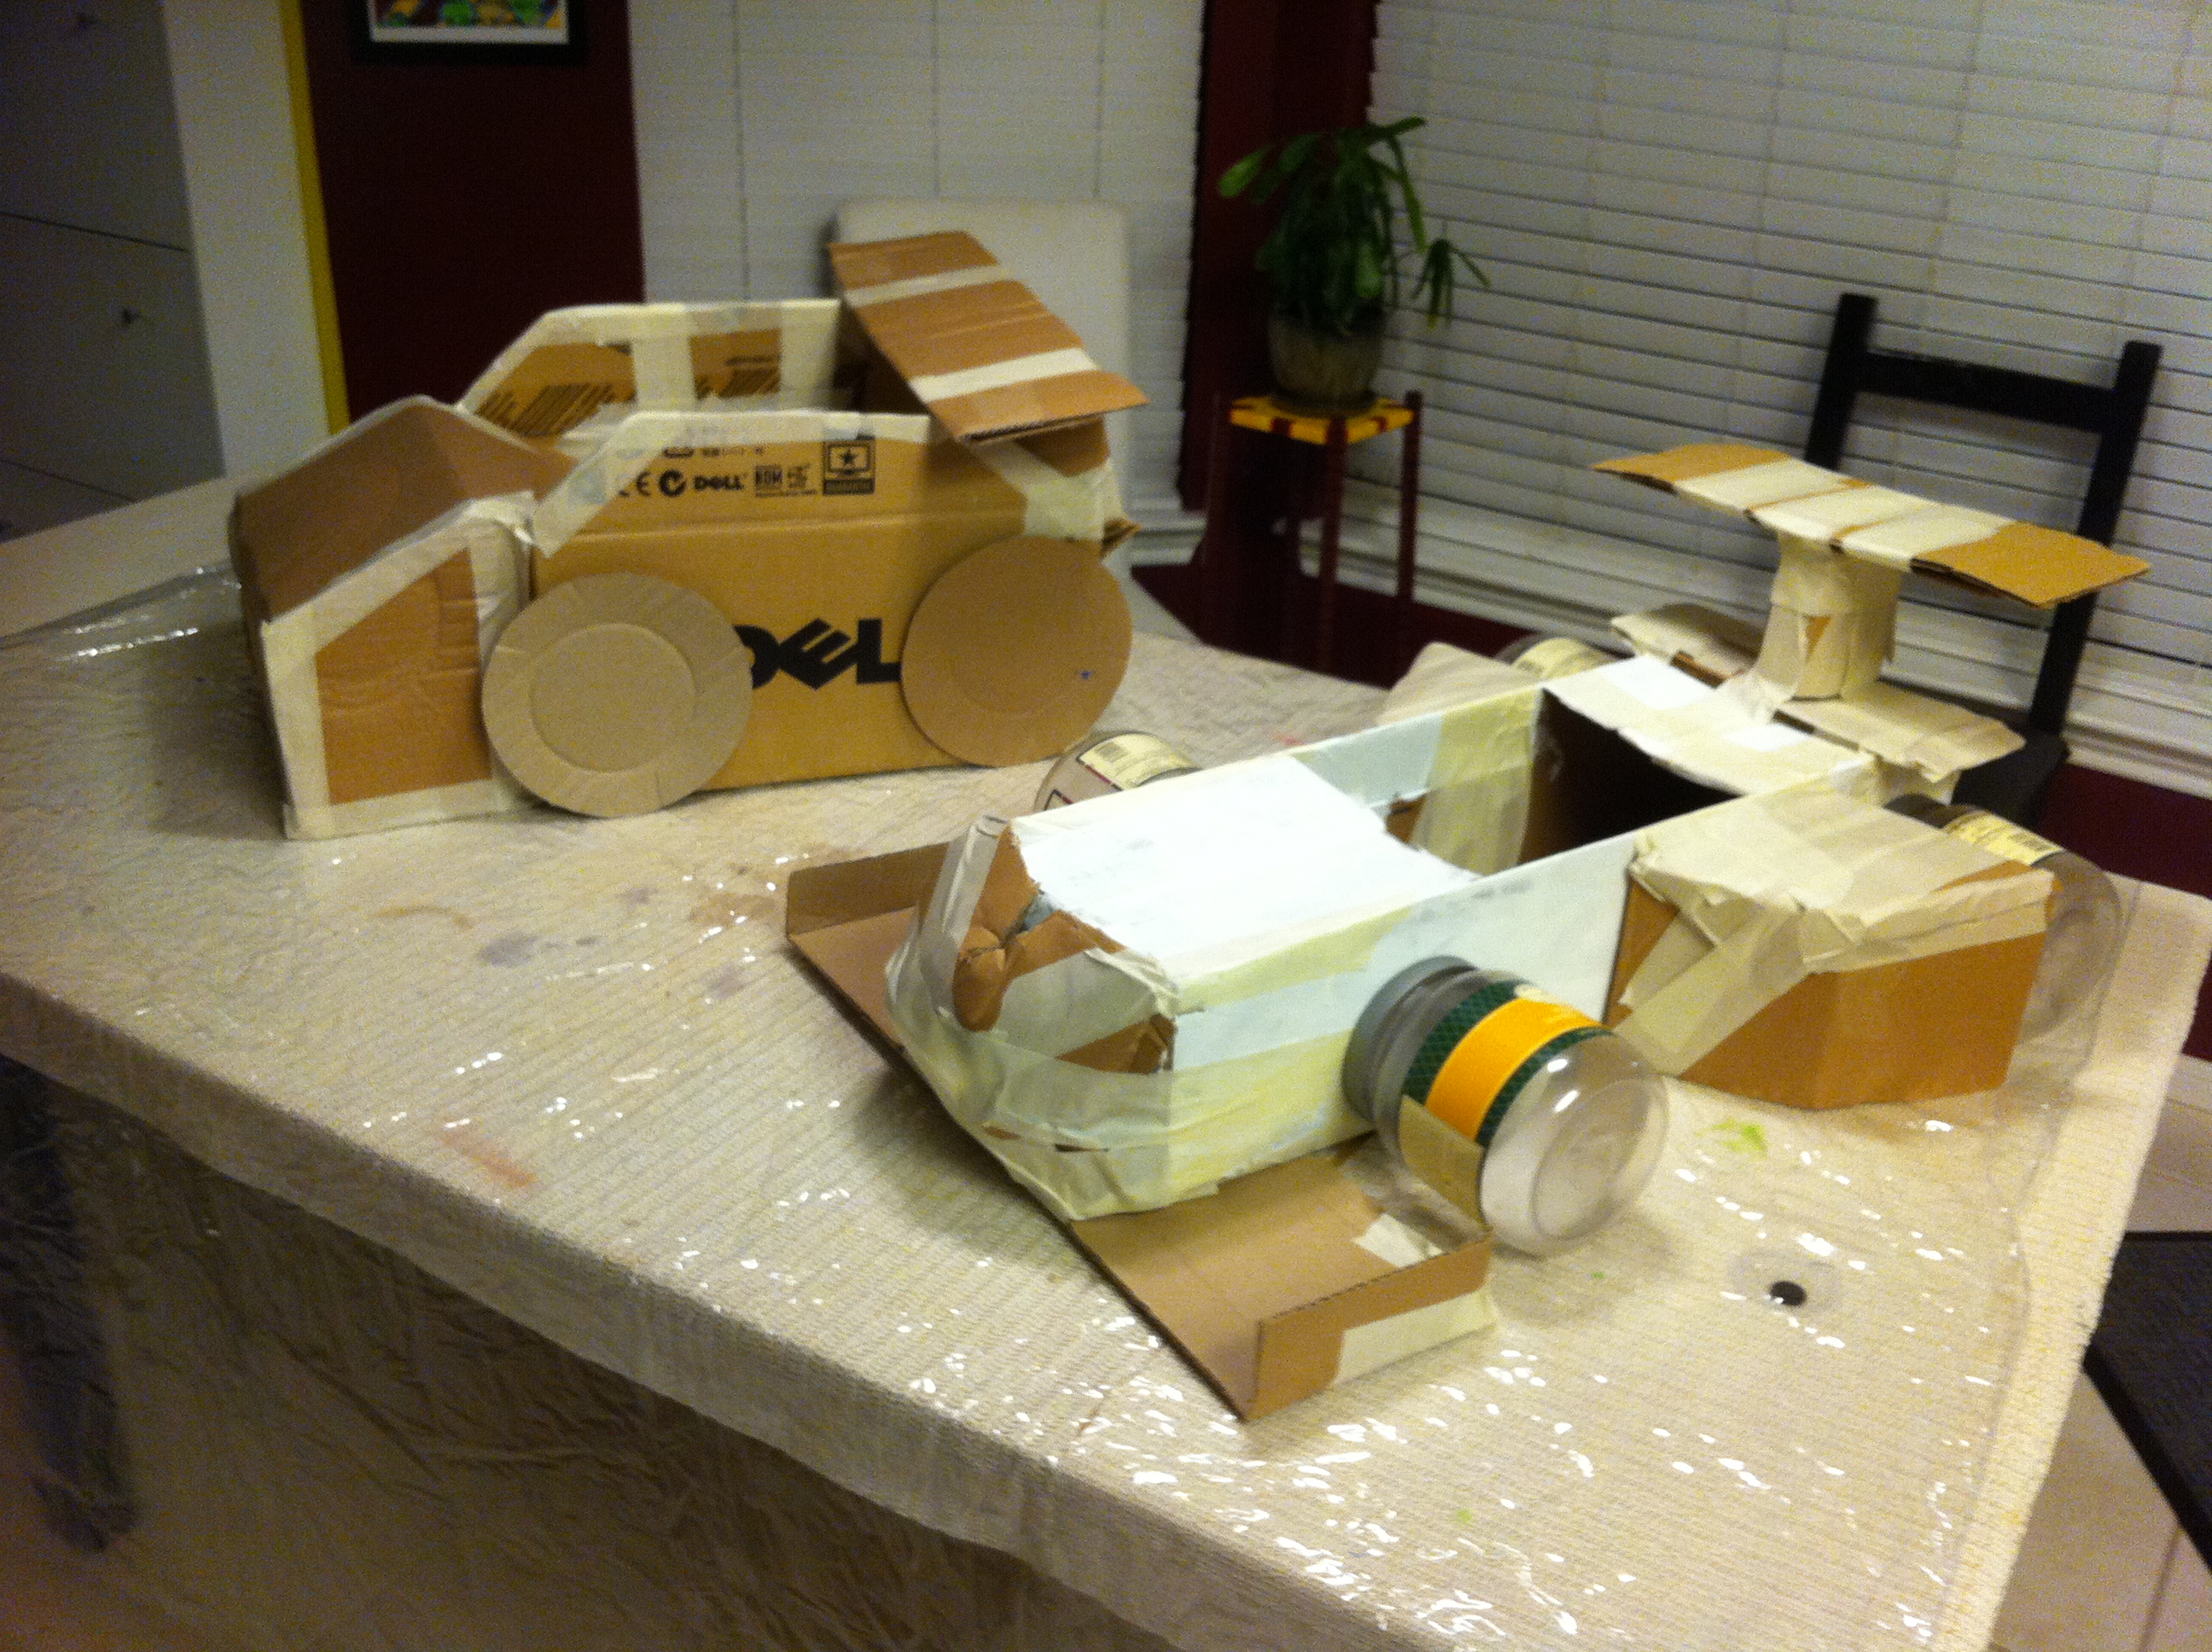
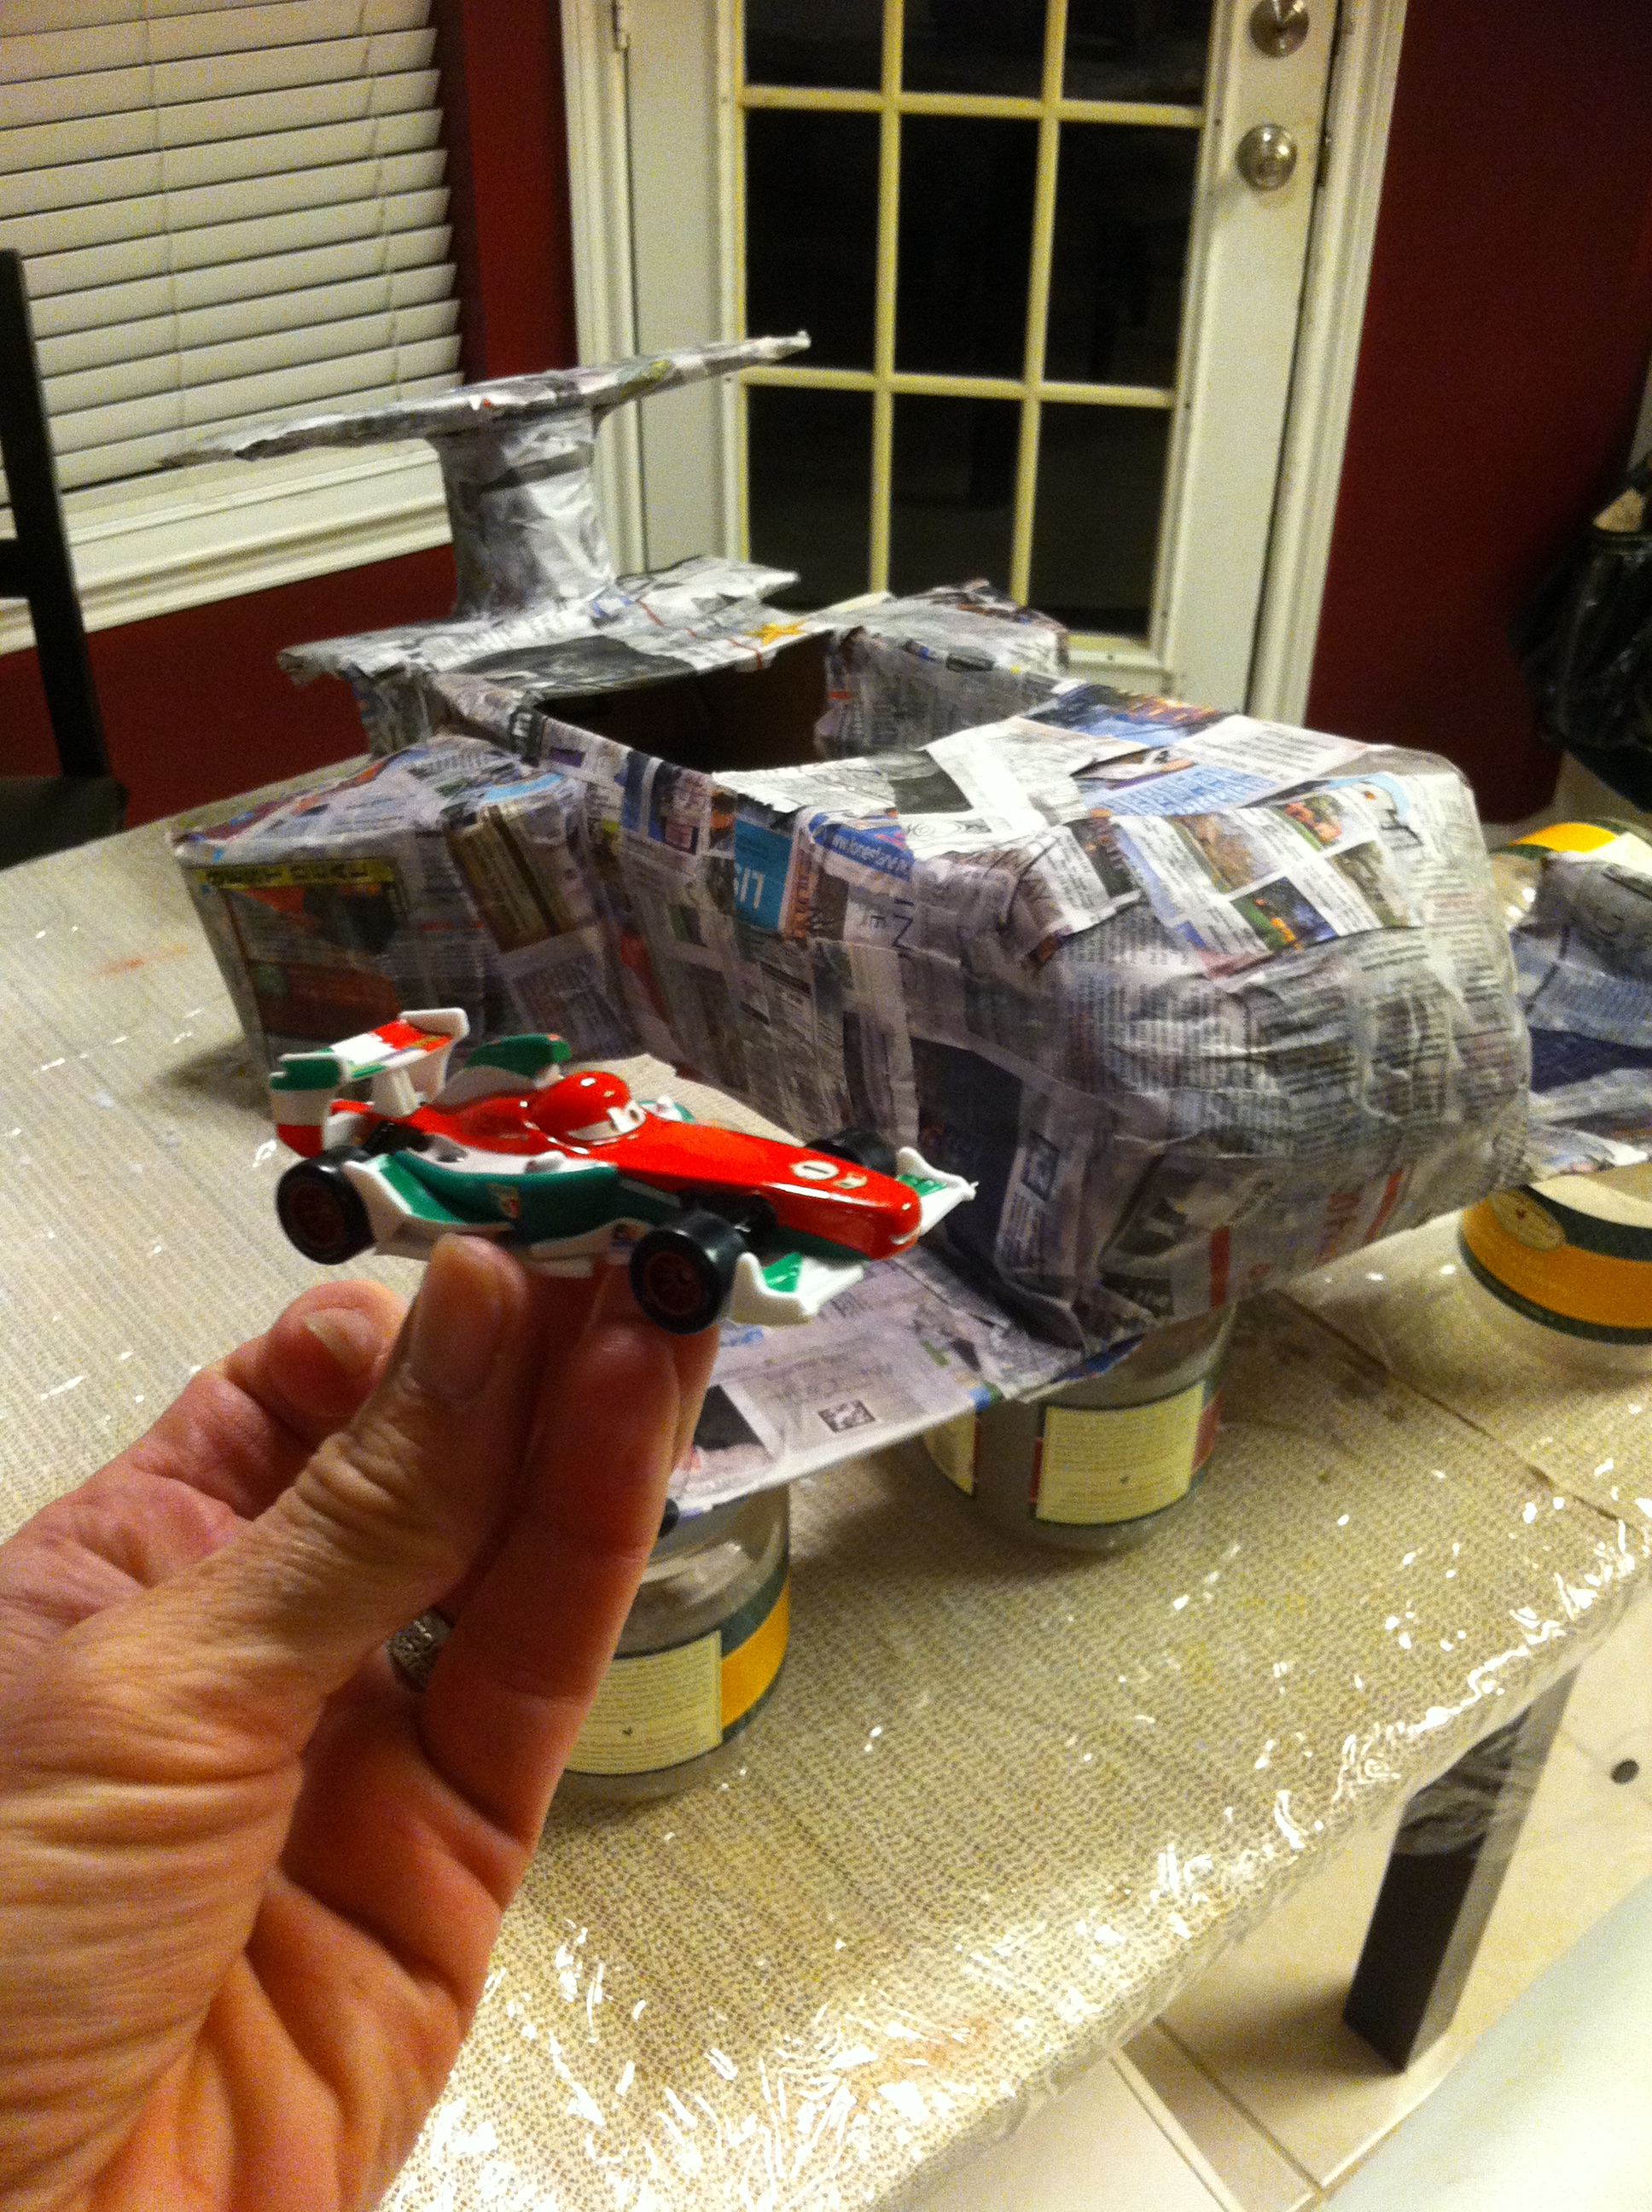
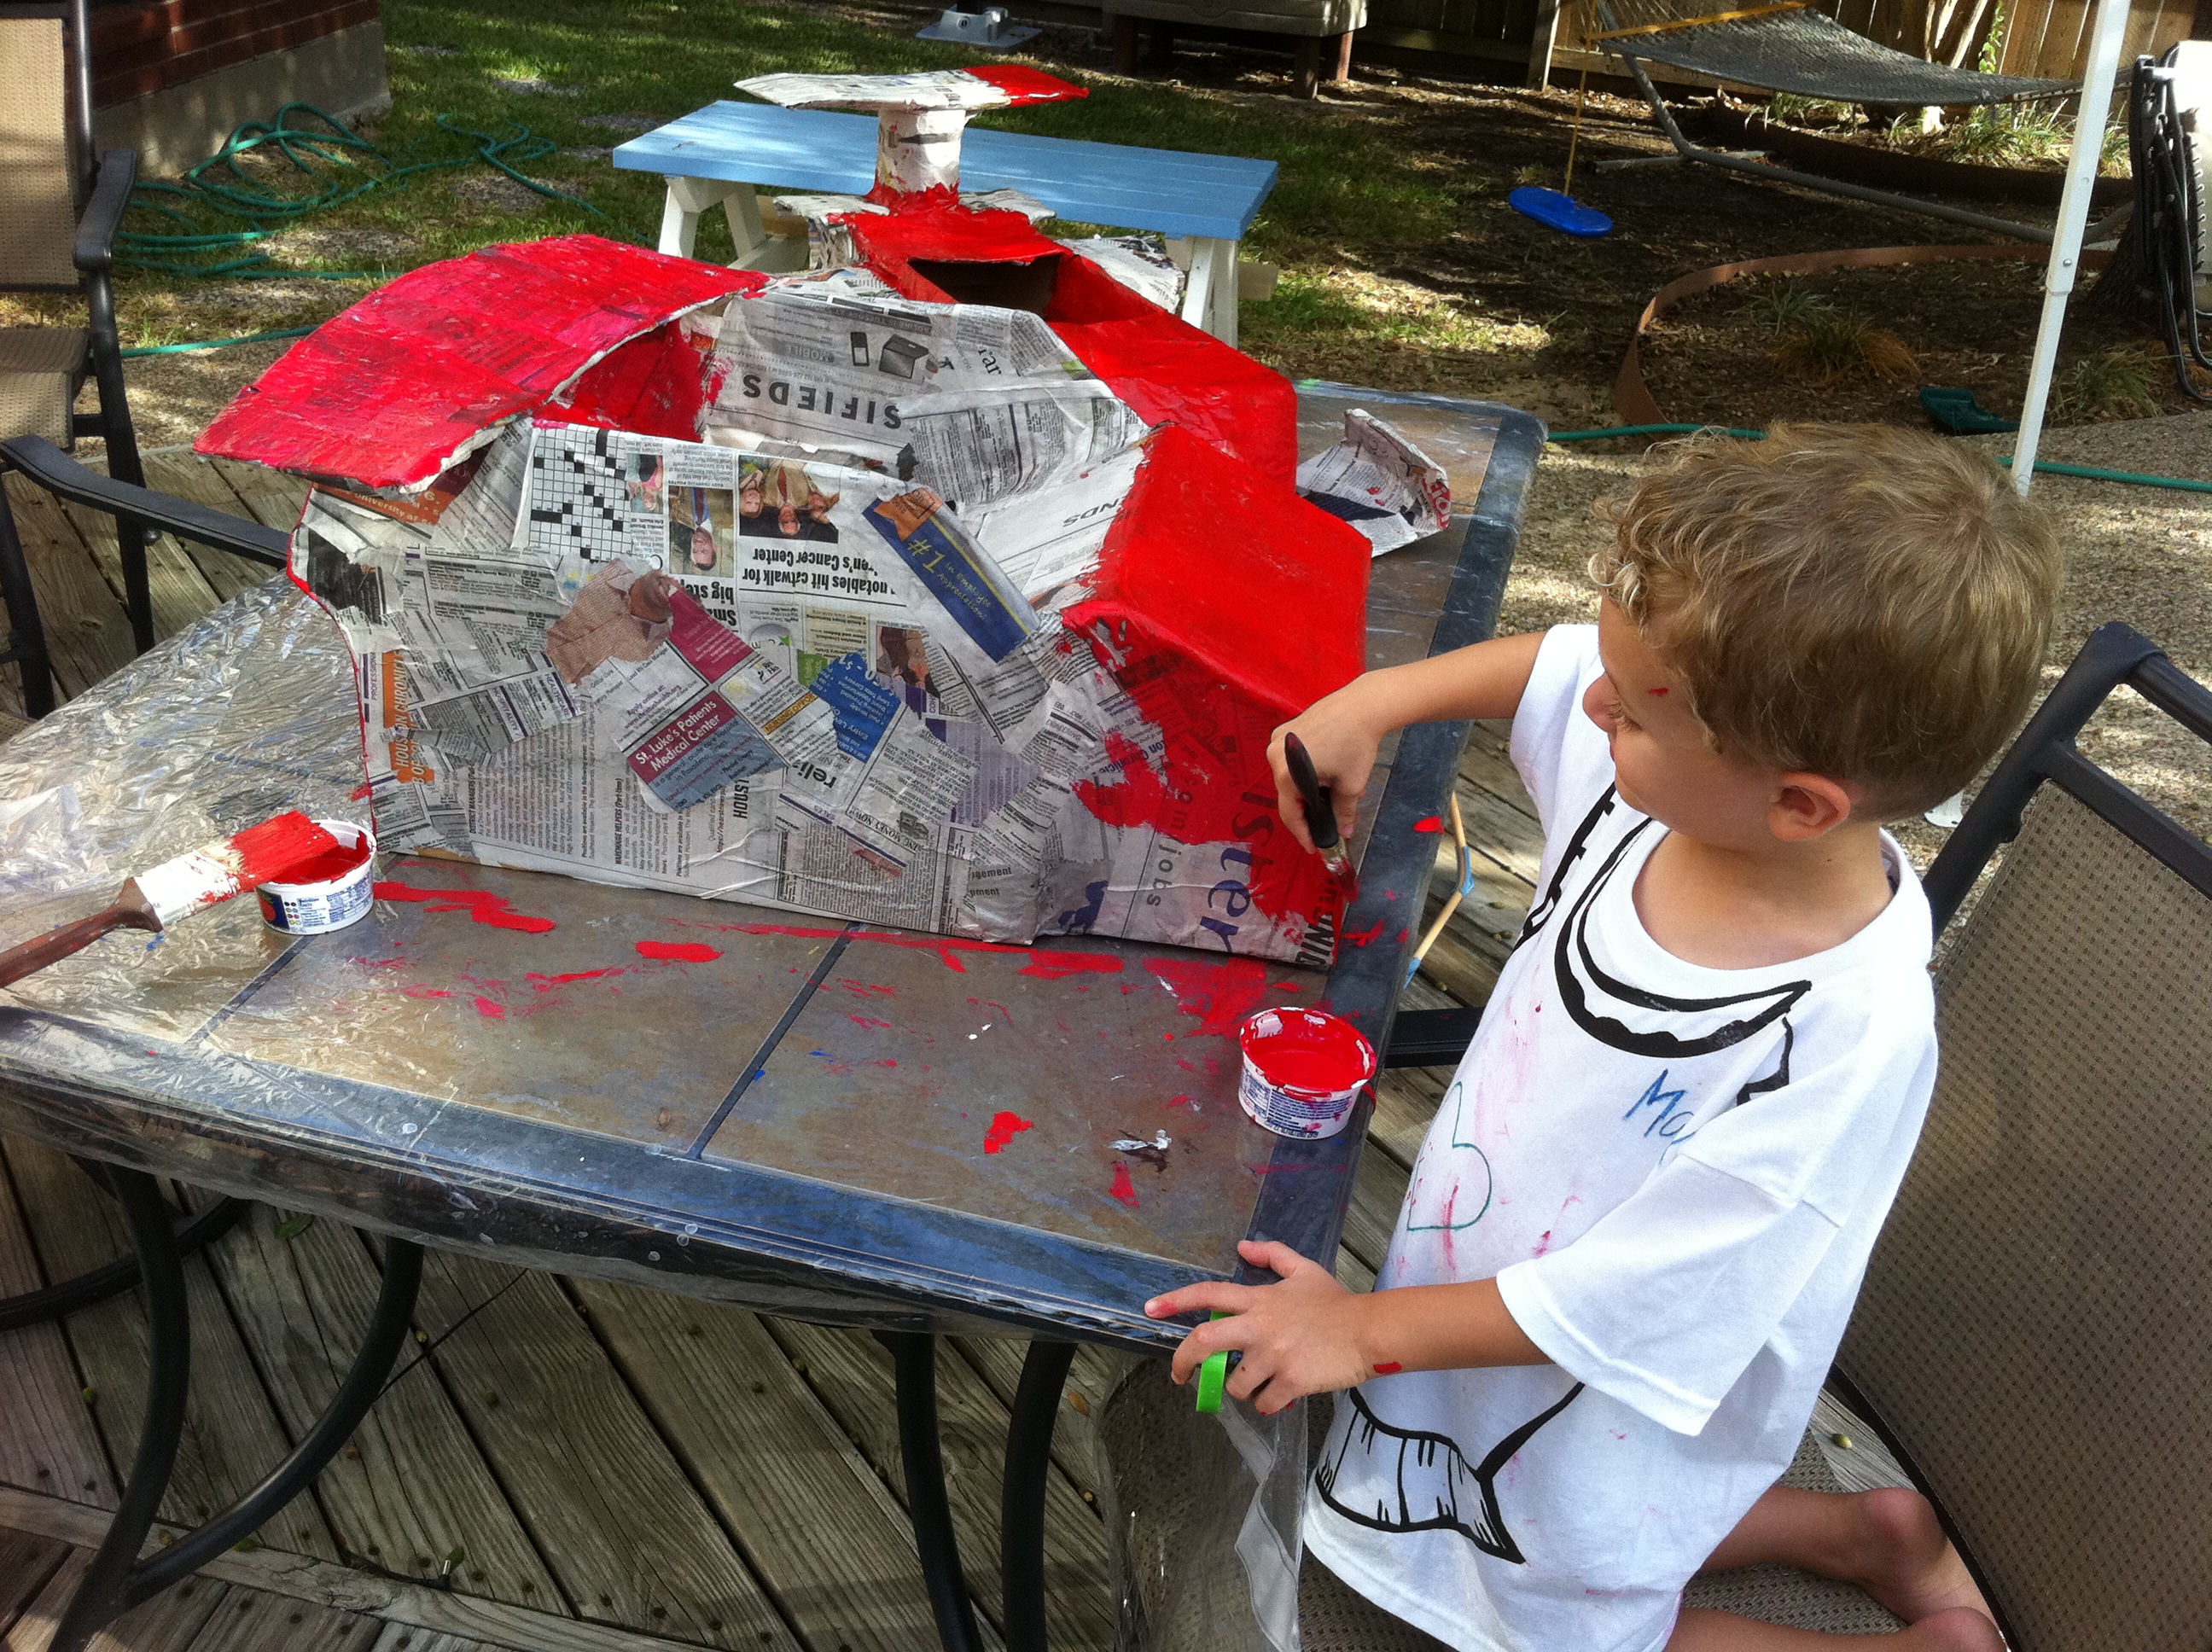
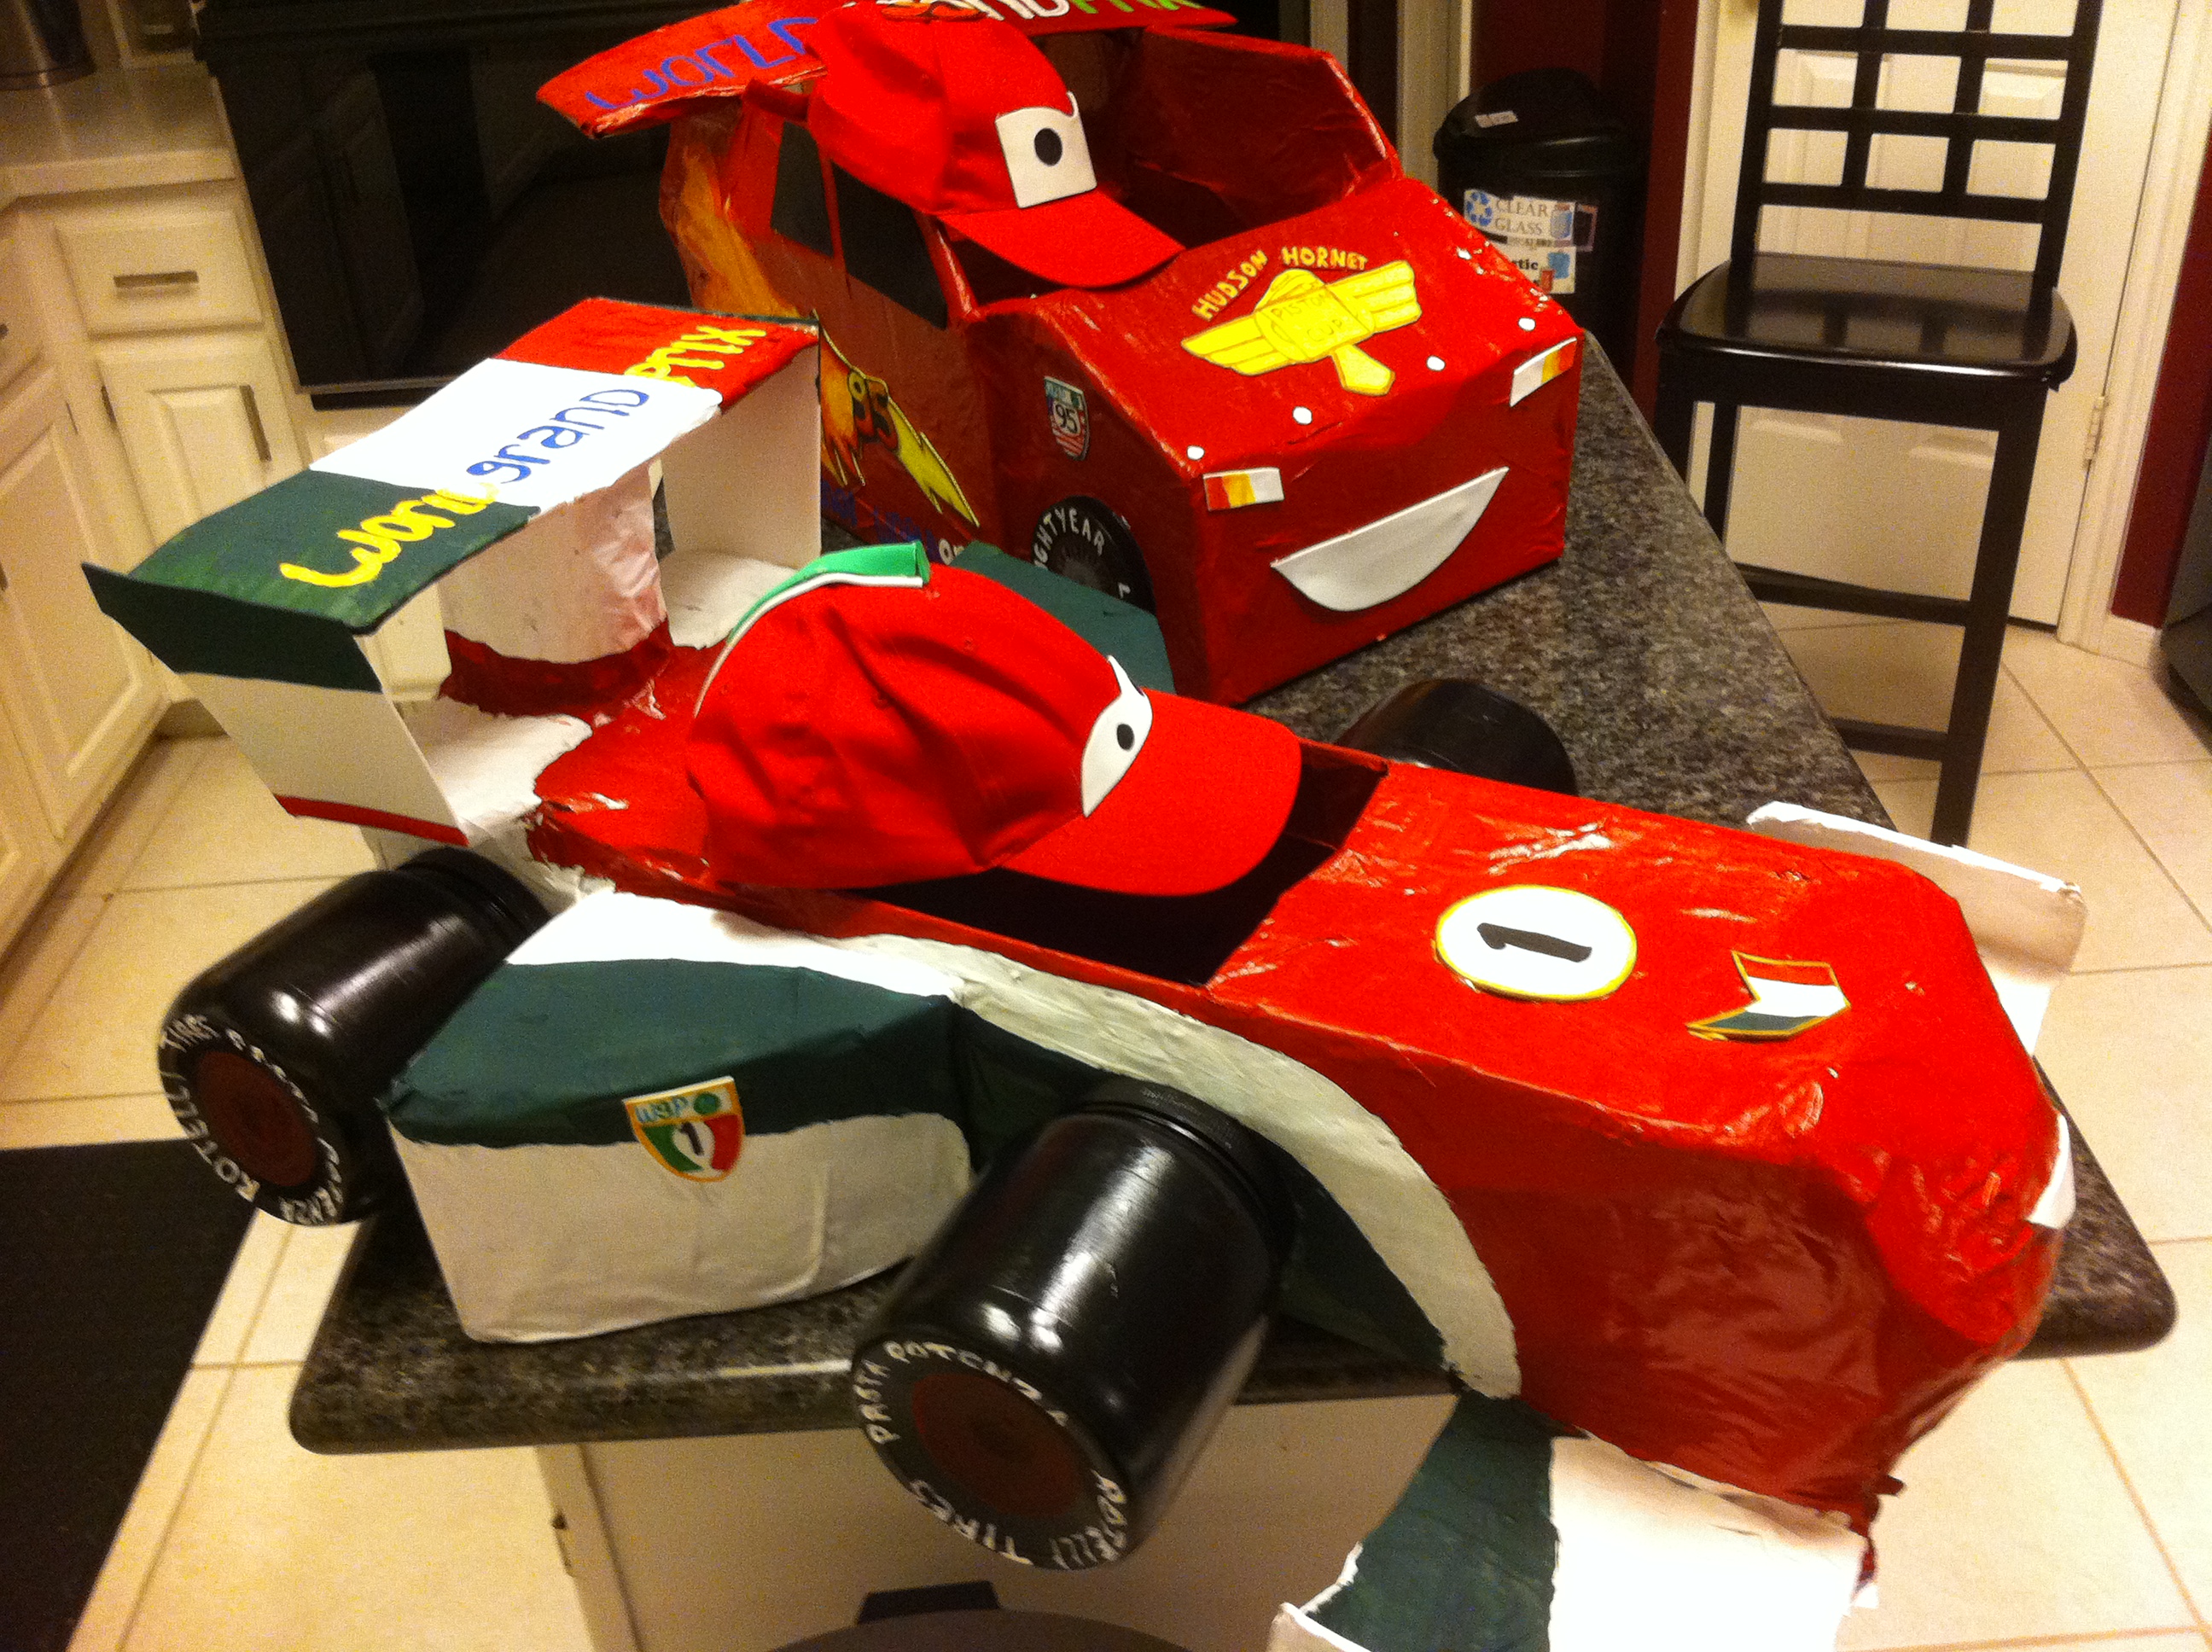
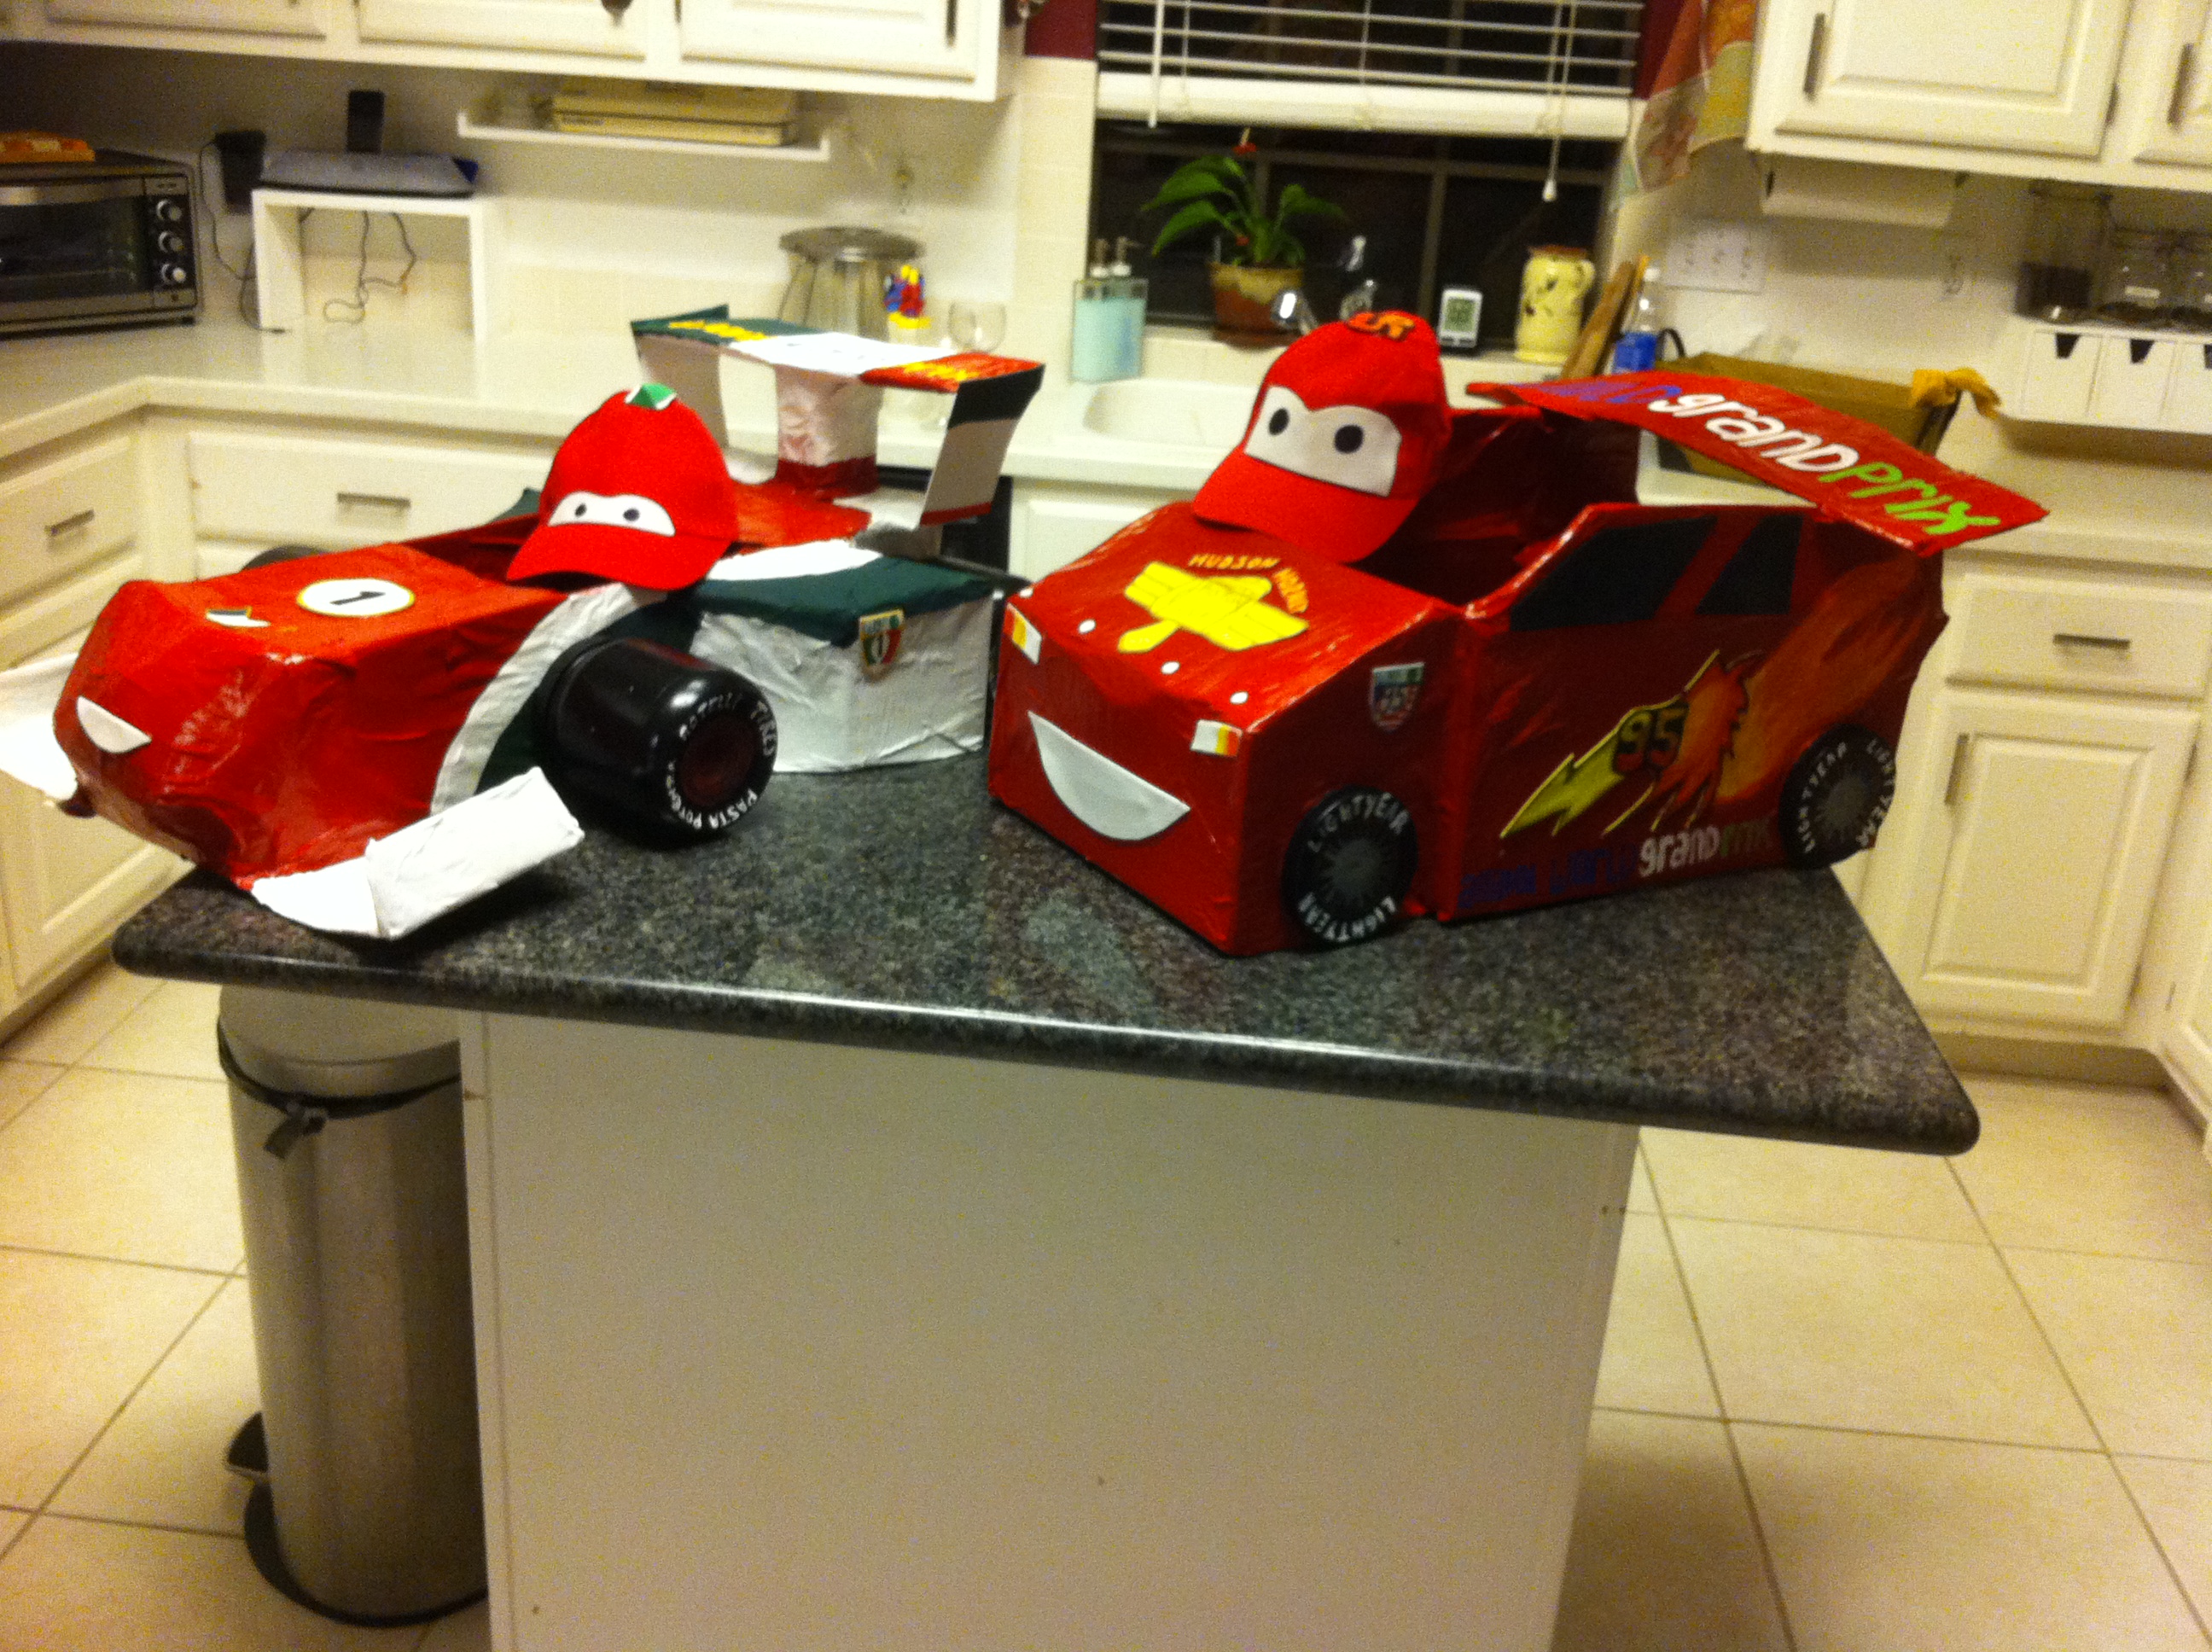 9. So this past Halloween the kids wanted to be characters from Cars 2. So I did my cardboard box cutting and taping… but because Francisco Bernouli’s car is a Formula 1, with the wings and all, I decided to paper mache them for extra support. Knowing what I know now (about how hard it is to get red paint to cover newsprint), I would probably make the final layer of paper mache with white paper (and of course, letting it dry for a week) before painting it. I insisted that the kids keep bringing me their diecast cars so I could model the details after it. Using foam paper – and painting or marking with a Sharpie – worked really well. I make Francisco’s wheels out of recycled nuts containers from Target, while Lightning McQueen’s were just the lids of the same containers. (We were making and eating our own trail mix a LOT in the Summer and Fall). I found two red hats from Michael’s and decorated with the foam paper. It was super easy to do the character’s eyes on the hats, and that just finished off the Cars costumes perfectly.
 10. Again with my love of Dr. Seuss! I made these around Thanksgiving, when it kinda-sorta starts to get a little cold in Houston… cold enough to warrant a jacket. But you can really get away with a sweatshirt on most days. This effort was in response to a request from Alex to make him a Lorax shirt. It took me forever to finally find an orange hoodie (thanks Google and